CD Display Shelf
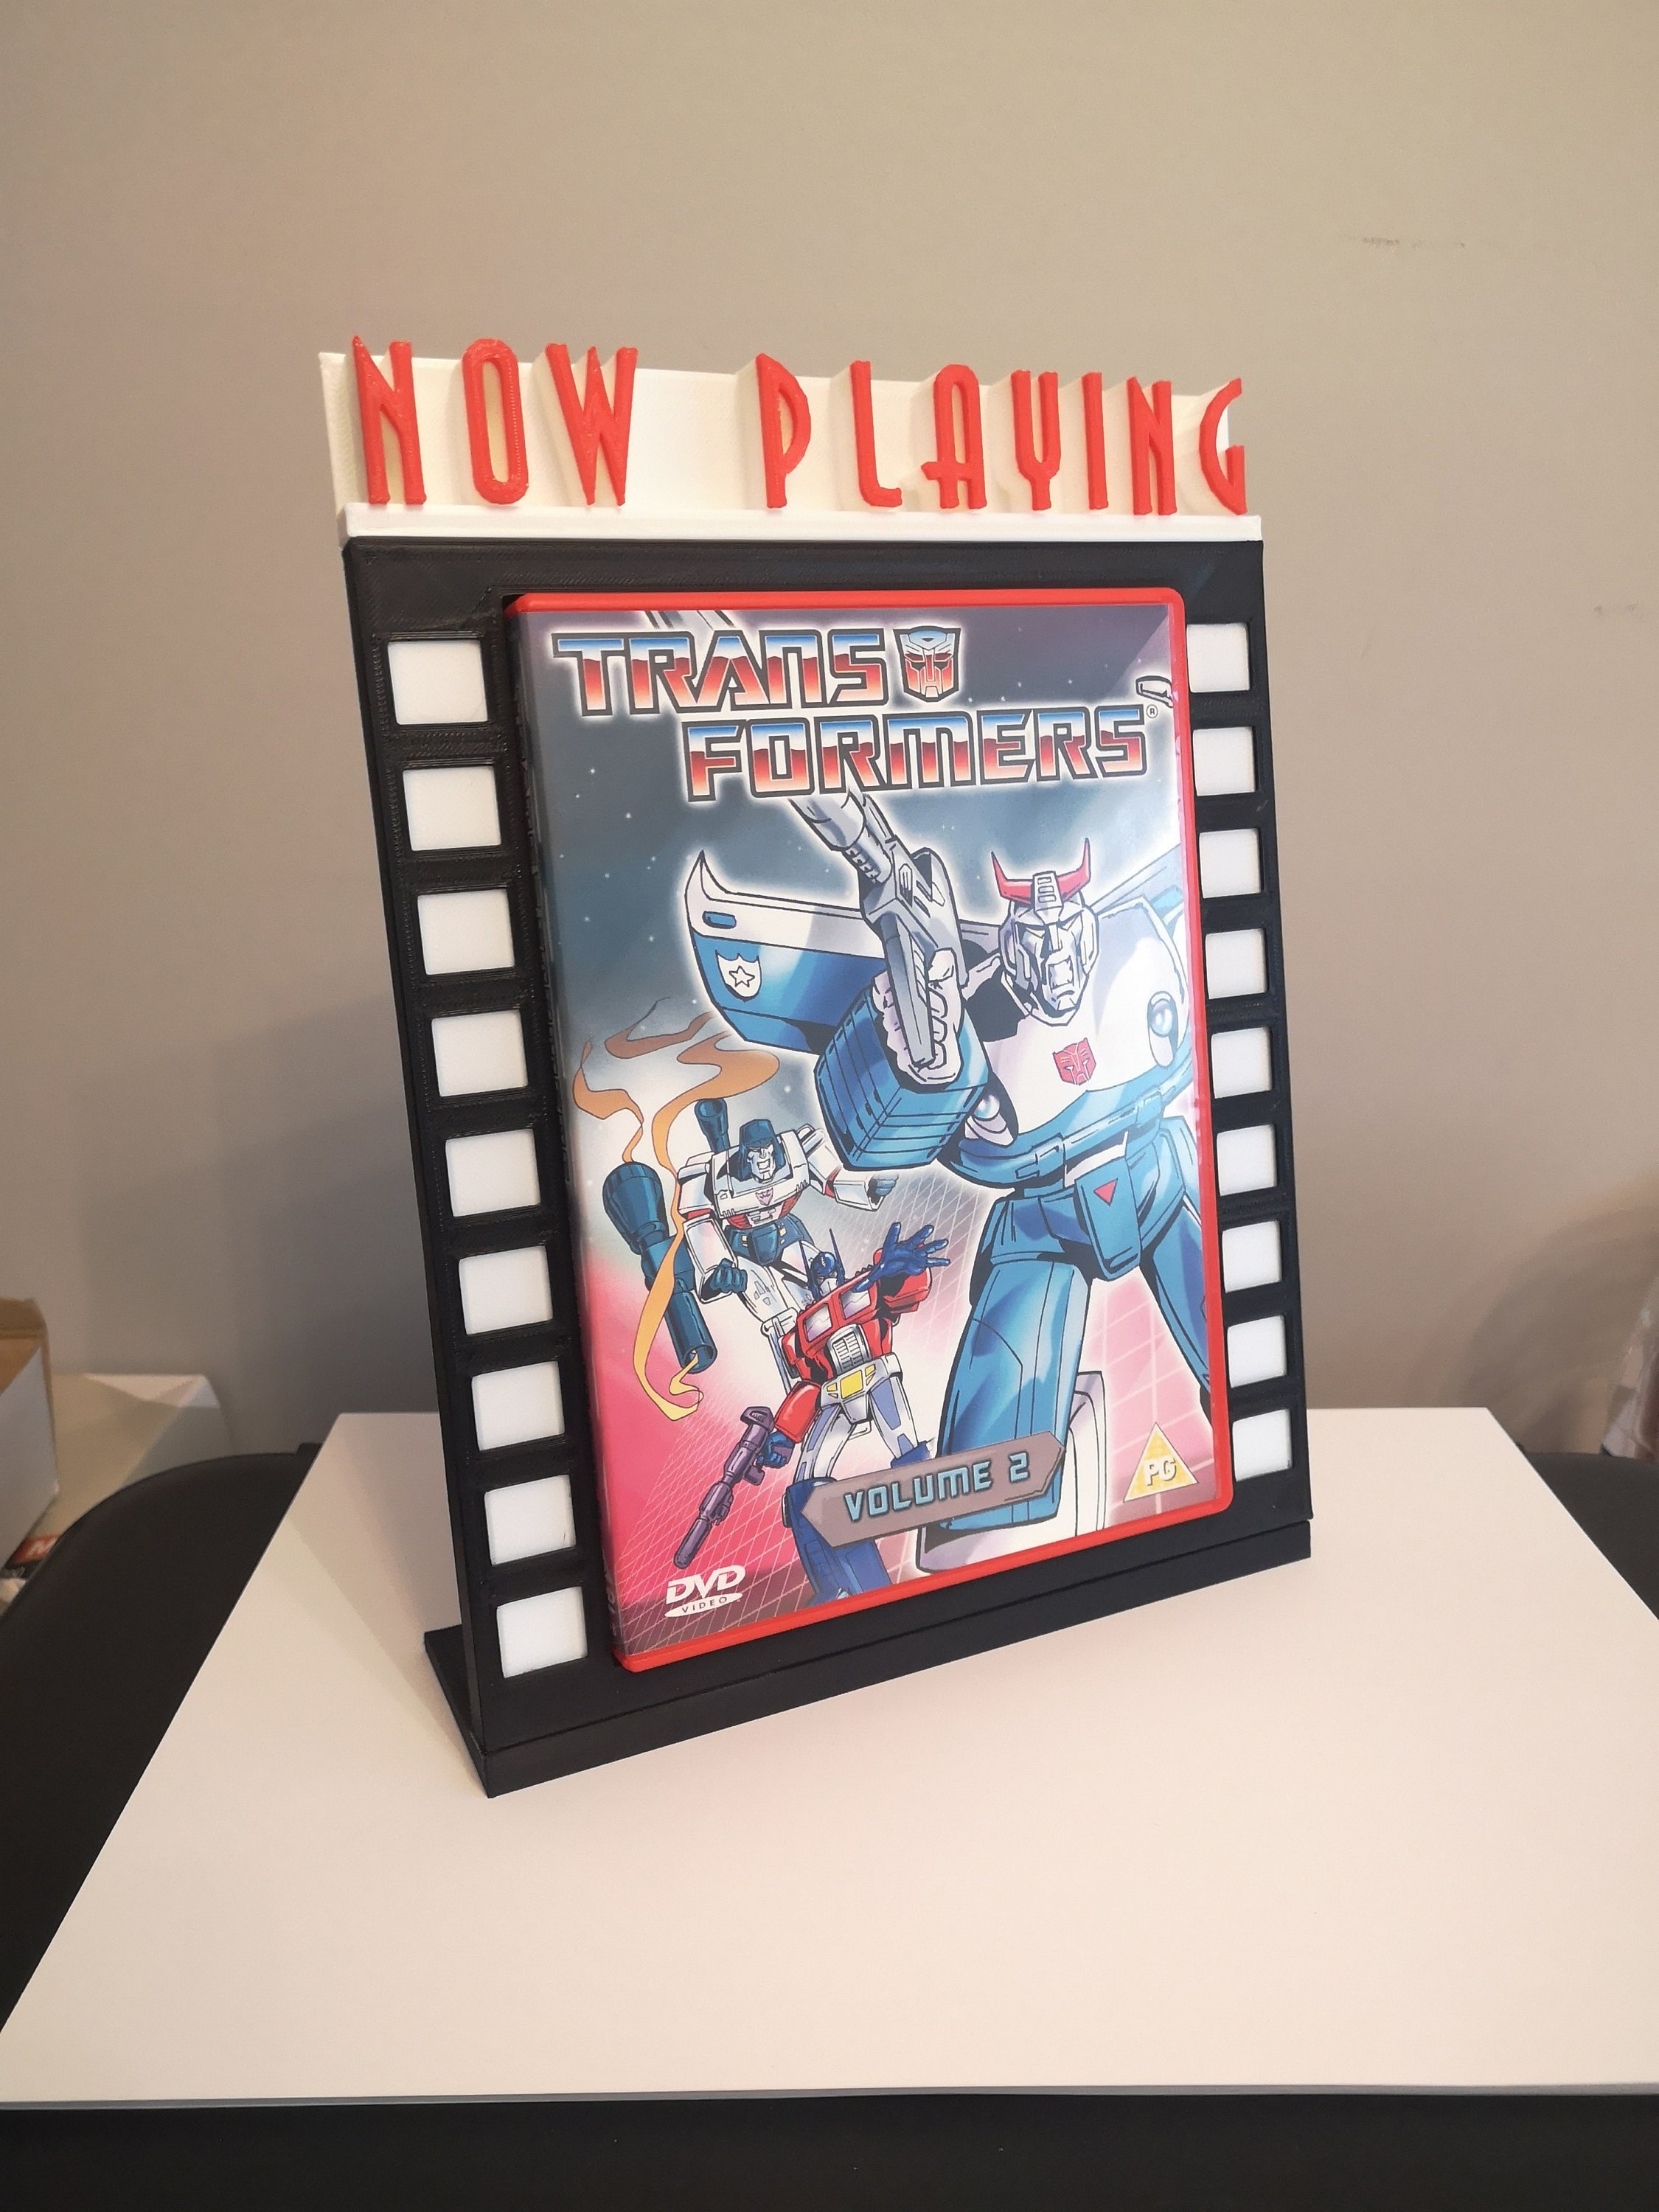
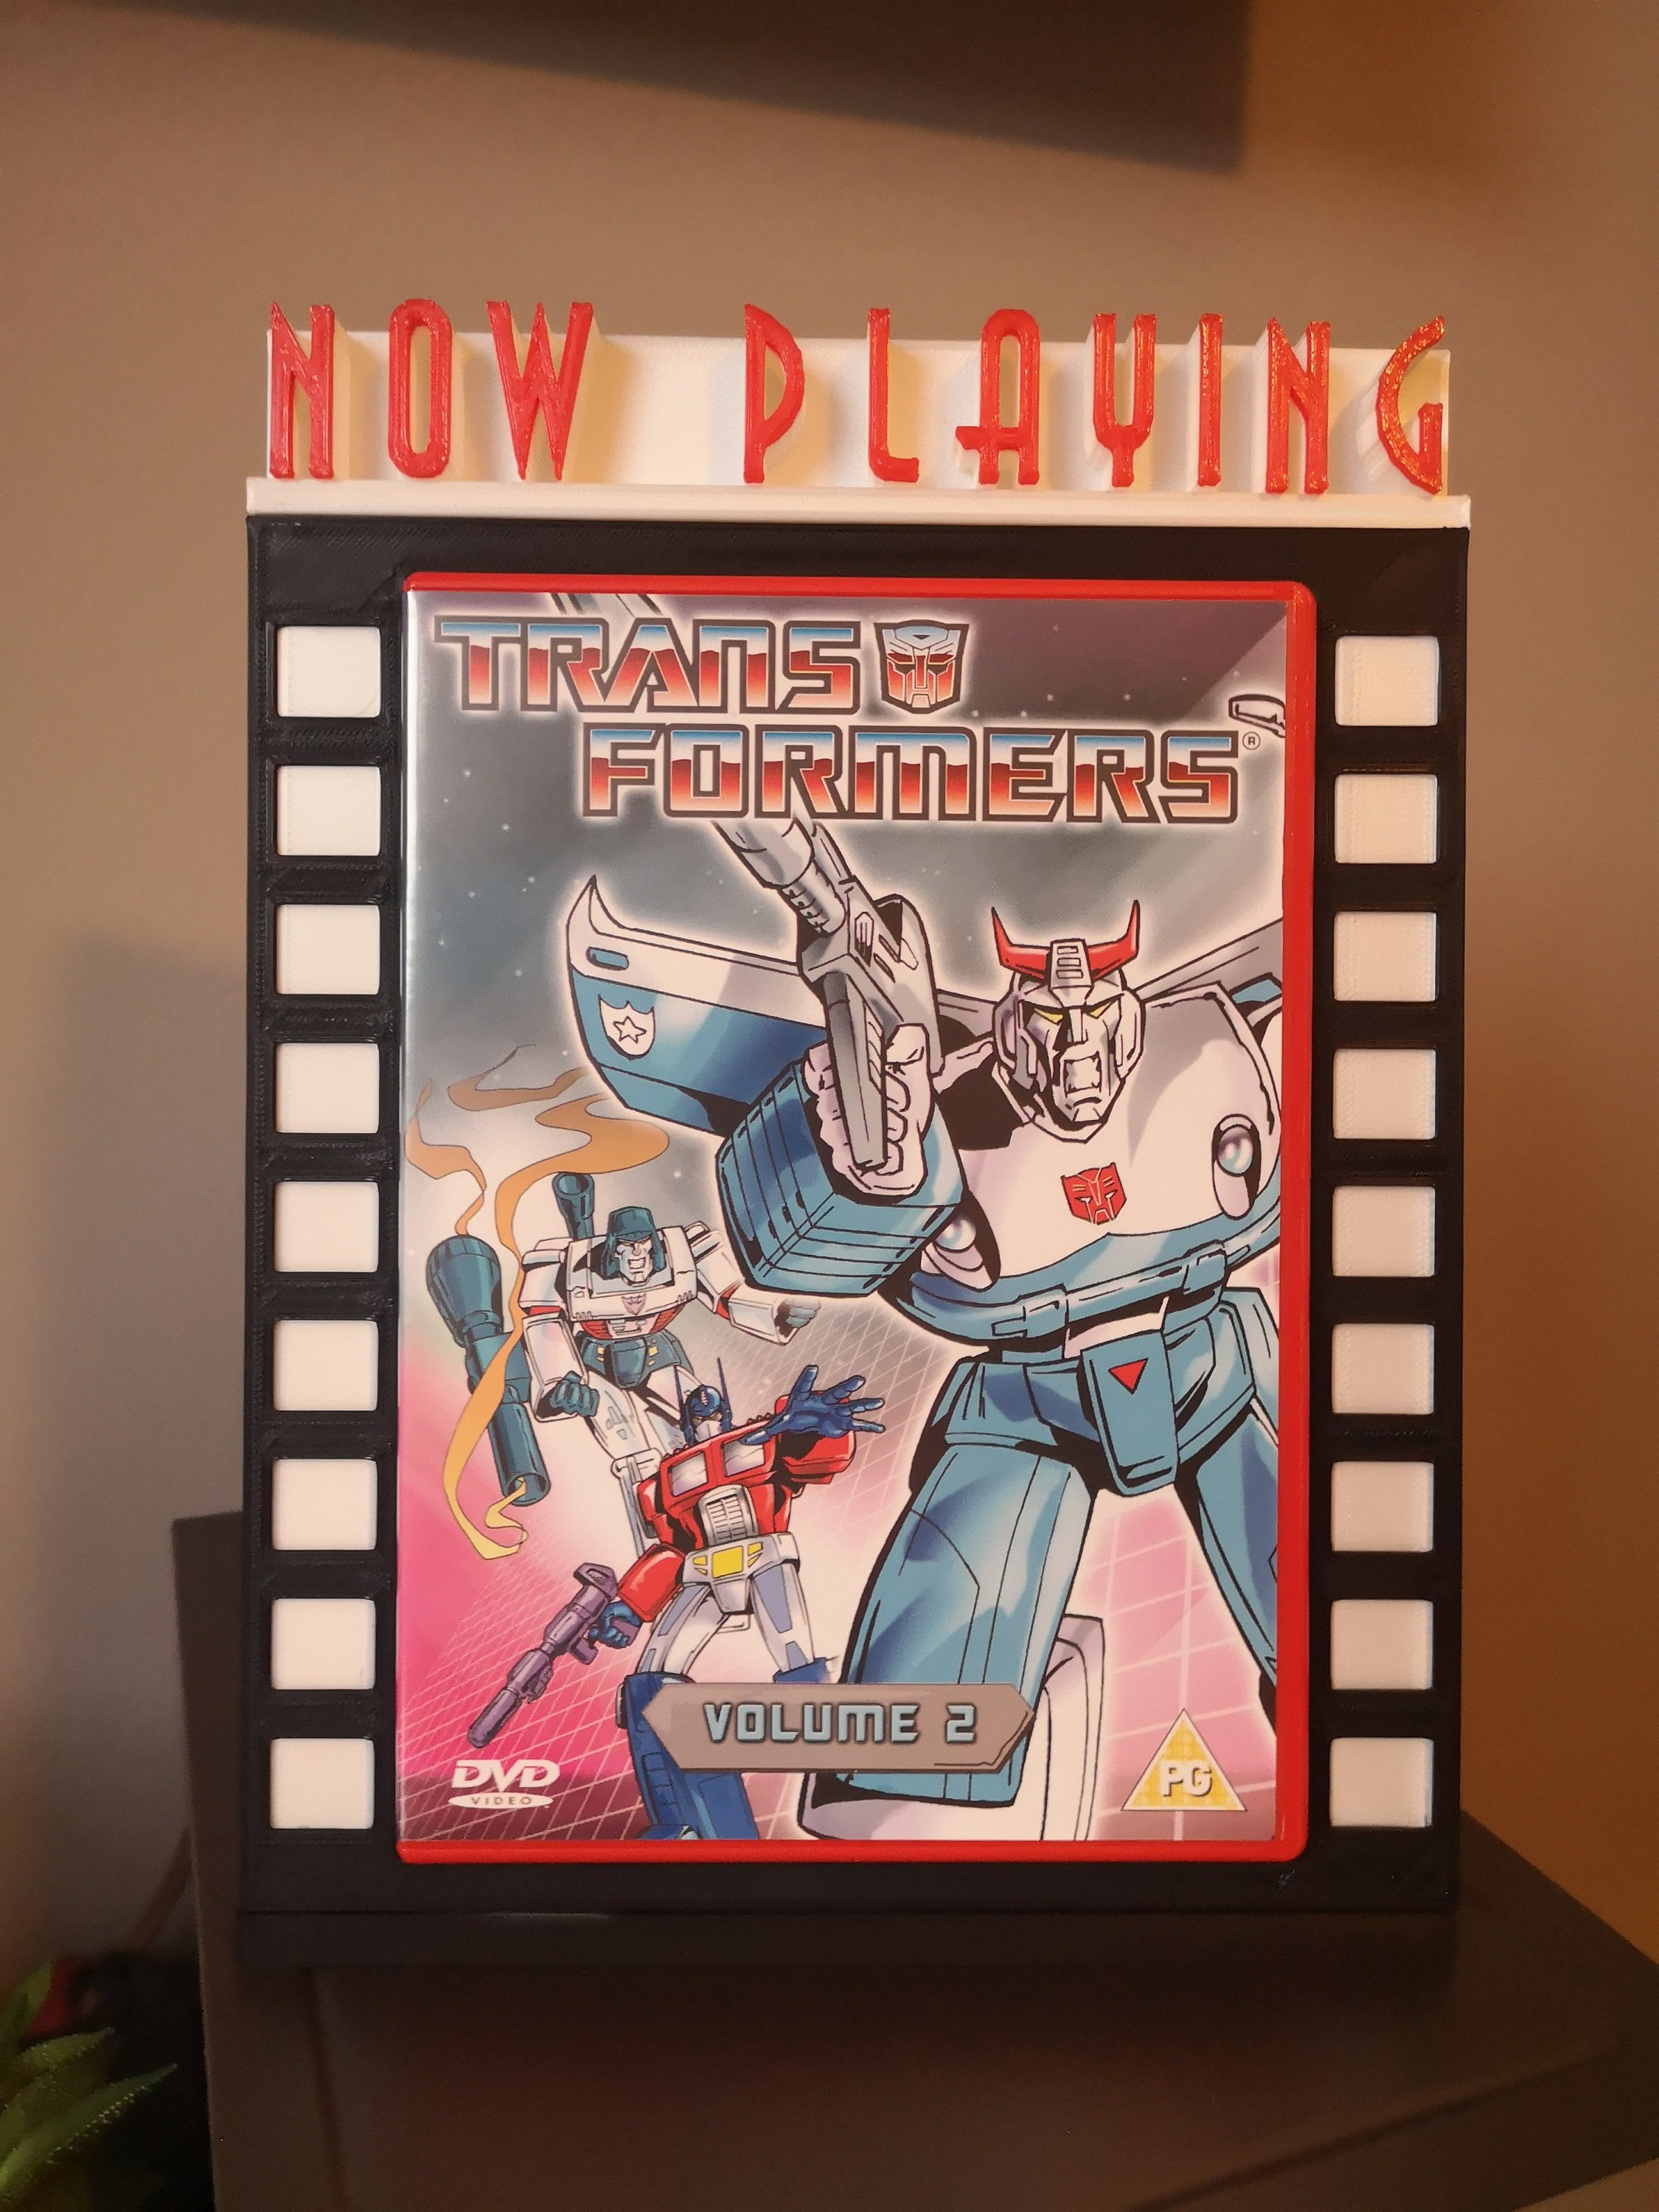
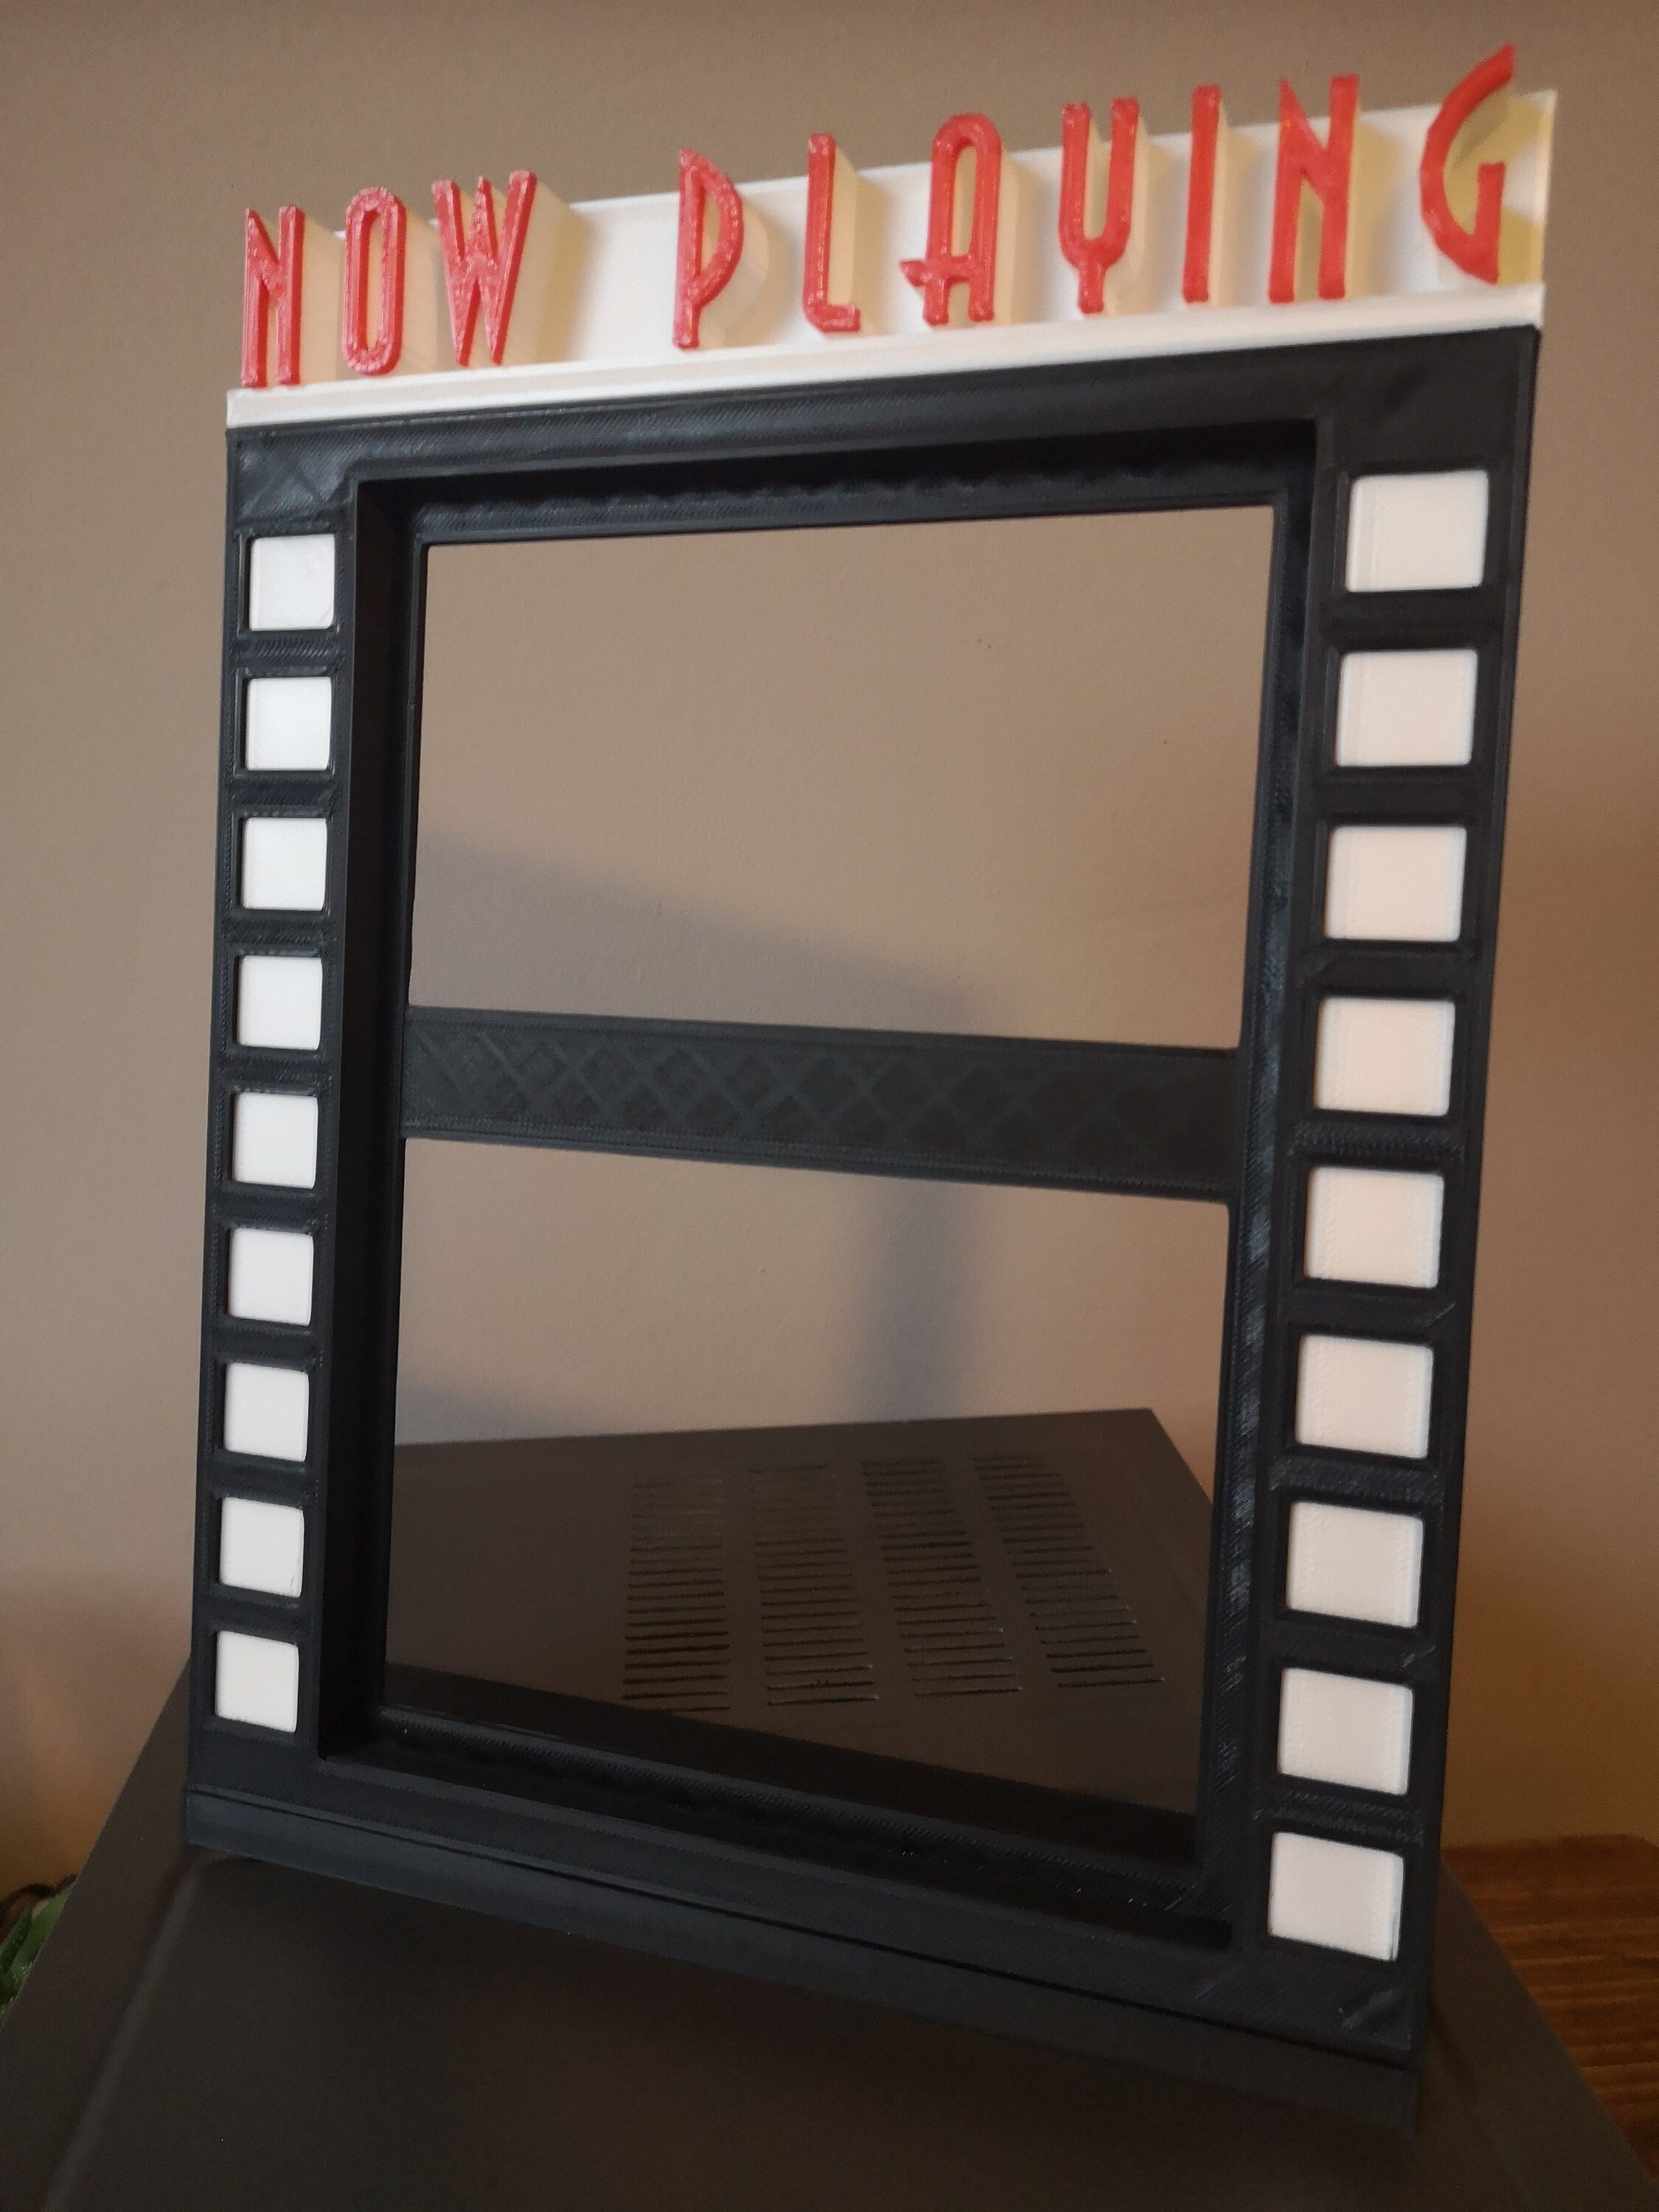
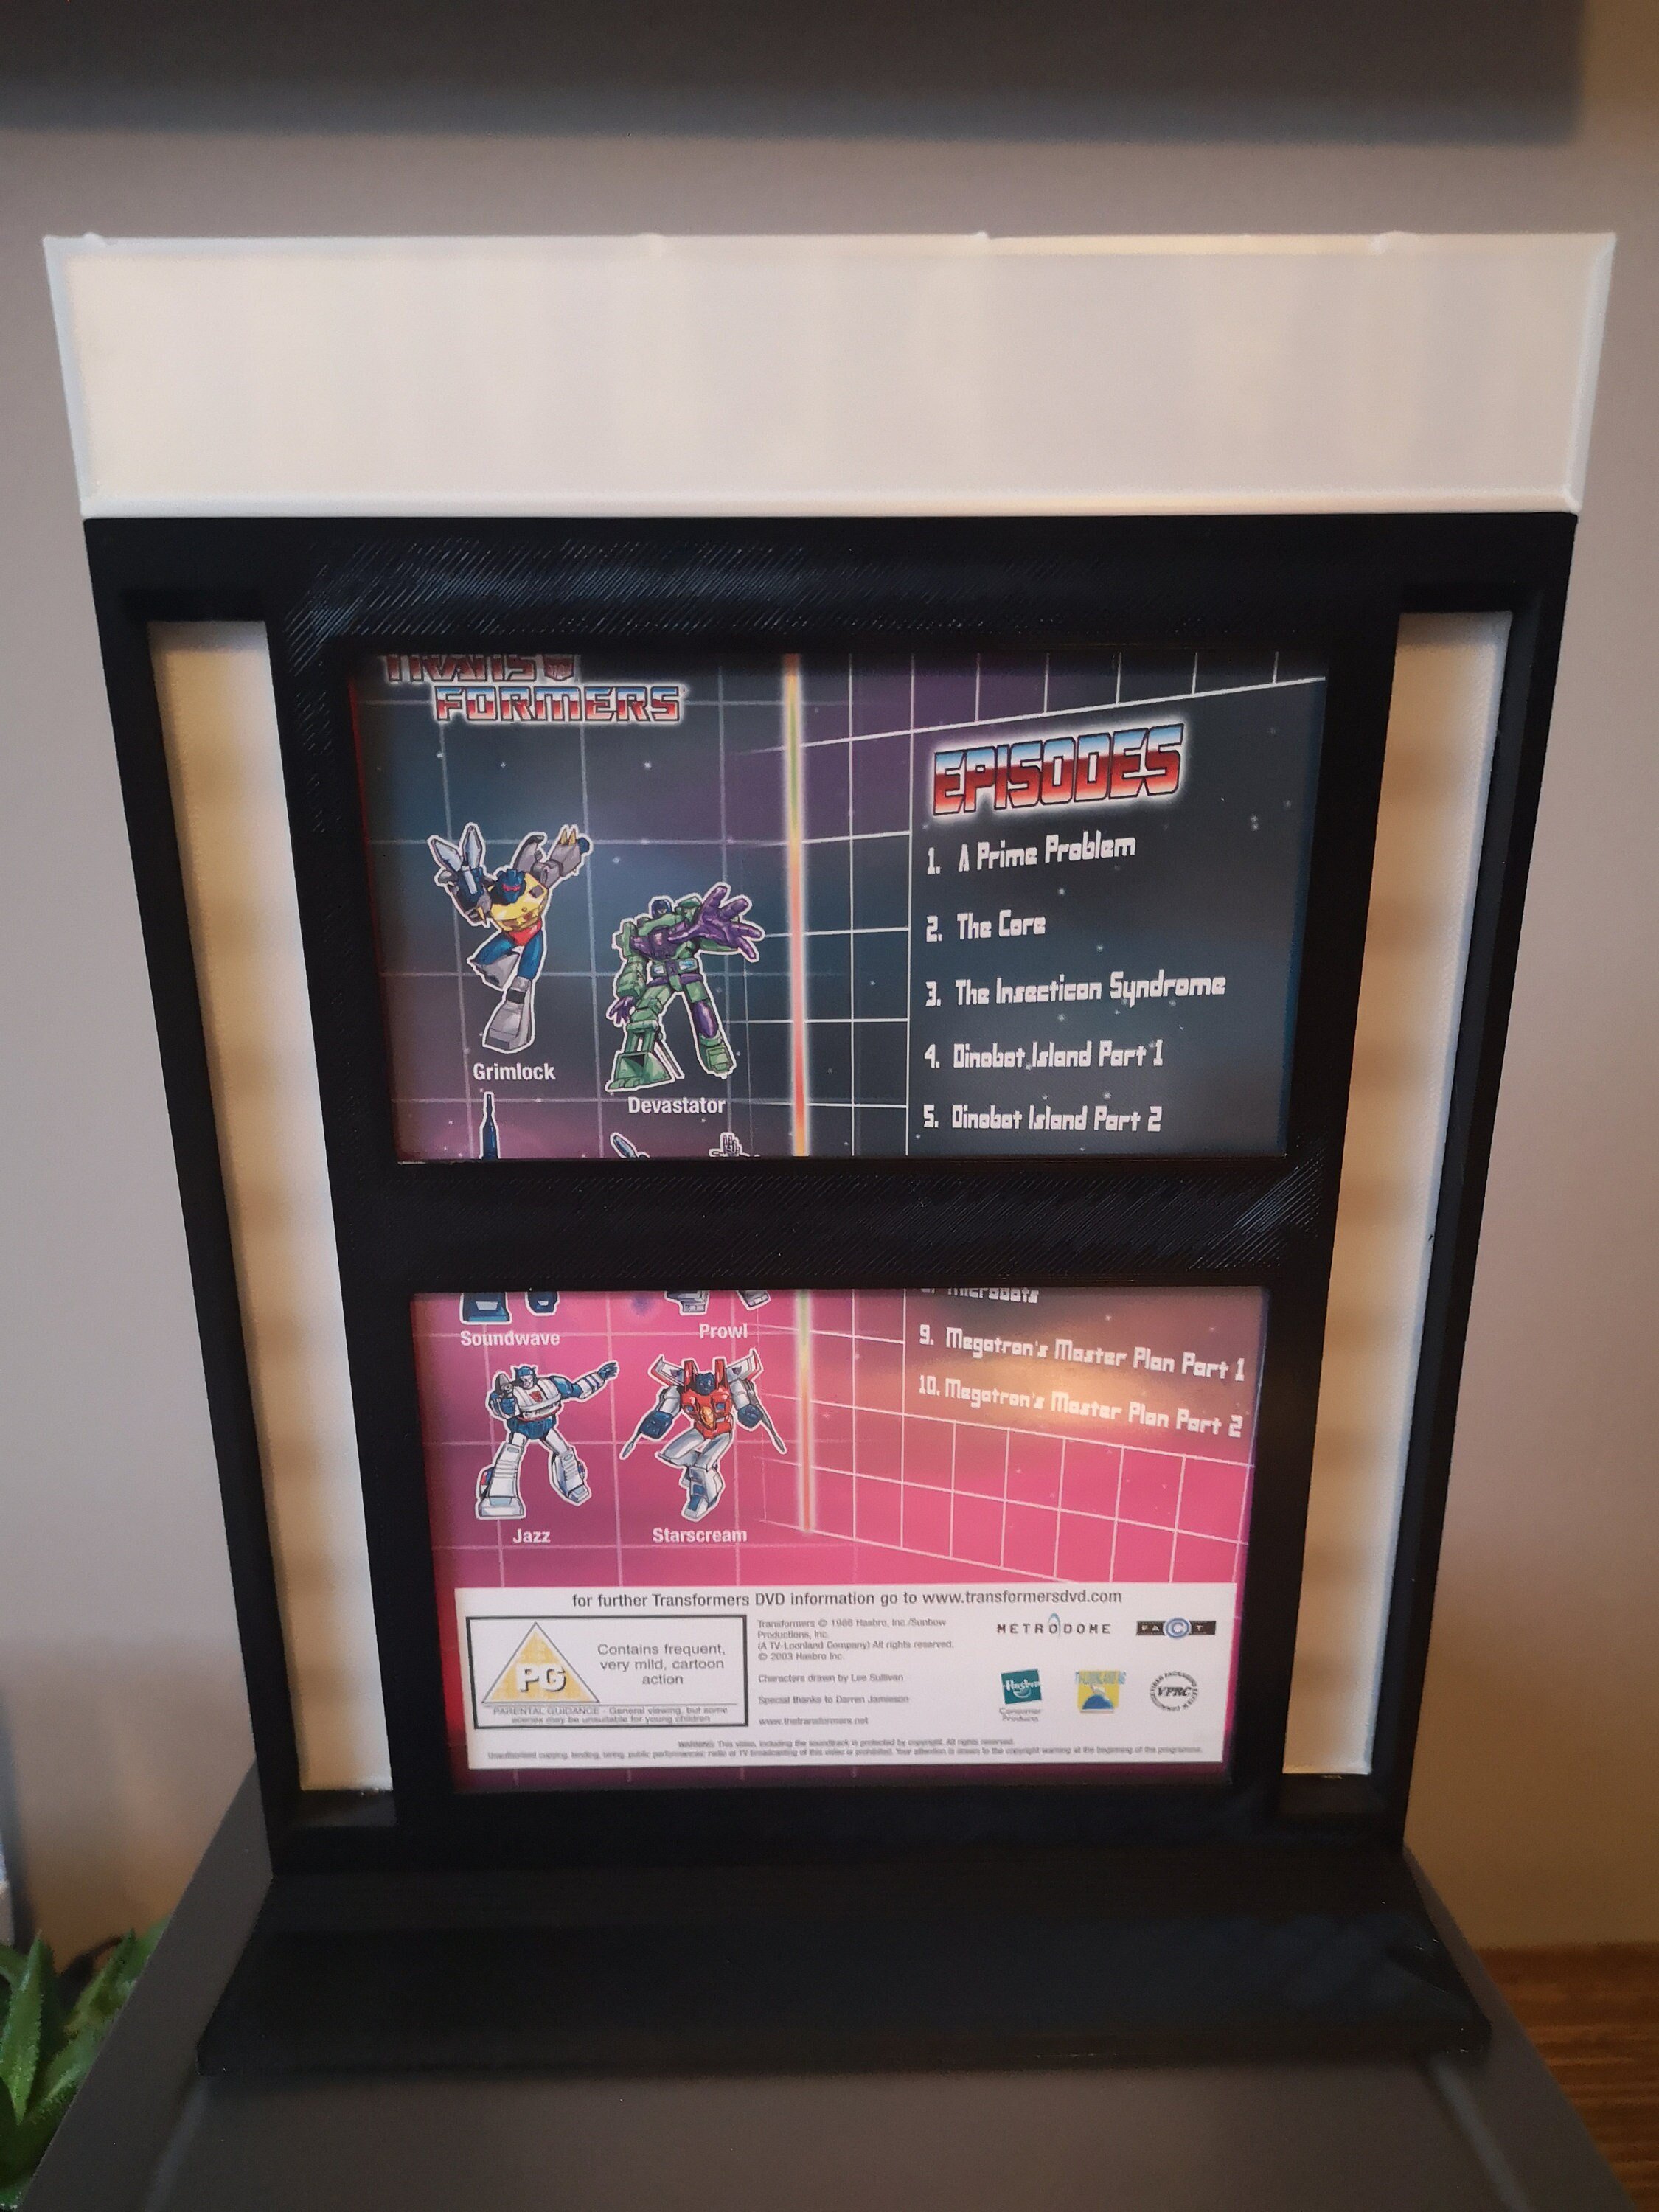
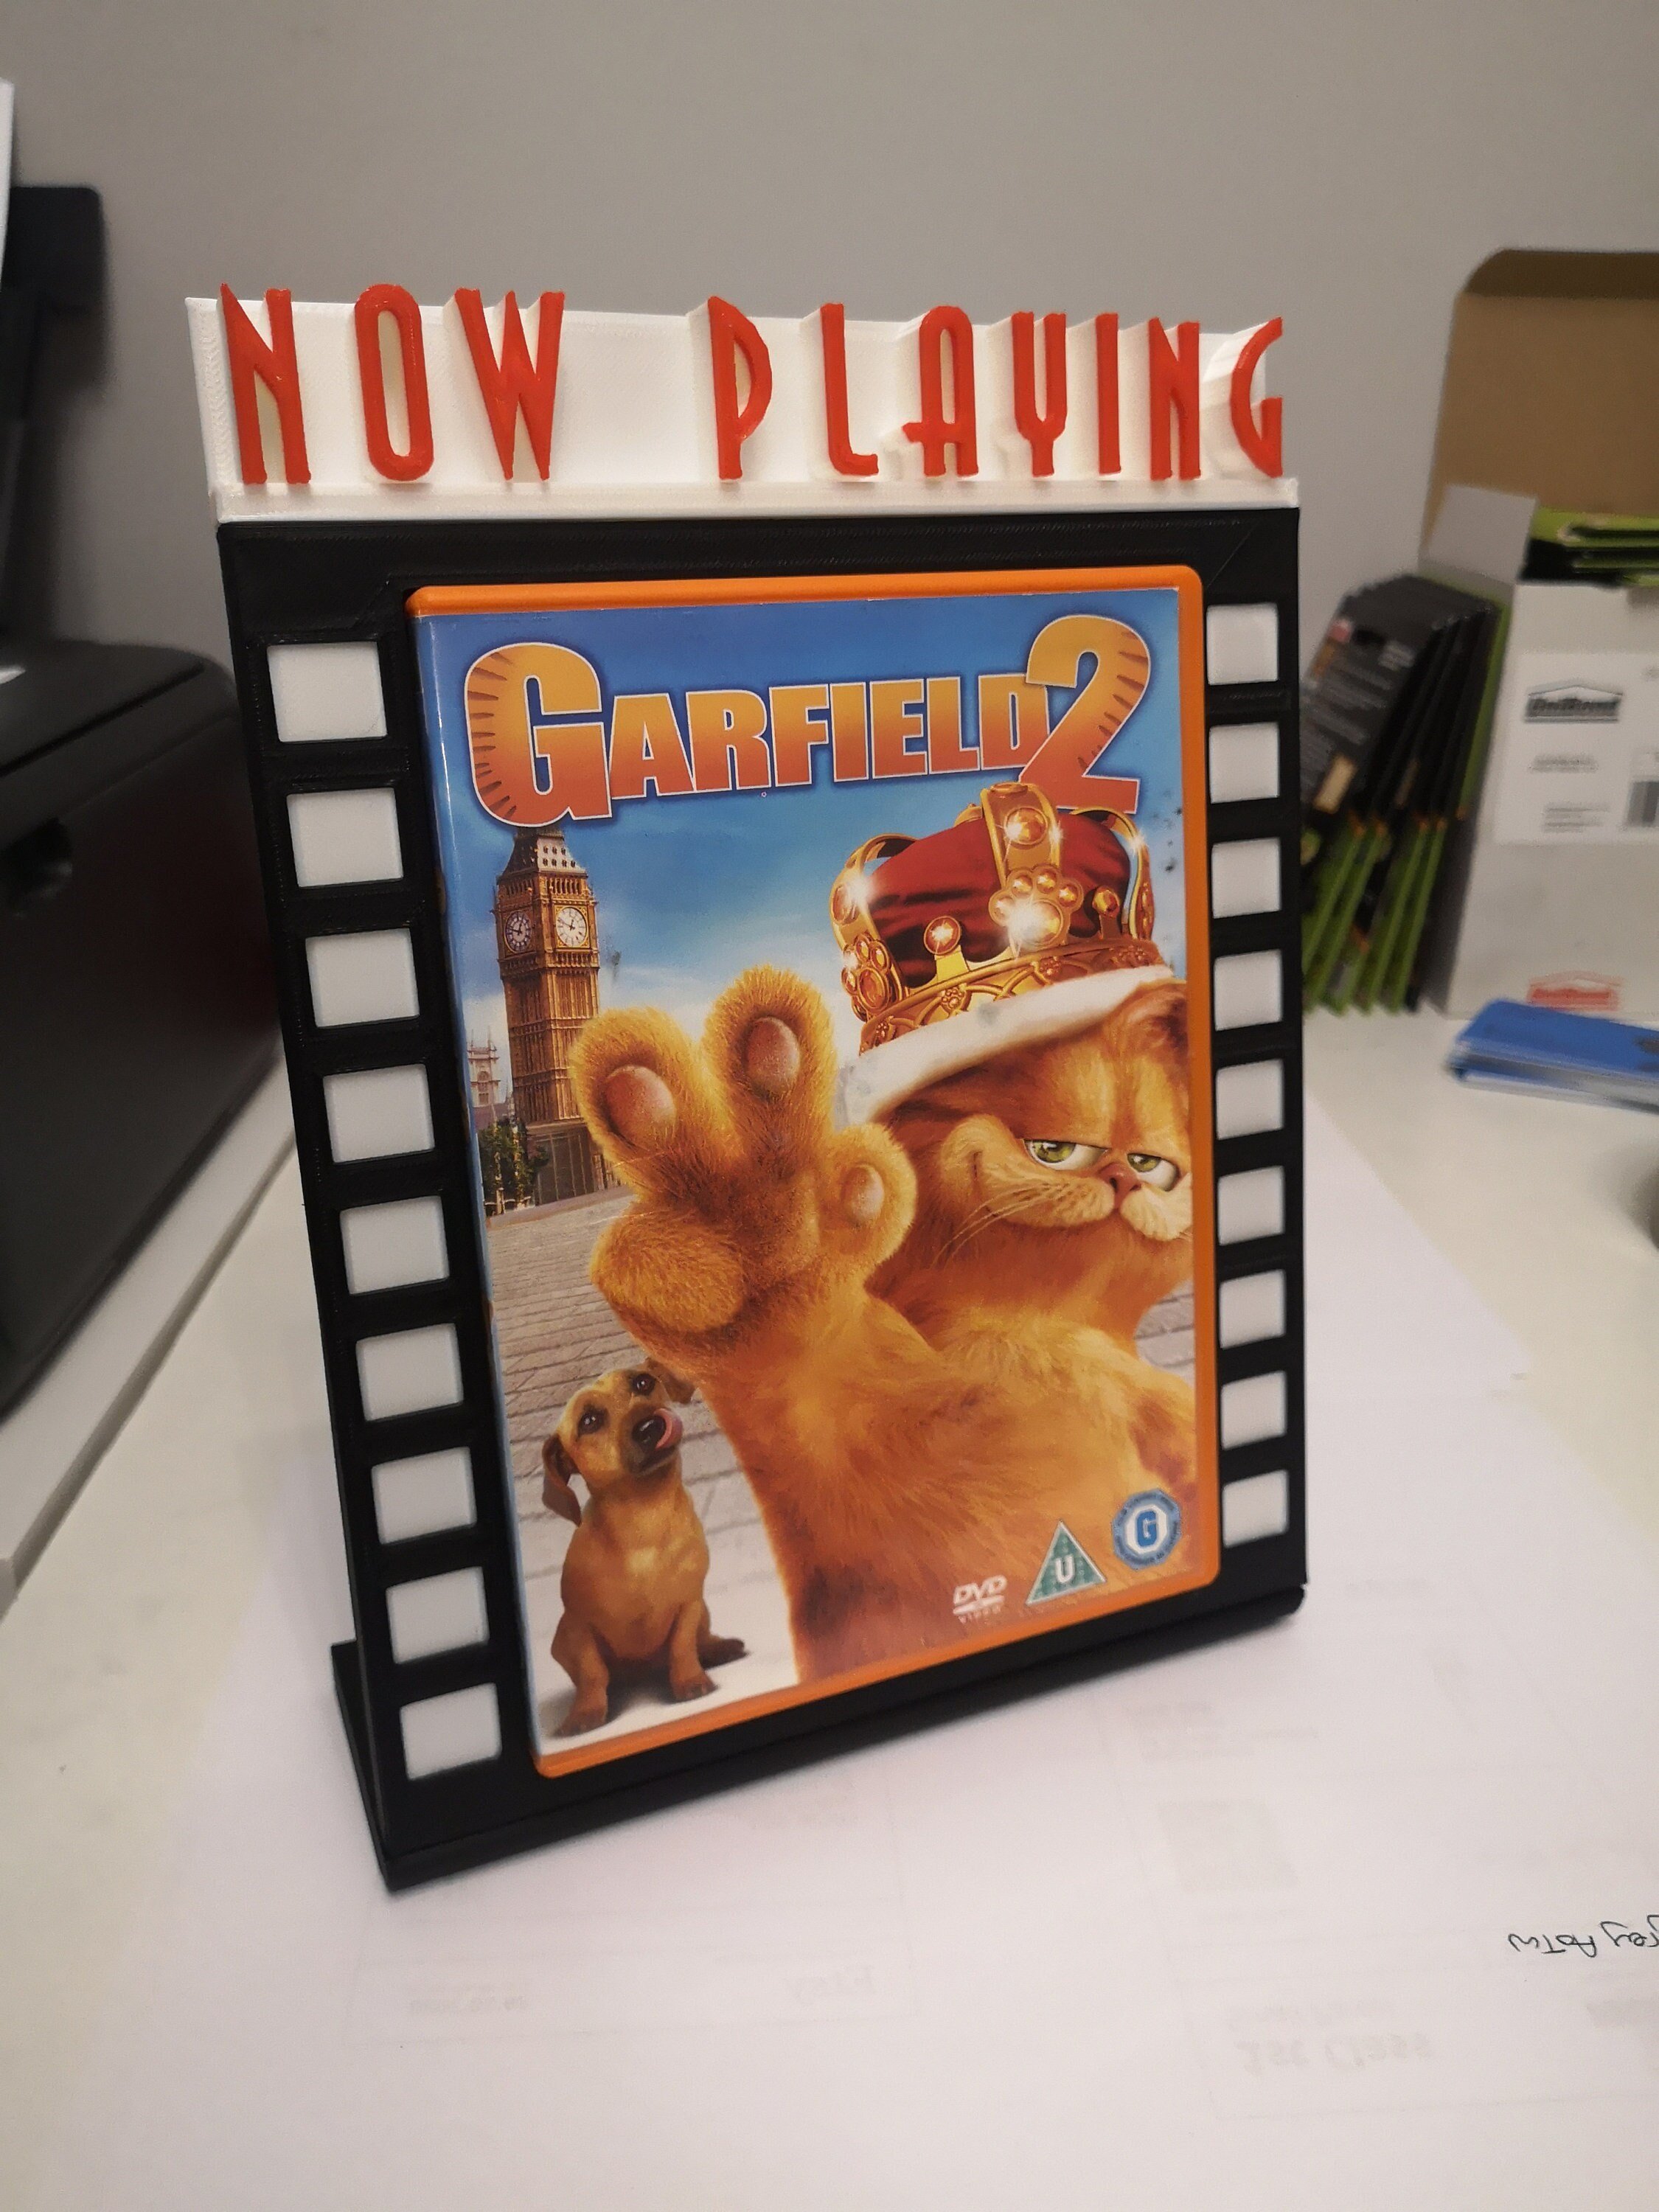
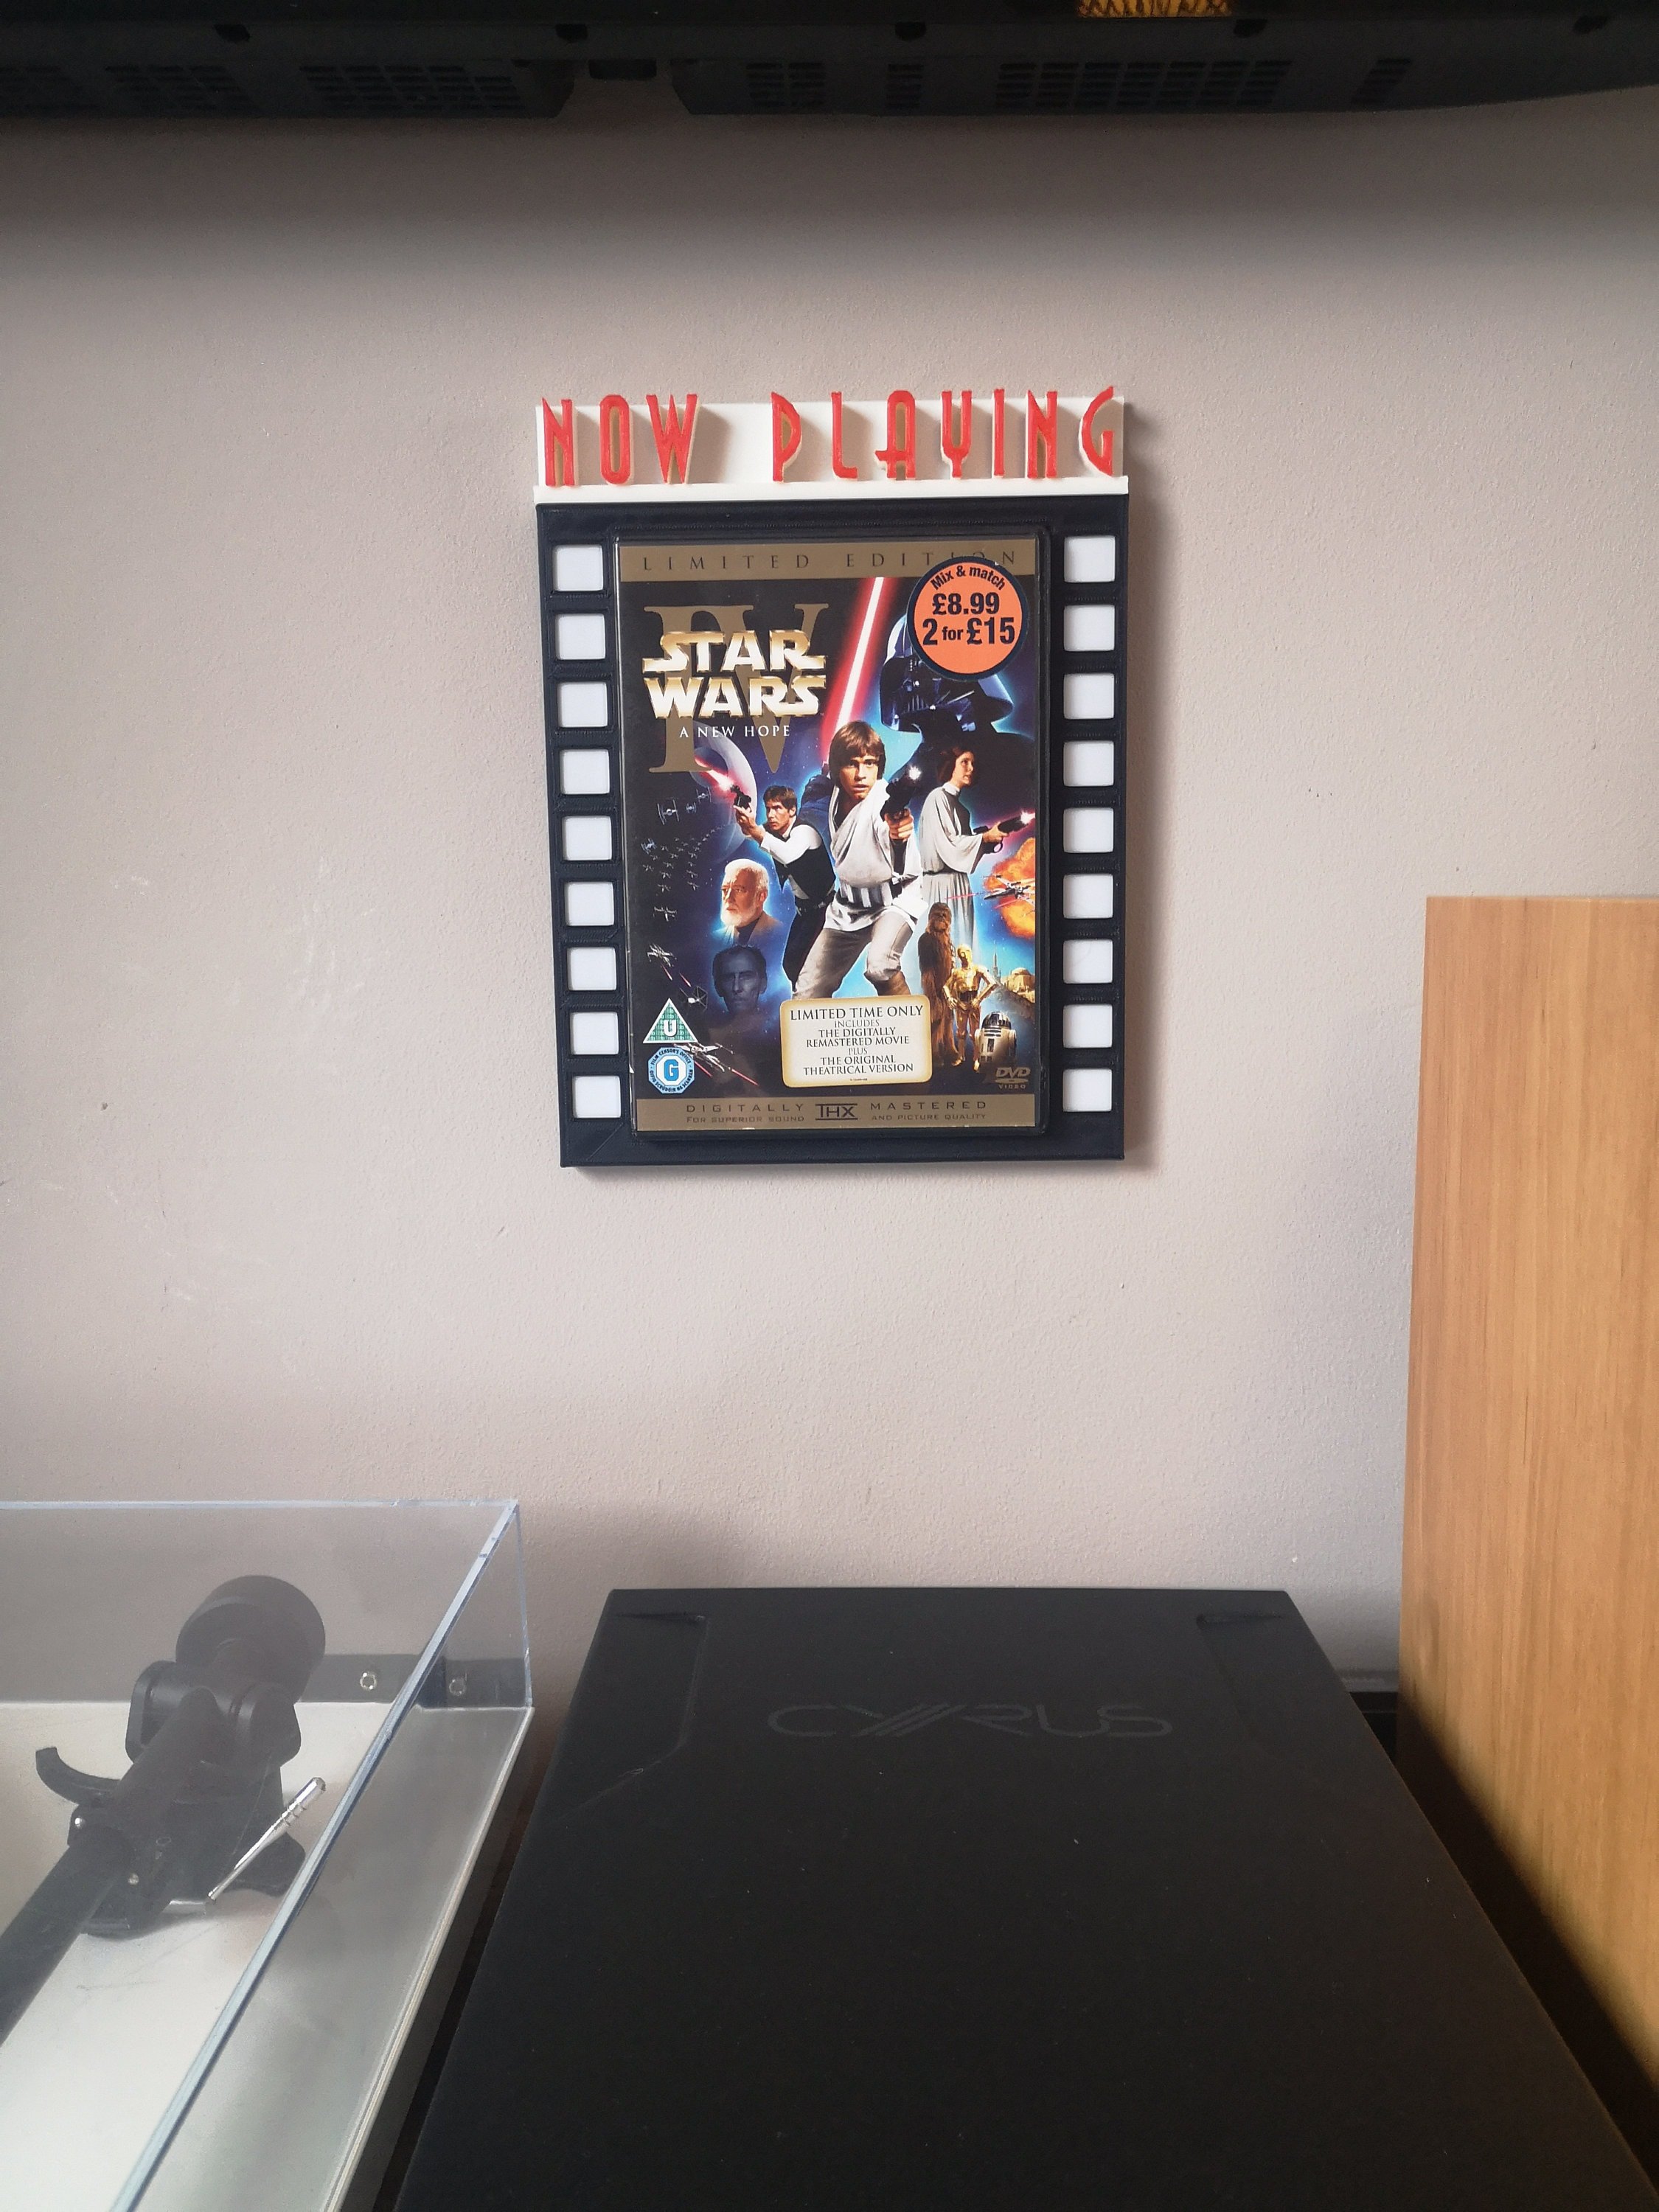
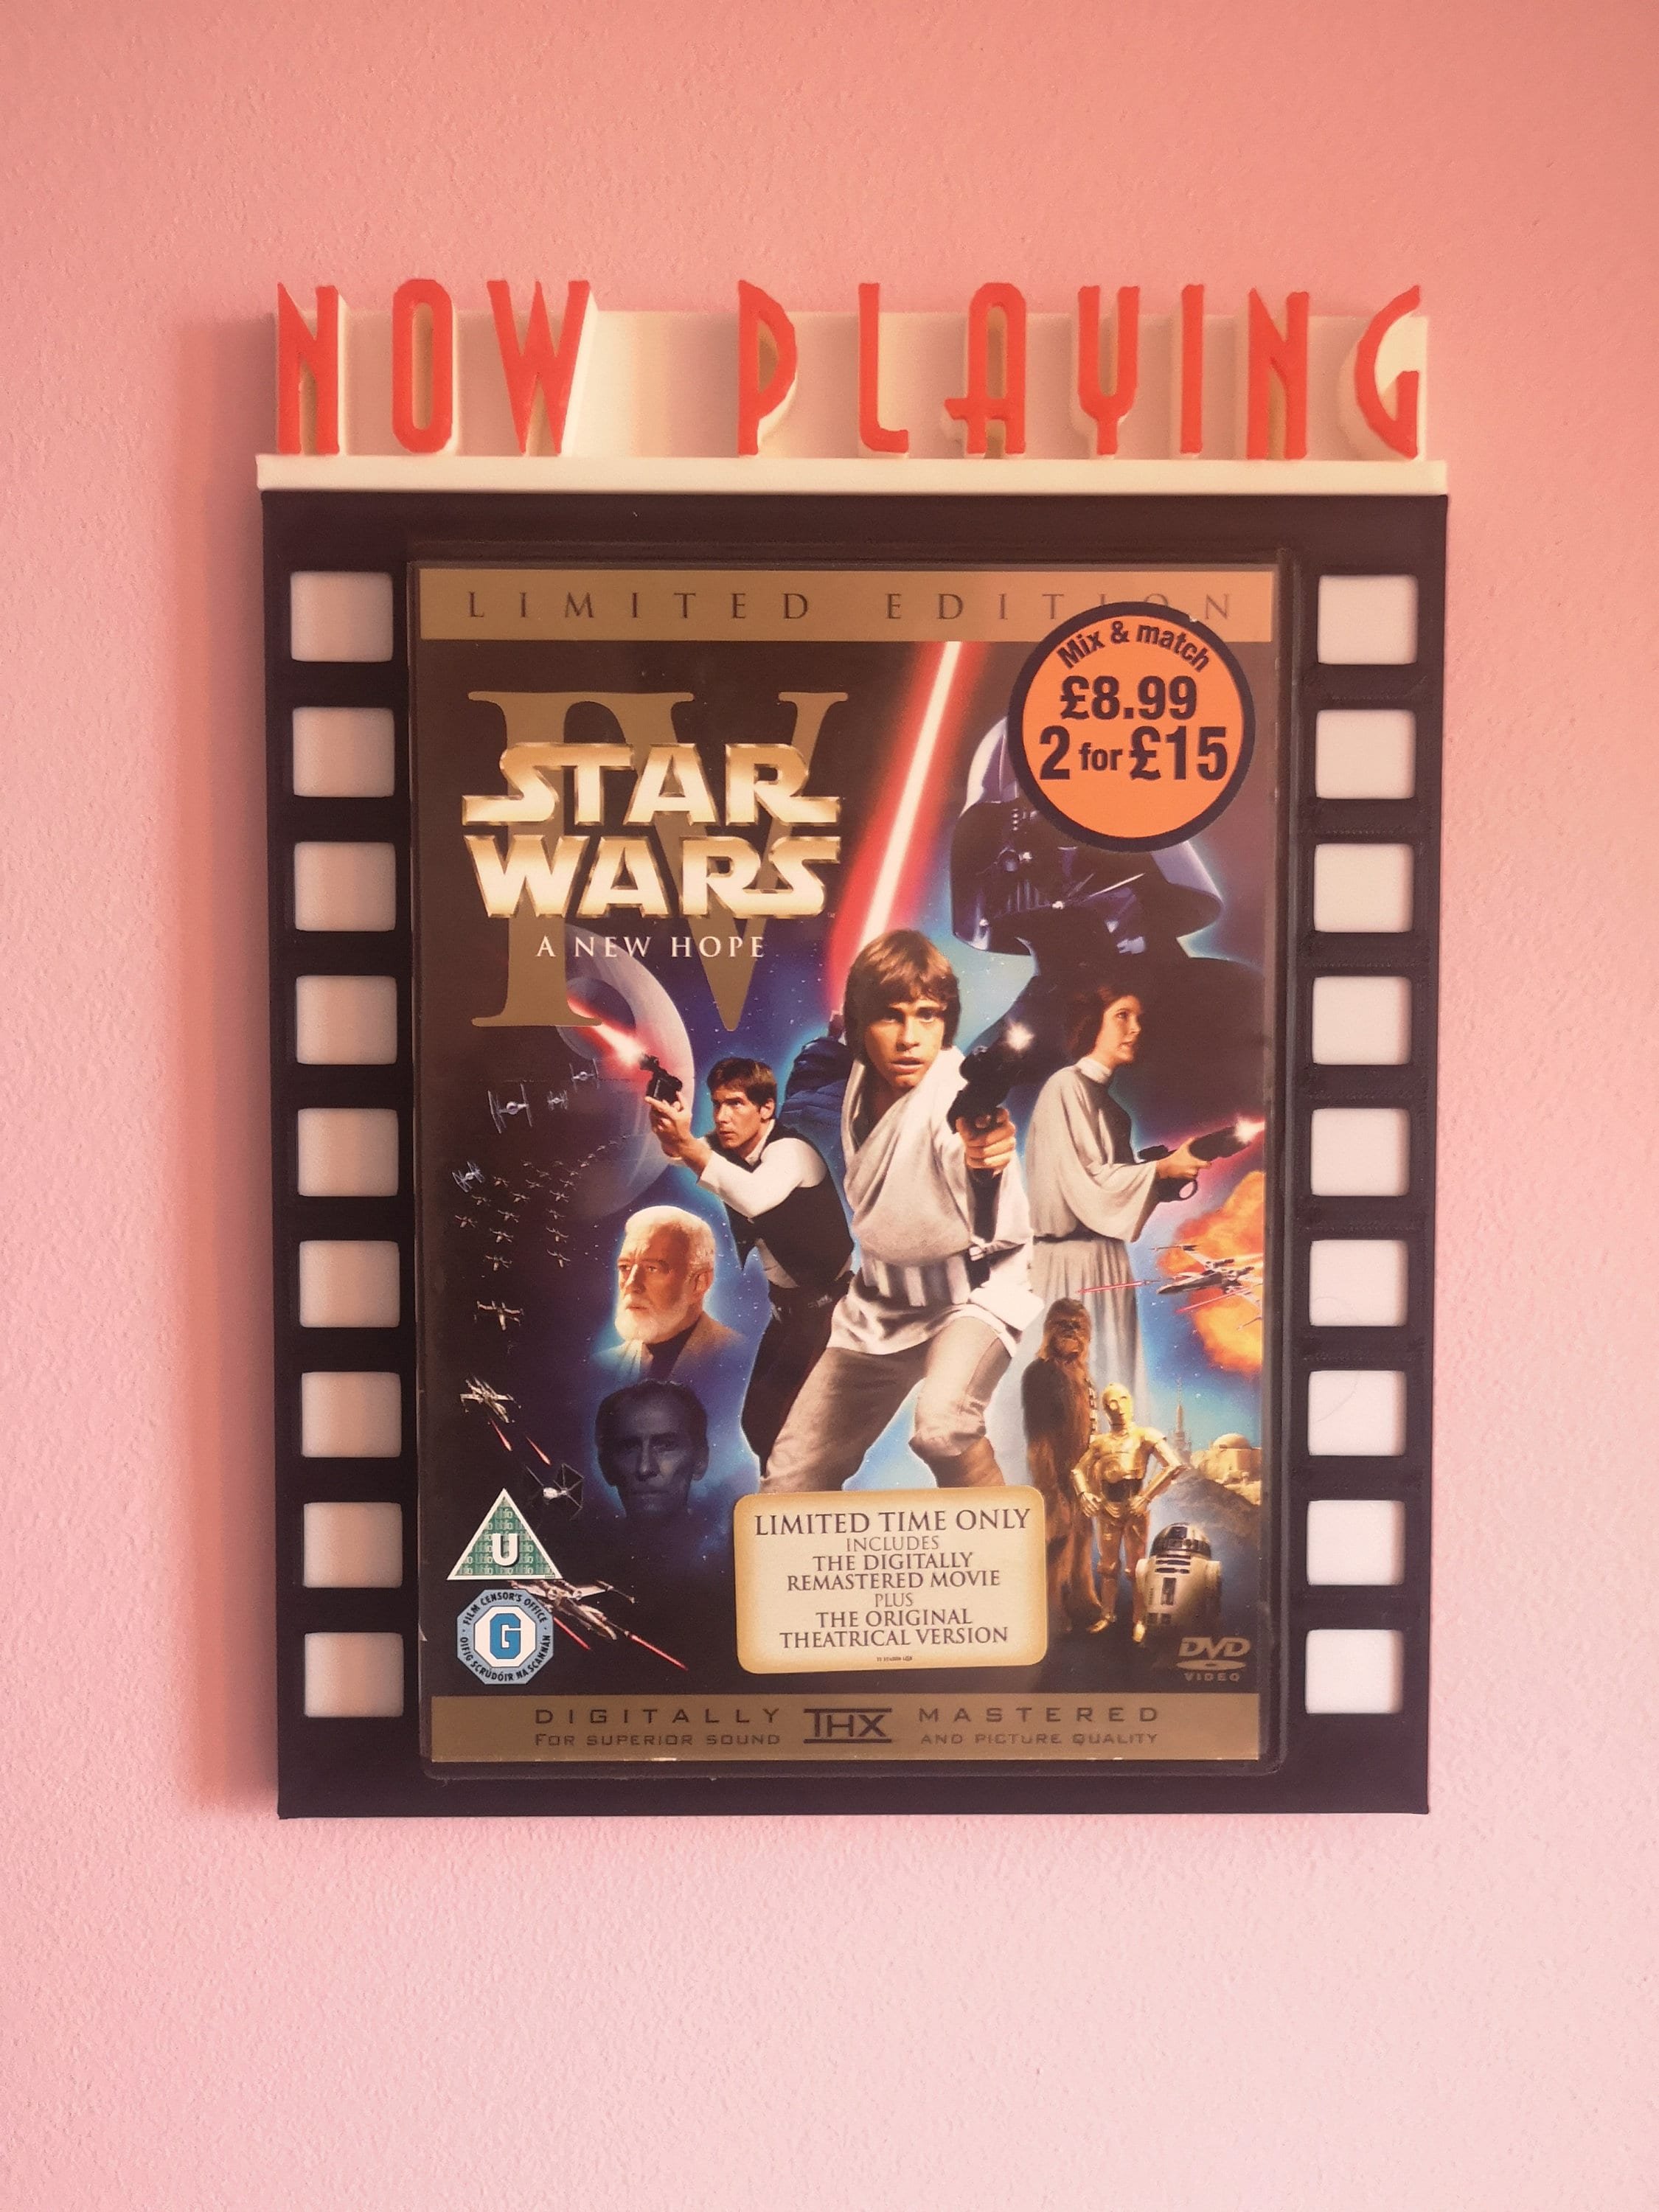
Display your CDs on your wall with these CD shelves, 3d printed to order in a range of colours. Why not combine them with a Now Playing or Now Spinning stand or shelf, also available in my shop, and put your current album on show?
Select as many as you want from the dropdown, in multiples of 1, 4, 6, 9 or 16.
There are two versions depending on your preference, but either should be fine as long as you follow the instructions.
Why buy these ones?
* Sympathetic design - the CD's the star.
* No visible screws, even on the ones that use screws.
* Free UK delivery and subsidised postage overseas, so you don't pay over the odds.
* High quality.
* A whole range of colours.
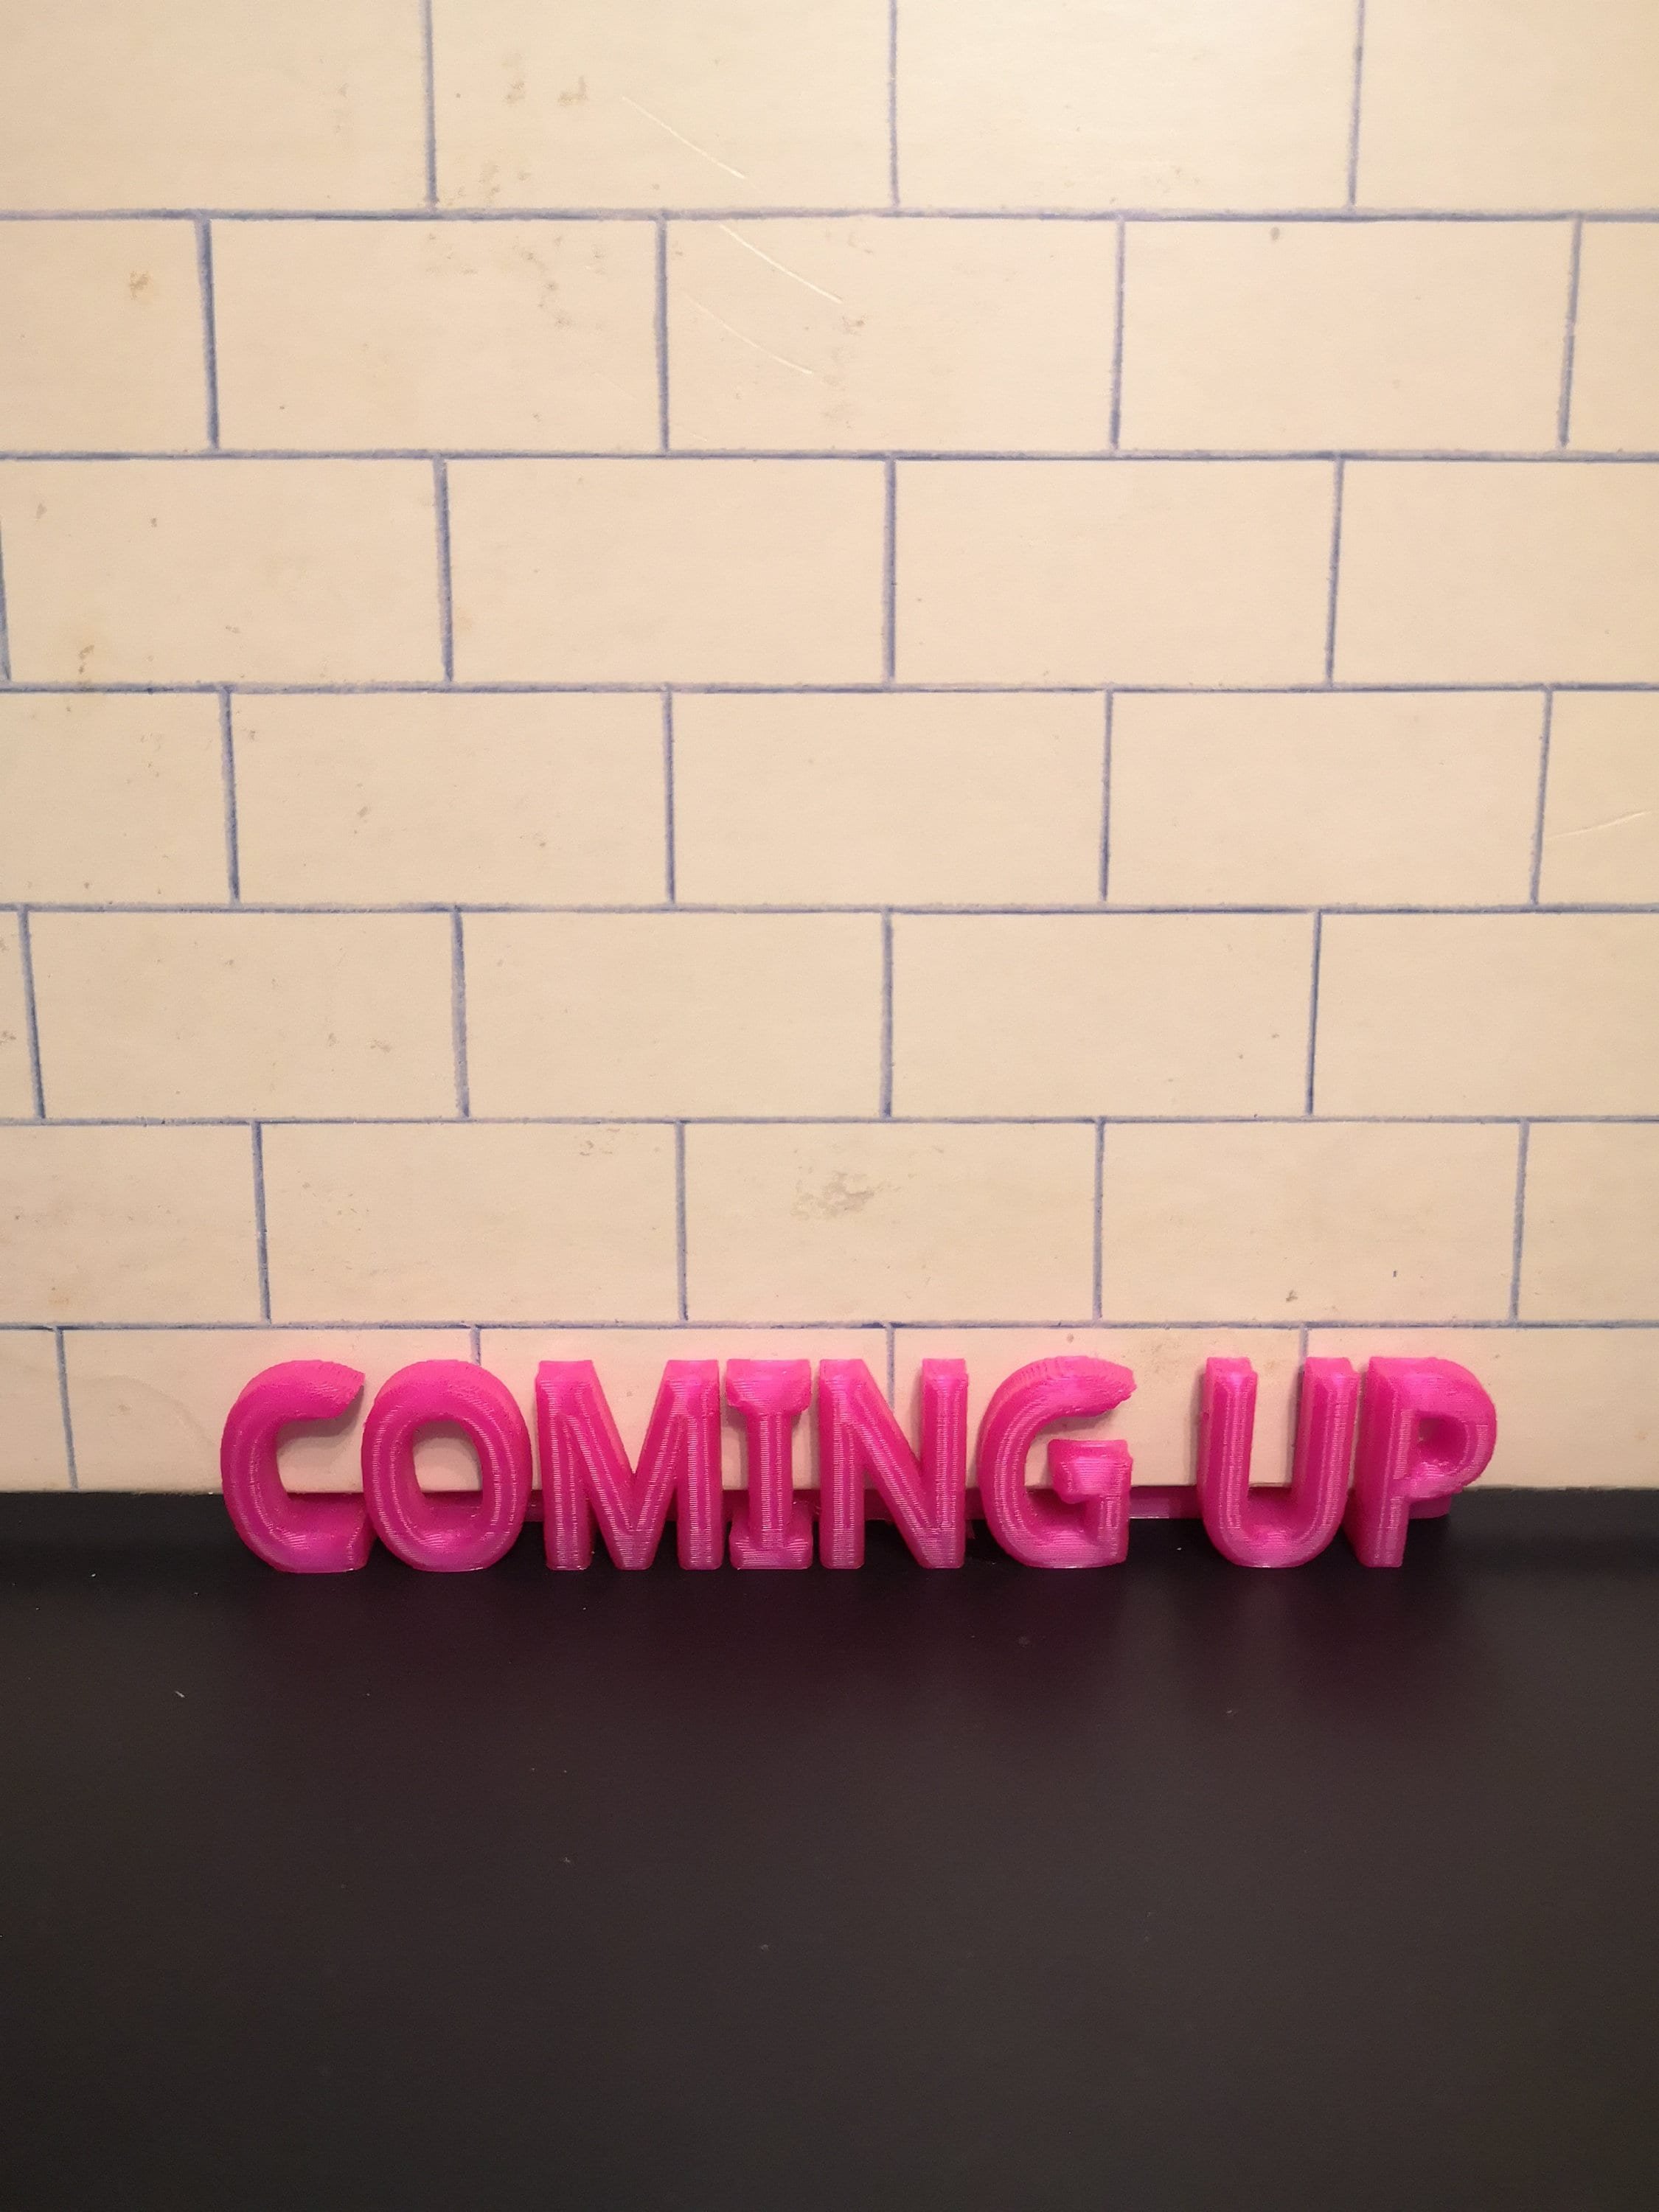
* I also have Now Playing stands and dividers available, among other things, so why not combine your order?
(Please read below for more info, including fitting instructions.)
-------
Every order will include the right number of screws and rawlplugs or 3M Command Strips to hang them.
(If you can't drill but want to be able to put heavier things on them, I can include strips of VHB tape instead. This is very high bonding tape (VHB) and once stuck you won't get them off without a hammer and chisel. If that's what you want, place an order for tab-mounted and just add a note to your order that you want VHB tape.)
The shelves are deep enough to hold a standard single CD jewel case. A double will work, but I would only put one of those on the screw-mounted version, not the sticky tab mounted one.
-------
FITTING INSTRUCTIONS
For an even spacing, measure out a grid with dots 7" apart both horizontally and vertically, and place a shelf at each dot. This will ensure a 1" gap between CDs. For a smaller gap, make the dots closer together; for larger make them further apart.
To fit the screw-mounted ones:
1. Drill a hole using a 6mm bit and insert the rawlplug (or if you're drilling into wood just drill a 2 or 3mm pilot hole and don't use the rawplug).
2. Screw in the screw until the face is 5mm from the wall or surface.
3. Place the hole in the back of the shelf over the screw and then push down gently on the back with a hand on each side to slot it on fully. (You'll see a faint circle on the front to help you see where the slot is on the back.)
4. Check it's fitted properly. It should be snug and if done right the shelf won't move unless you pull it. If it's not quite snug enough, remove it and adjust the screw slightly. Please only use the screws provided. I've made the slot on the shelf the right size to ensure it fits those screws to keep your records safe. (If you need new screws for whatever reason just let me know and I'll send you some.)
To fit the sticky tab version:
1. Clean the back of the shelf and the wall with an alcohol wipe or rubbing alcohol.
2. Ensure the wall is clean and free of dust, is painted (not wall-papered) and is not flaking, and is flat - not textured like artex. If you need to clean it or the shelf, do so with alcohol.
3. Place the sticky tab on the back of the shelf, ensuring it only attaches to the flat surface and doesn't overhang. If the strip has a tab to pull for removal, place the strip near the top of the shelf so that the tab will be hidden behind whatever sleeve you put on the shelf.
4. Remove the backing strip and press firmly with both hands on the back surface of the shelf only.
5. Leave it at least a few hours before putting anything on it and check that it's stuck firmly and flat, and hasn't come away at the edges or corners. The sticky strips are rated to hold 800g so they will be fine with a CD in its case.
Remember, if you need to you can use two shelves either side by side or top and bottom. Please note: I'm including the Command Strips free of charge, but I can't take responsibility for how you put them up. I've tested them, and I've had lots of happy customers, but if you don't put them up properly or the surface you're sticking them to isn't appropriate, they will fall down risking damage to your CDs. They need to be stuck to a well-painted, smooth (non-textured, painted, not wall-papered), clean wall.
Once fitted, for either type, please make sure your CD case is centred on the shelf so it doesn't slide off the side. The shelves are small so as to be unobtrusive, which means the CD can't be on all wonky.
-------
Any questions or issues please get in touch. I can do custom orders and I can offer discounts for large batches.
Thanks
Rob
Display your CDs on your wall with these CD shelves, 3d printed to order in a range of colours. Why not combine them with a Now Playing or Now Spinning stand or shelf, also available in my shop, and put your current album on show?
Select as many as you want from the dropdown, in multiples of 1, 4, 6, 9 or 16.
There are two versions depending on your preference, but either should be fine as long as you follow the instructions.
Why buy these ones?
* Sympathetic design - the CD's the star.
* No visible screws, even on the ones that use screws.
* Free UK delivery and subsidised postage overseas, so you don't pay over the odds.
* High quality.
* A whole range of colours.
* I also have Now Playing stands and dividers available, among other things, so why not combine your order?
(Please read below for more info, including fitting instructions.)
-------
Every order will include the right number of screws and rawlplugs or 3M Command Strips to hang them.
(If you can't drill but want to be able to put heavier things on them, I can include strips of VHB tape instead. This is very high bonding tape (VHB) and once stuck you won't get them off without a hammer and chisel. If that's what you want, place an order for tab-mounted and just add a note to your order that you want VHB tape.)
The shelves are deep enough to hold a standard single CD jewel case. A double will work, but I would only put one of those on the screw-mounted version, not the sticky tab mounted one.
-------
FITTING INSTRUCTIONS
For an even spacing, measure out a grid with dots 7" apart both horizontally and vertically, and place a shelf at each dot. This will ensure a 1" gap between CDs. For a smaller gap, make the dots closer together; for larger make them further apart.
To fit the screw-mounted ones:
1. Drill a hole using a 6mm bit and insert the rawlplug (or if you're drilling into wood just drill a 2 or 3mm pilot hole and don't use the rawplug).
2. Screw in the screw until the face is 5mm from the wall or surface.
3. Place the hole in the back of the shelf over the screw and then push down gently on the back with a hand on each side to slot it on fully. (You'll see a faint circle on the front to help you see where the slot is on the back.)
4. Check it's fitted properly. It should be snug and if done right the shelf won't move unless you pull it. If it's not quite snug enough, remove it and adjust the screw slightly. Please only use the screws provided. I've made the slot on the shelf the right size to ensure it fits those screws to keep your records safe. (If you need new screws for whatever reason just let me know and I'll send you some.)
To fit the sticky tab version:
1. Clean the back of the shelf and the wall with an alcohol wipe or rubbing alcohol.
2. Ensure the wall is clean and free of dust, is painted (not wall-papered) and is not flaking, and is flat - not textured like artex. If you need to clean it or the shelf, do so with alcohol.
3. Place the sticky tab on the back of the shelf, ensuring it only attaches to the flat surface and doesn't overhang. If the strip has a tab to pull for removal, place the strip near the top of the shelf so that the tab will be hidden behind whatever sleeve you put on the shelf.
4. Remove the backing strip and press firmly with both hands on the back surface of the shelf only.
5. Leave it at least a few hours before putting anything on it and check that it's stuck firmly and flat, and hasn't come away at the edges or corners. The sticky strips are rated to hold 800g so they will be fine with a CD in its case.
Remember, if you need to you can use two shelves either side by side or top and bottom. Please note: I'm including the Command Strips free of charge, but I can't take responsibility for how you put them up. I've tested them, and I've had lots of happy customers, but if you don't put them up properly or the surface you're sticking them to isn't appropriate, they will fall down risking damage to your CDs. They need to be stuck to a well-painted, smooth (non-textured, painted, not wall-papered), clean wall.
Once fitted, for either type, please make sure your CD case is centred on the shelf so it doesn't slide off the side. The shelves are small so as to be unobtrusive, which means the CD can't be on all wonky.
-------
Any questions or issues please get in touch. I can do custom orders and I can offer discounts for large batches.
Thanks
Rob

 Image 1 of 5
 Image 2 of 5
 Image 3 of 5
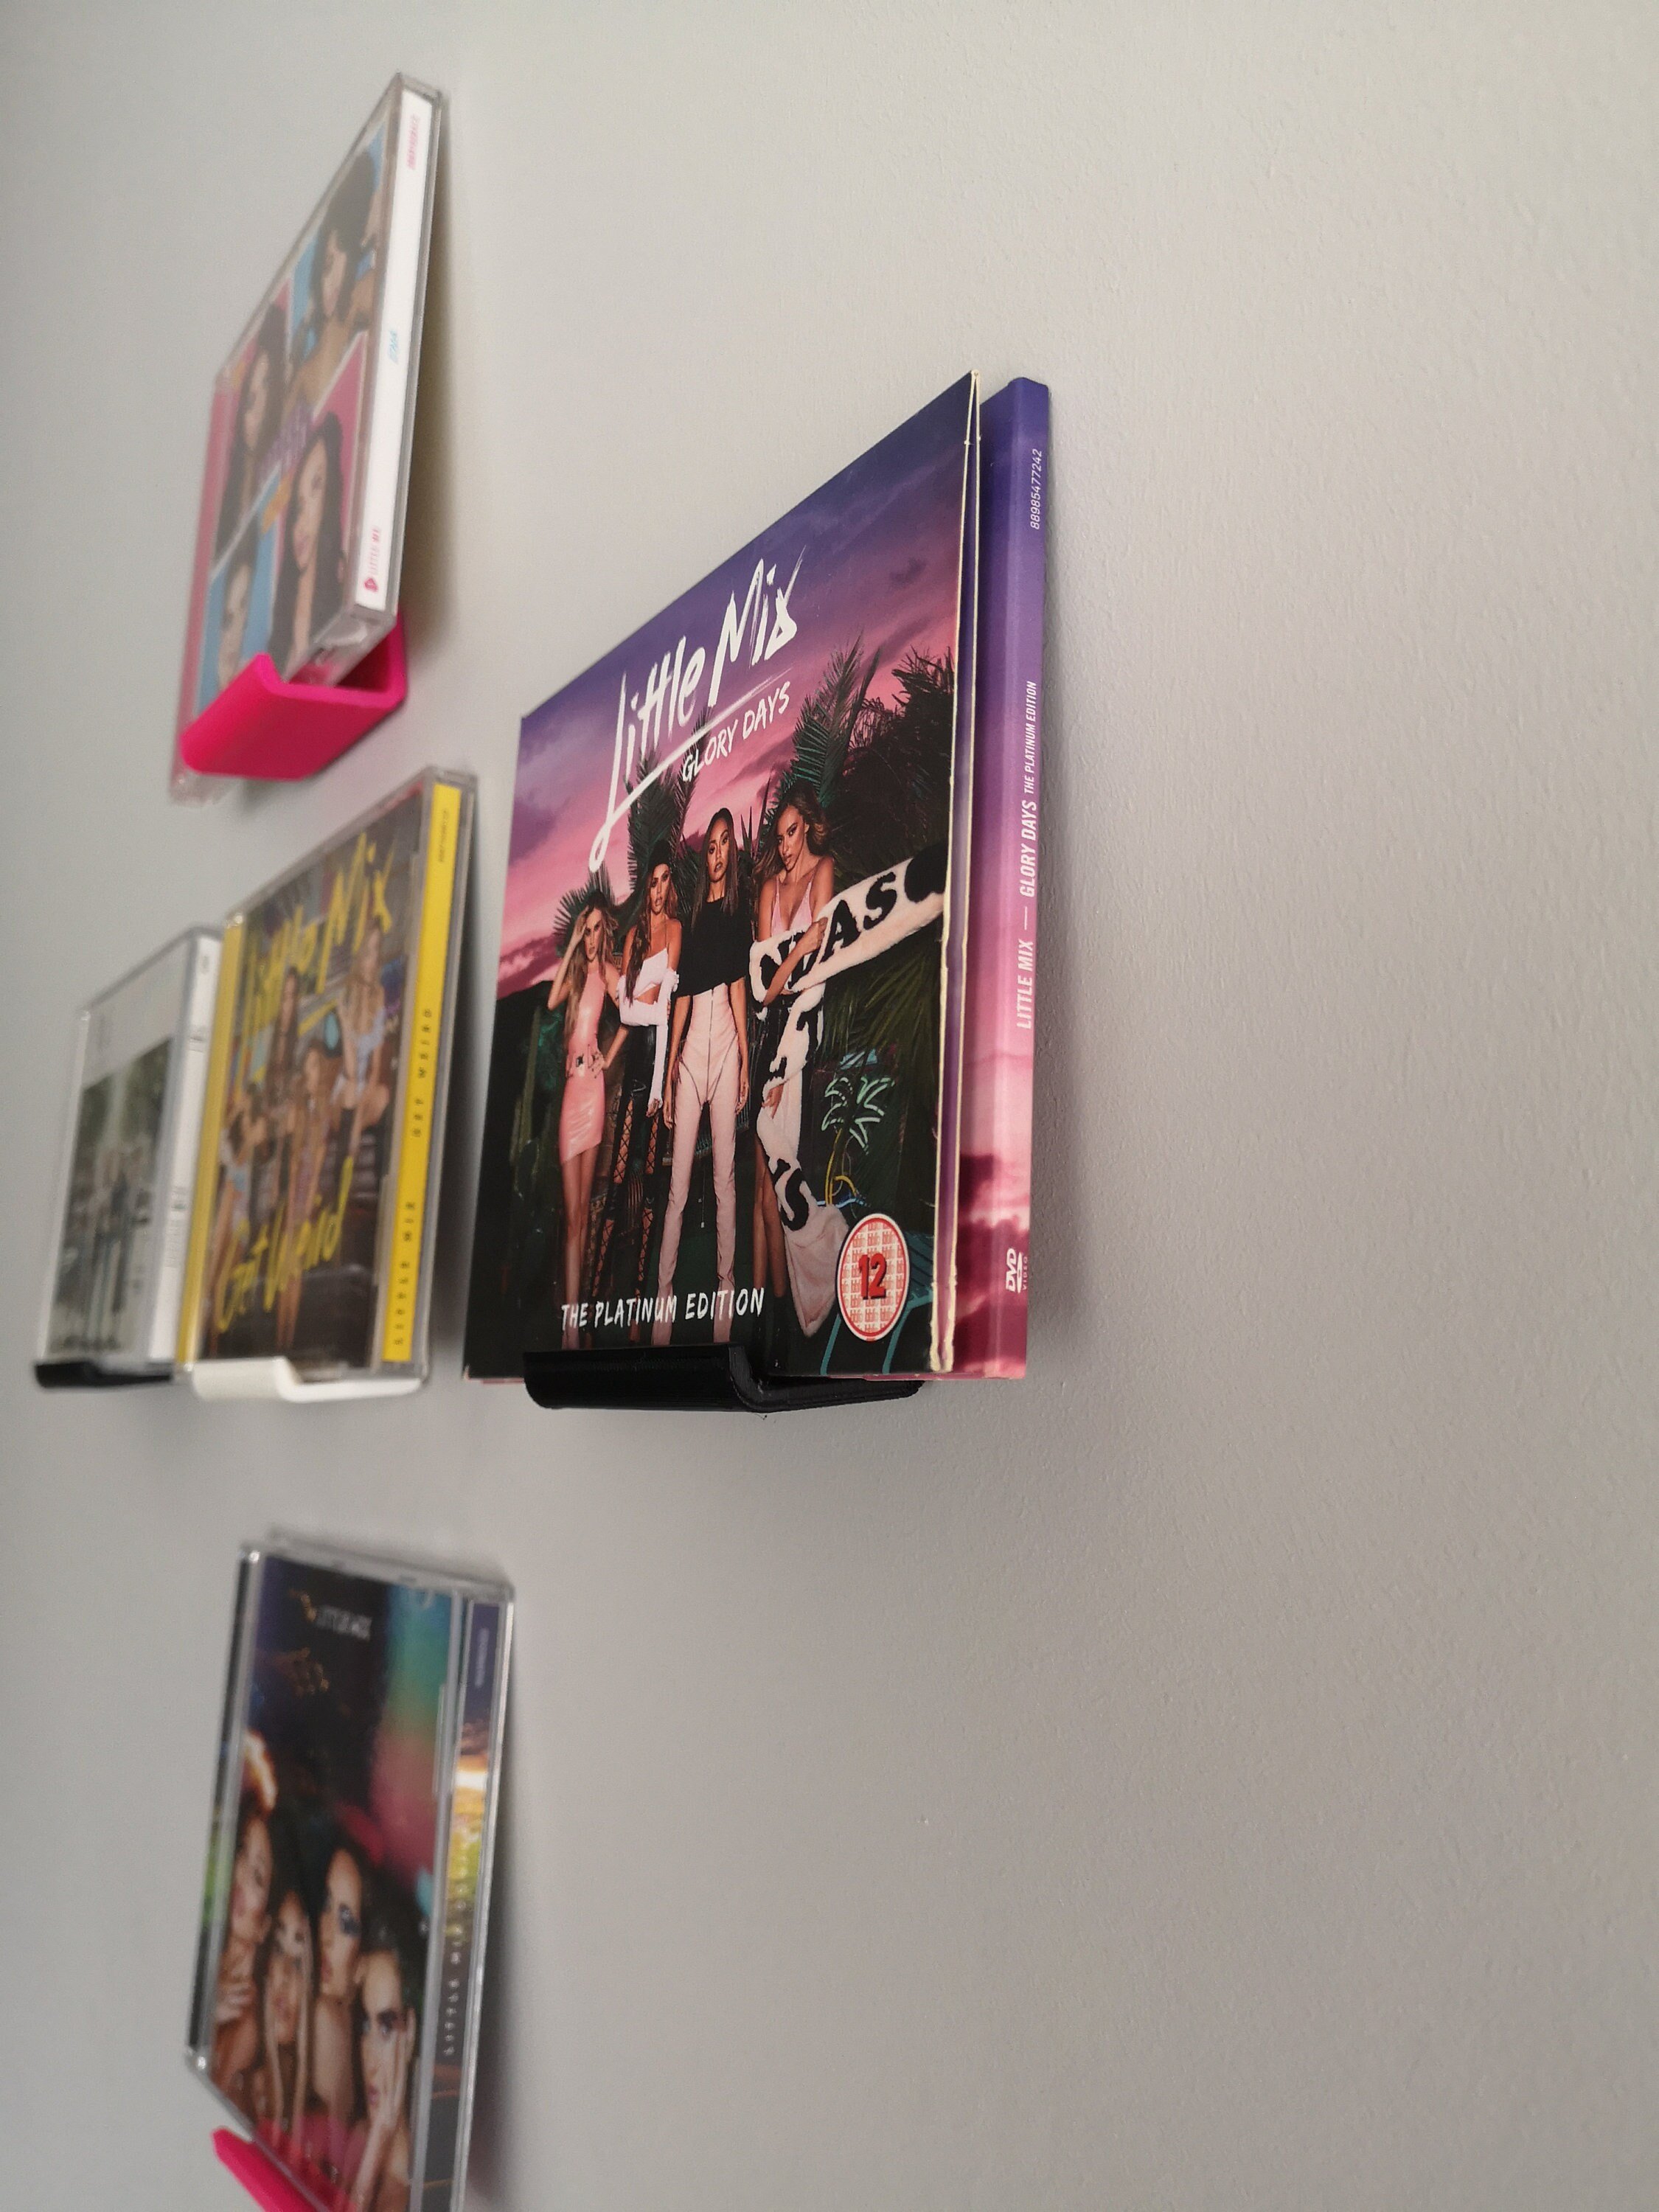 Image 4 of 5
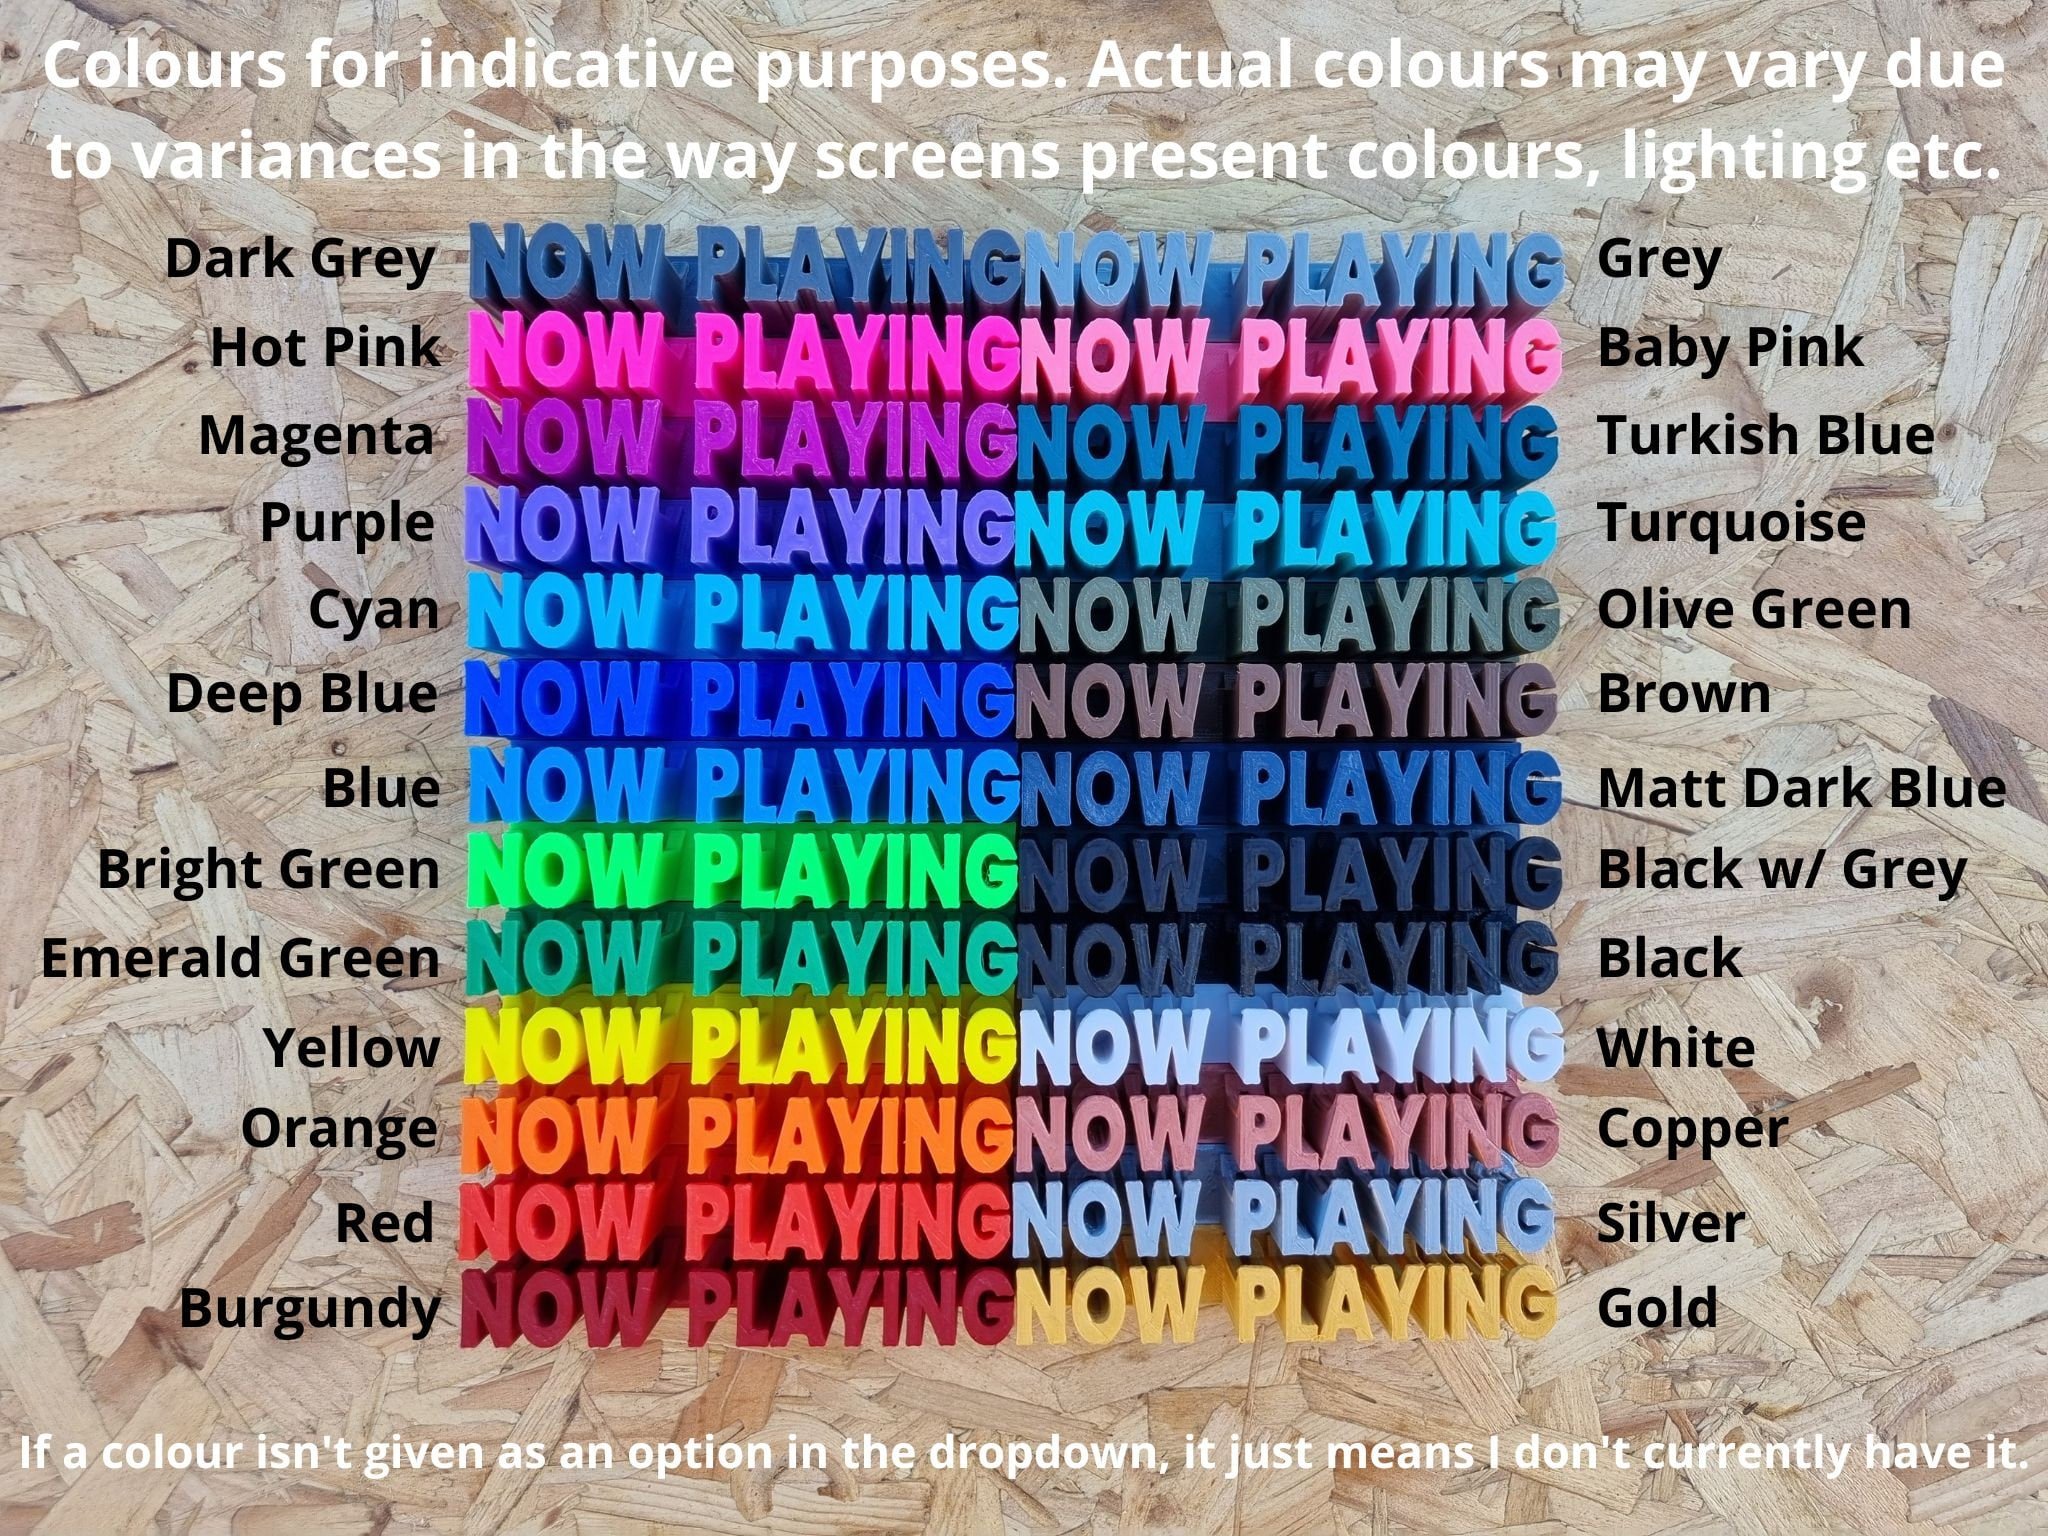 Image 5 of 5