 Image 1 of 1
[Details]
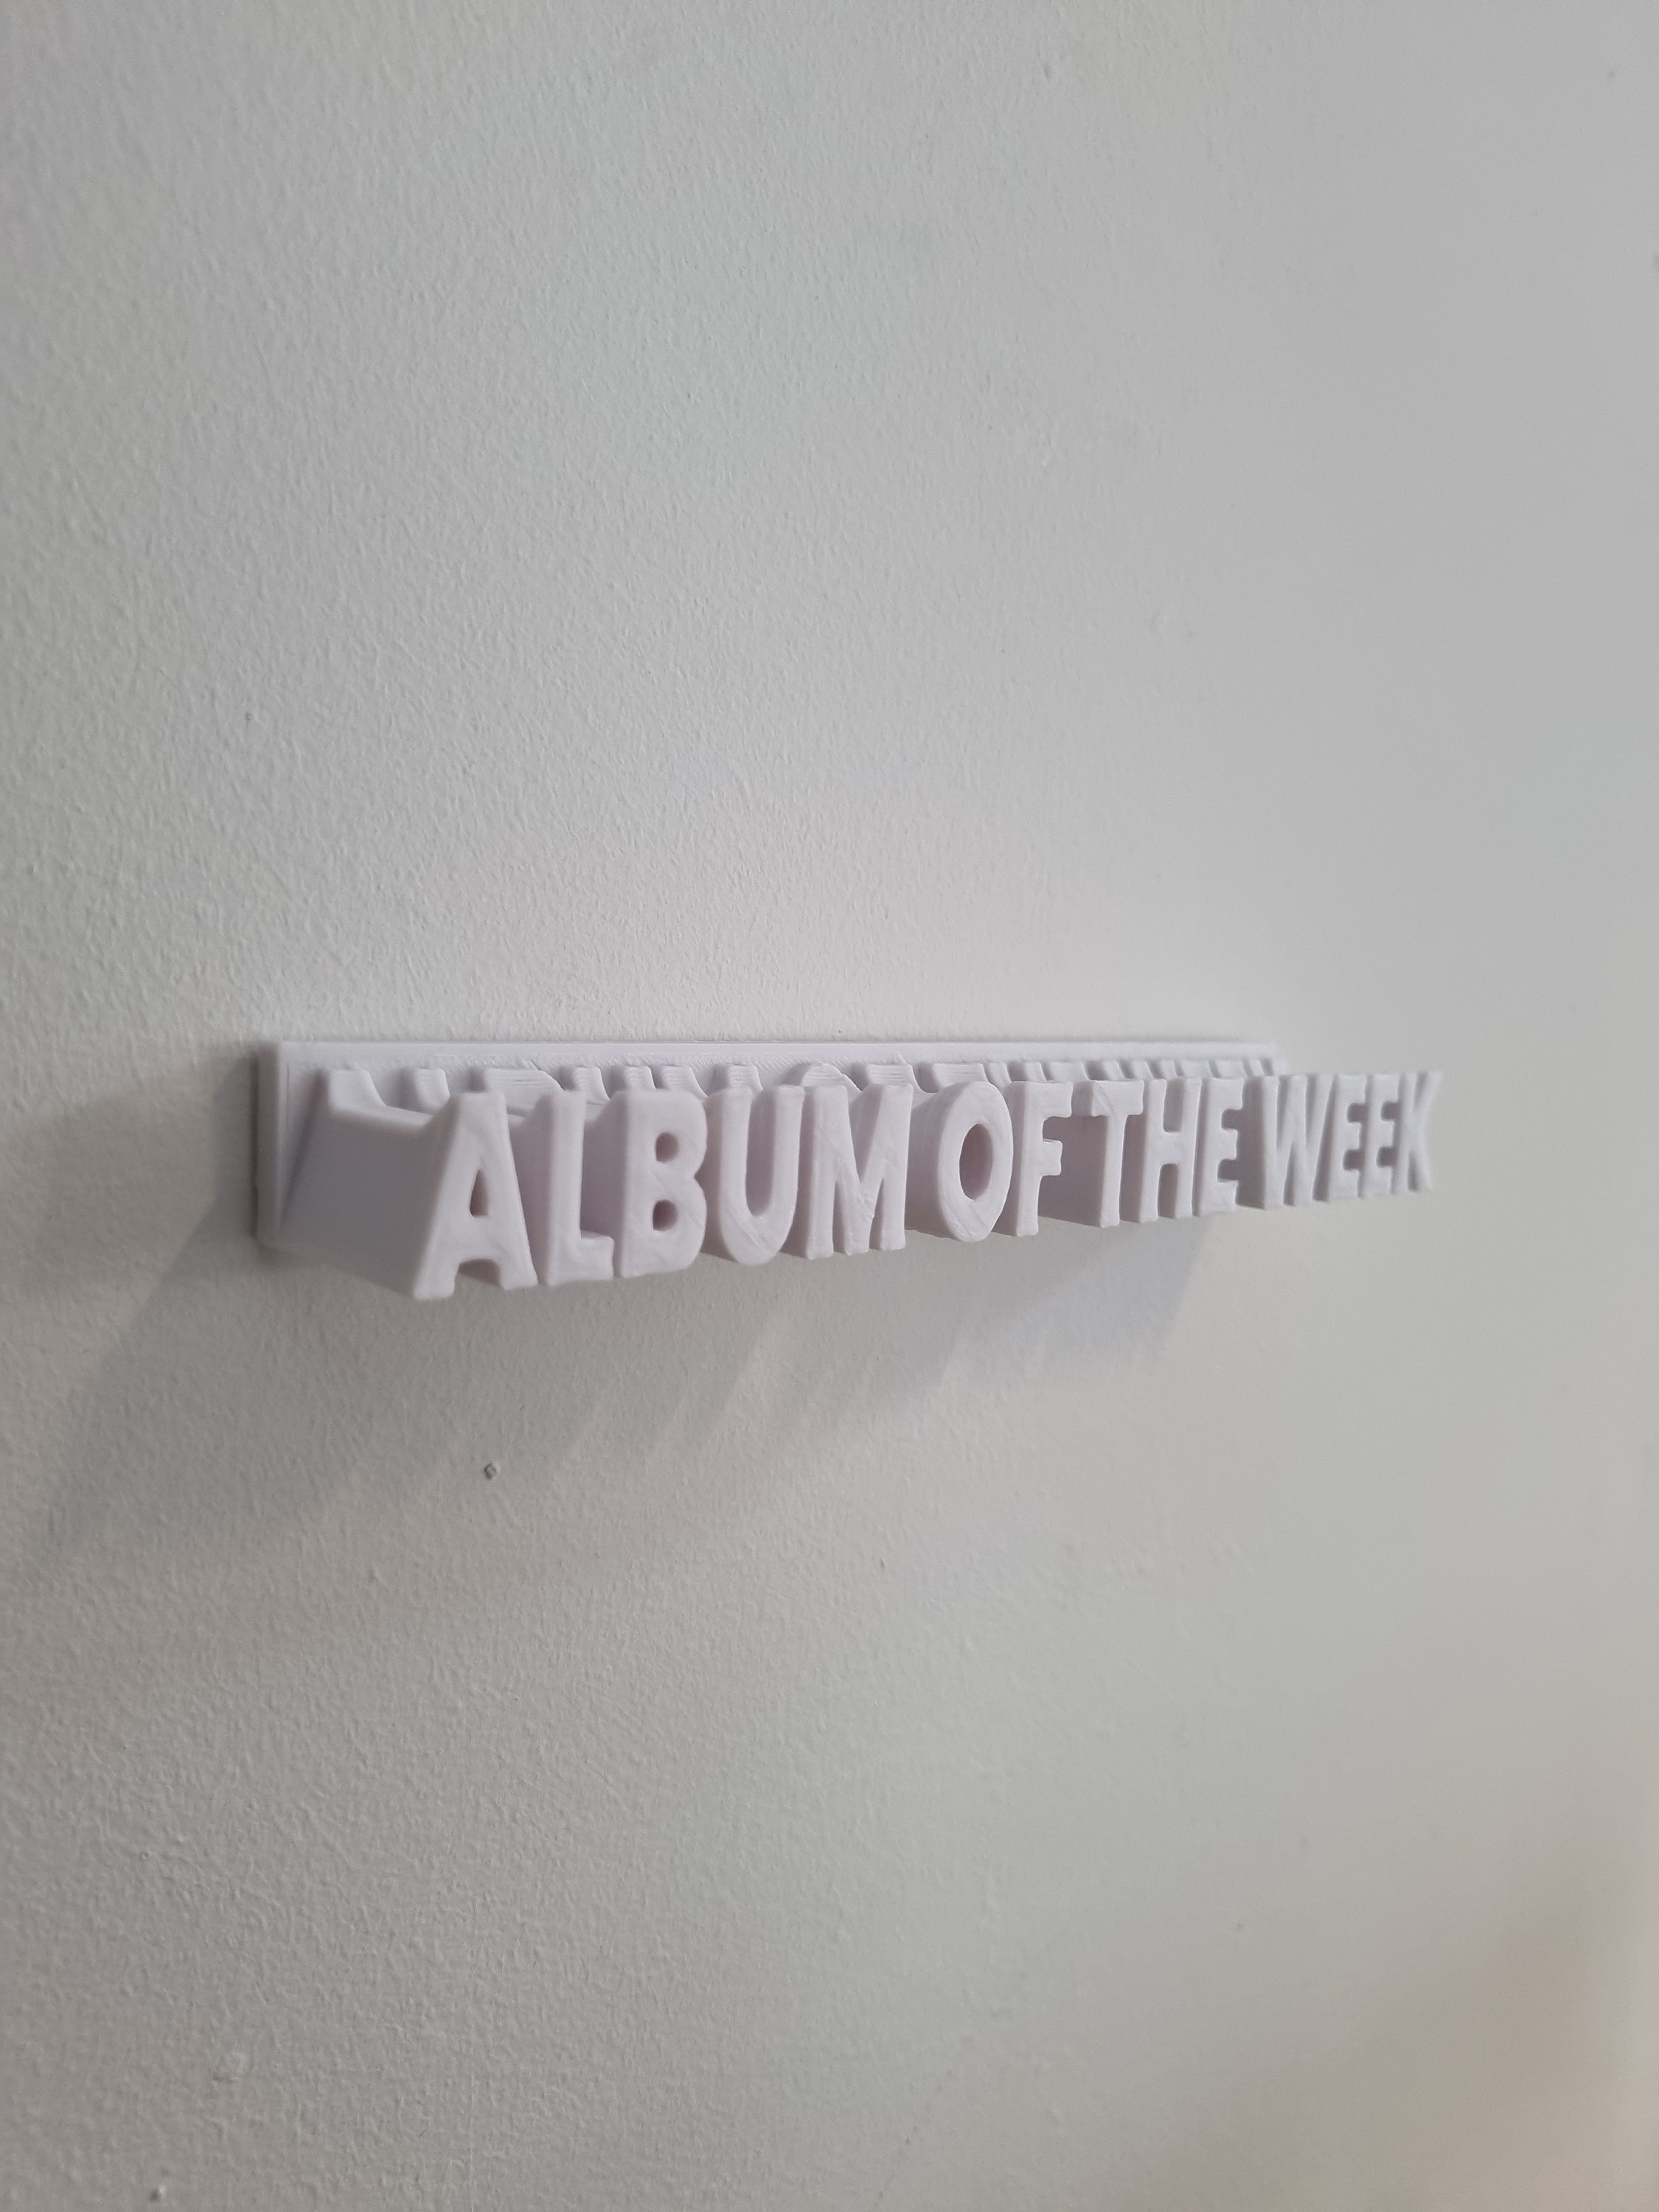
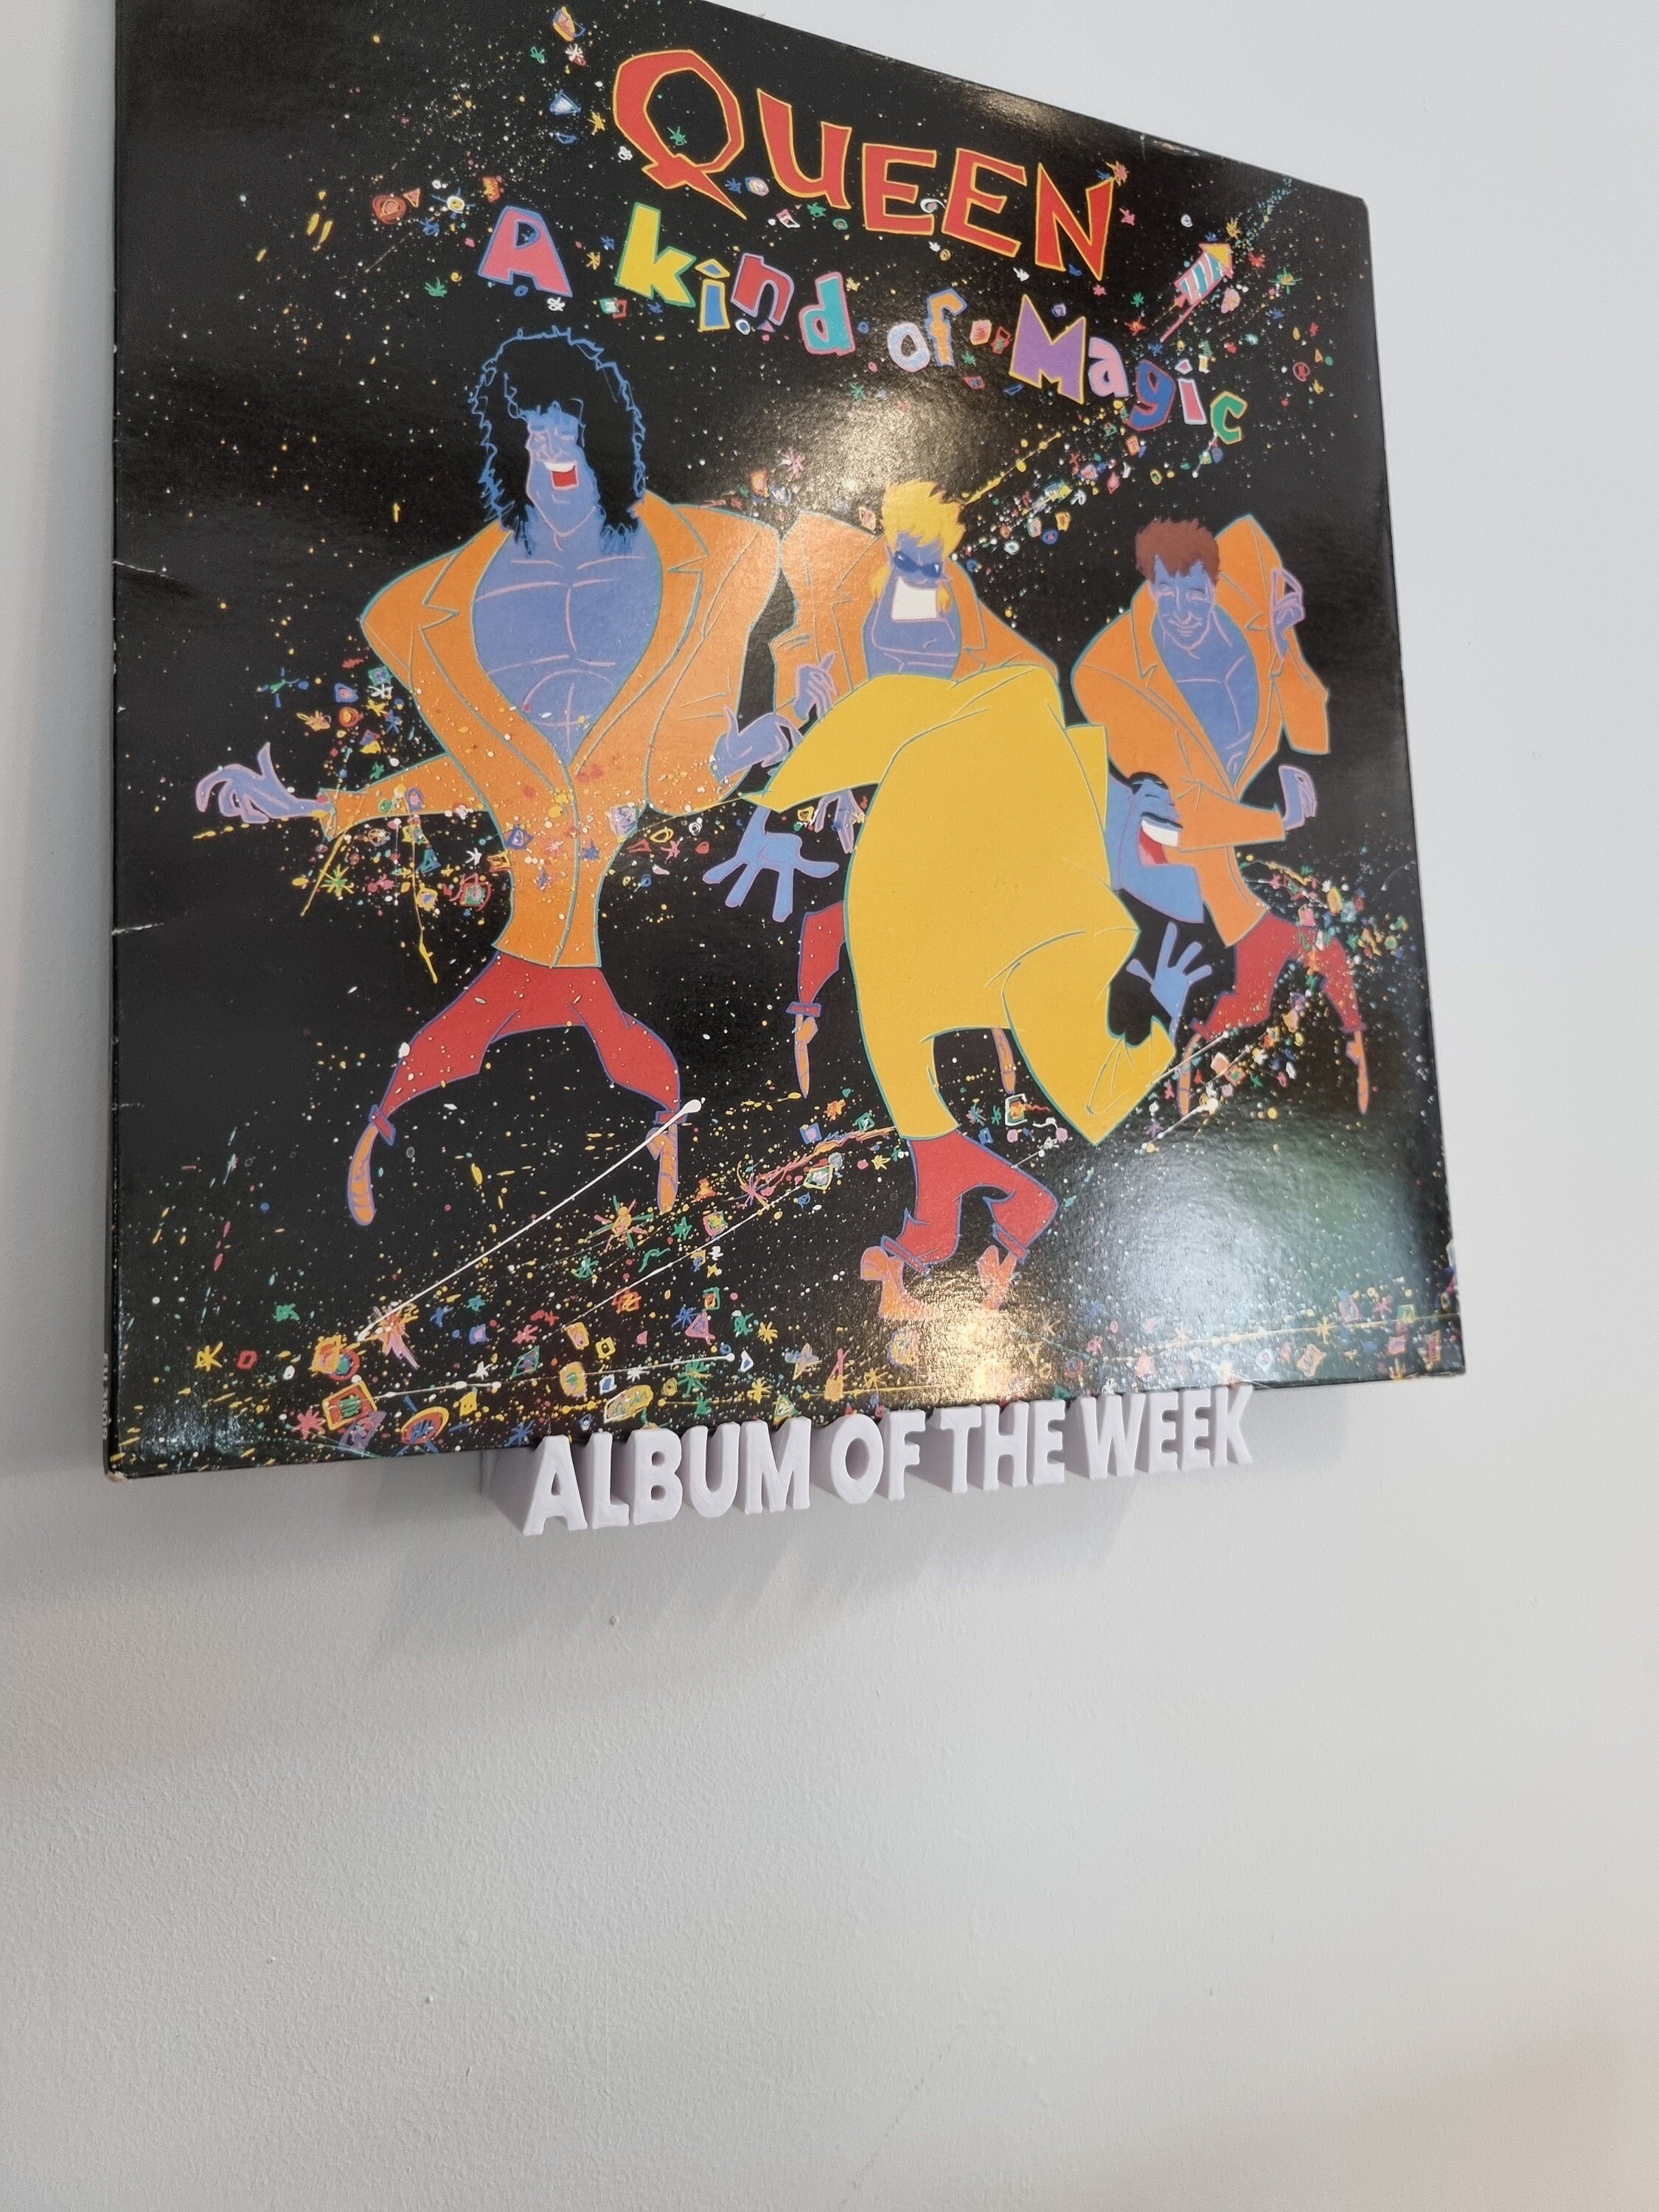
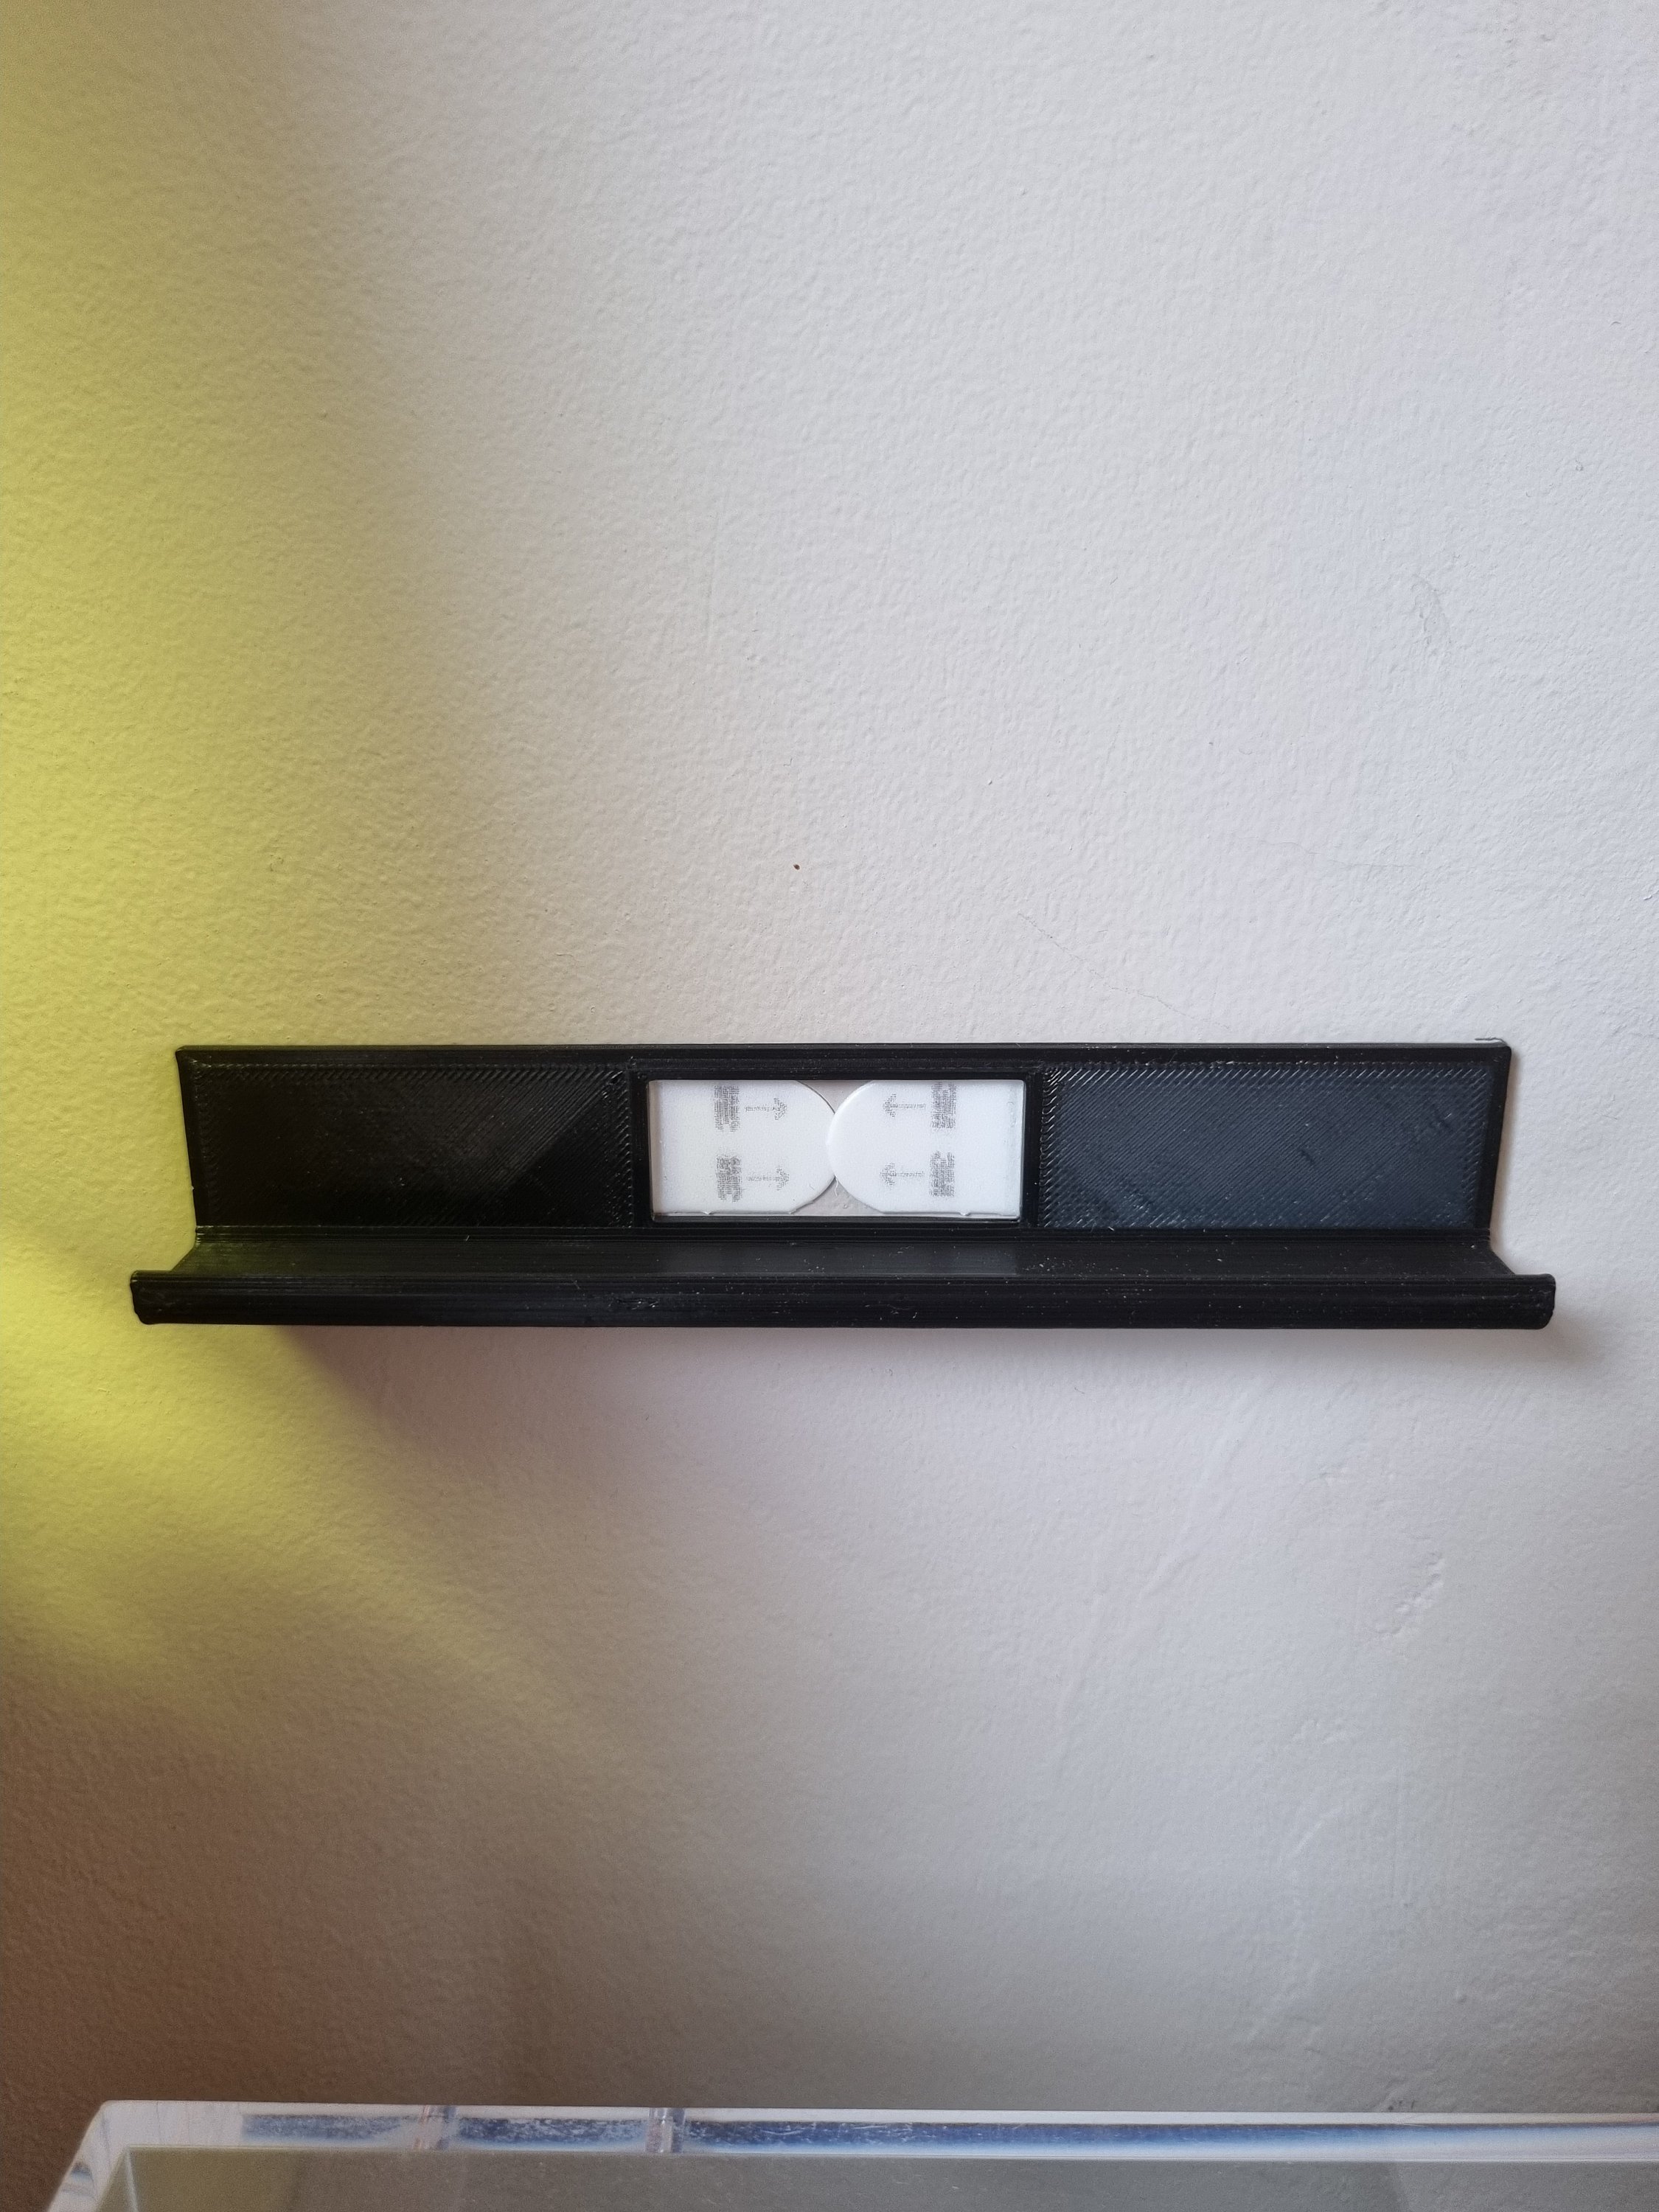
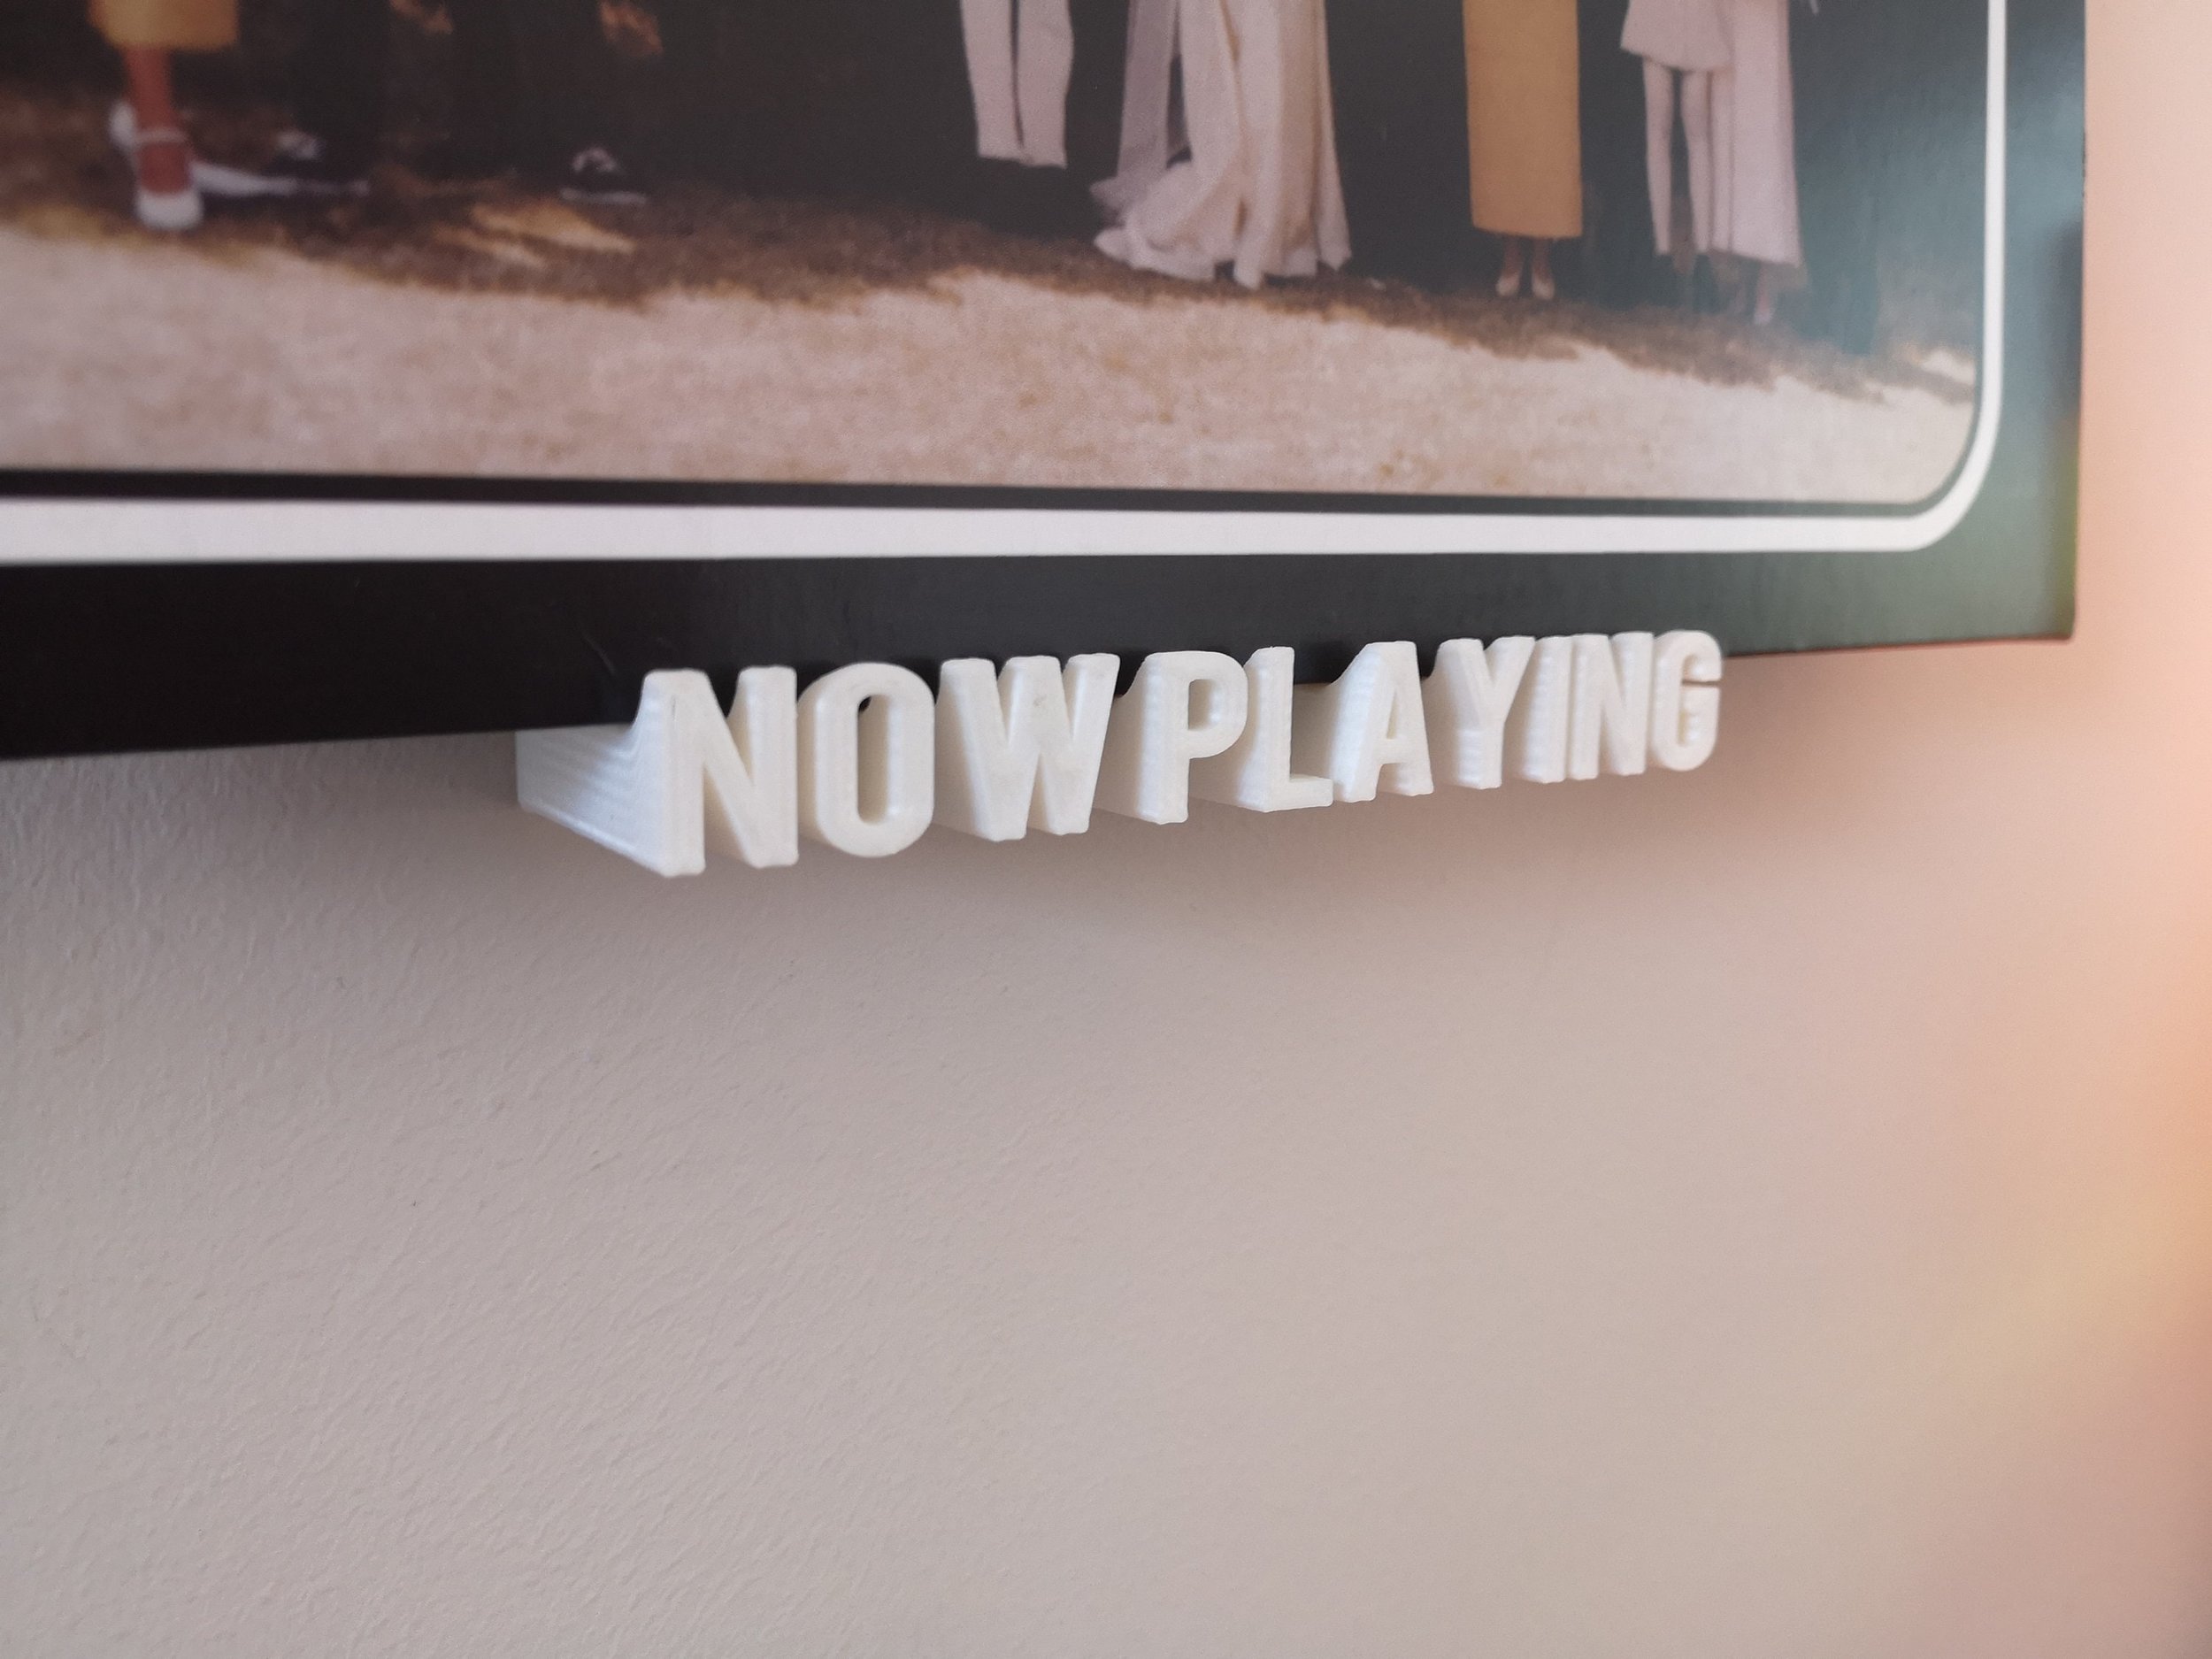
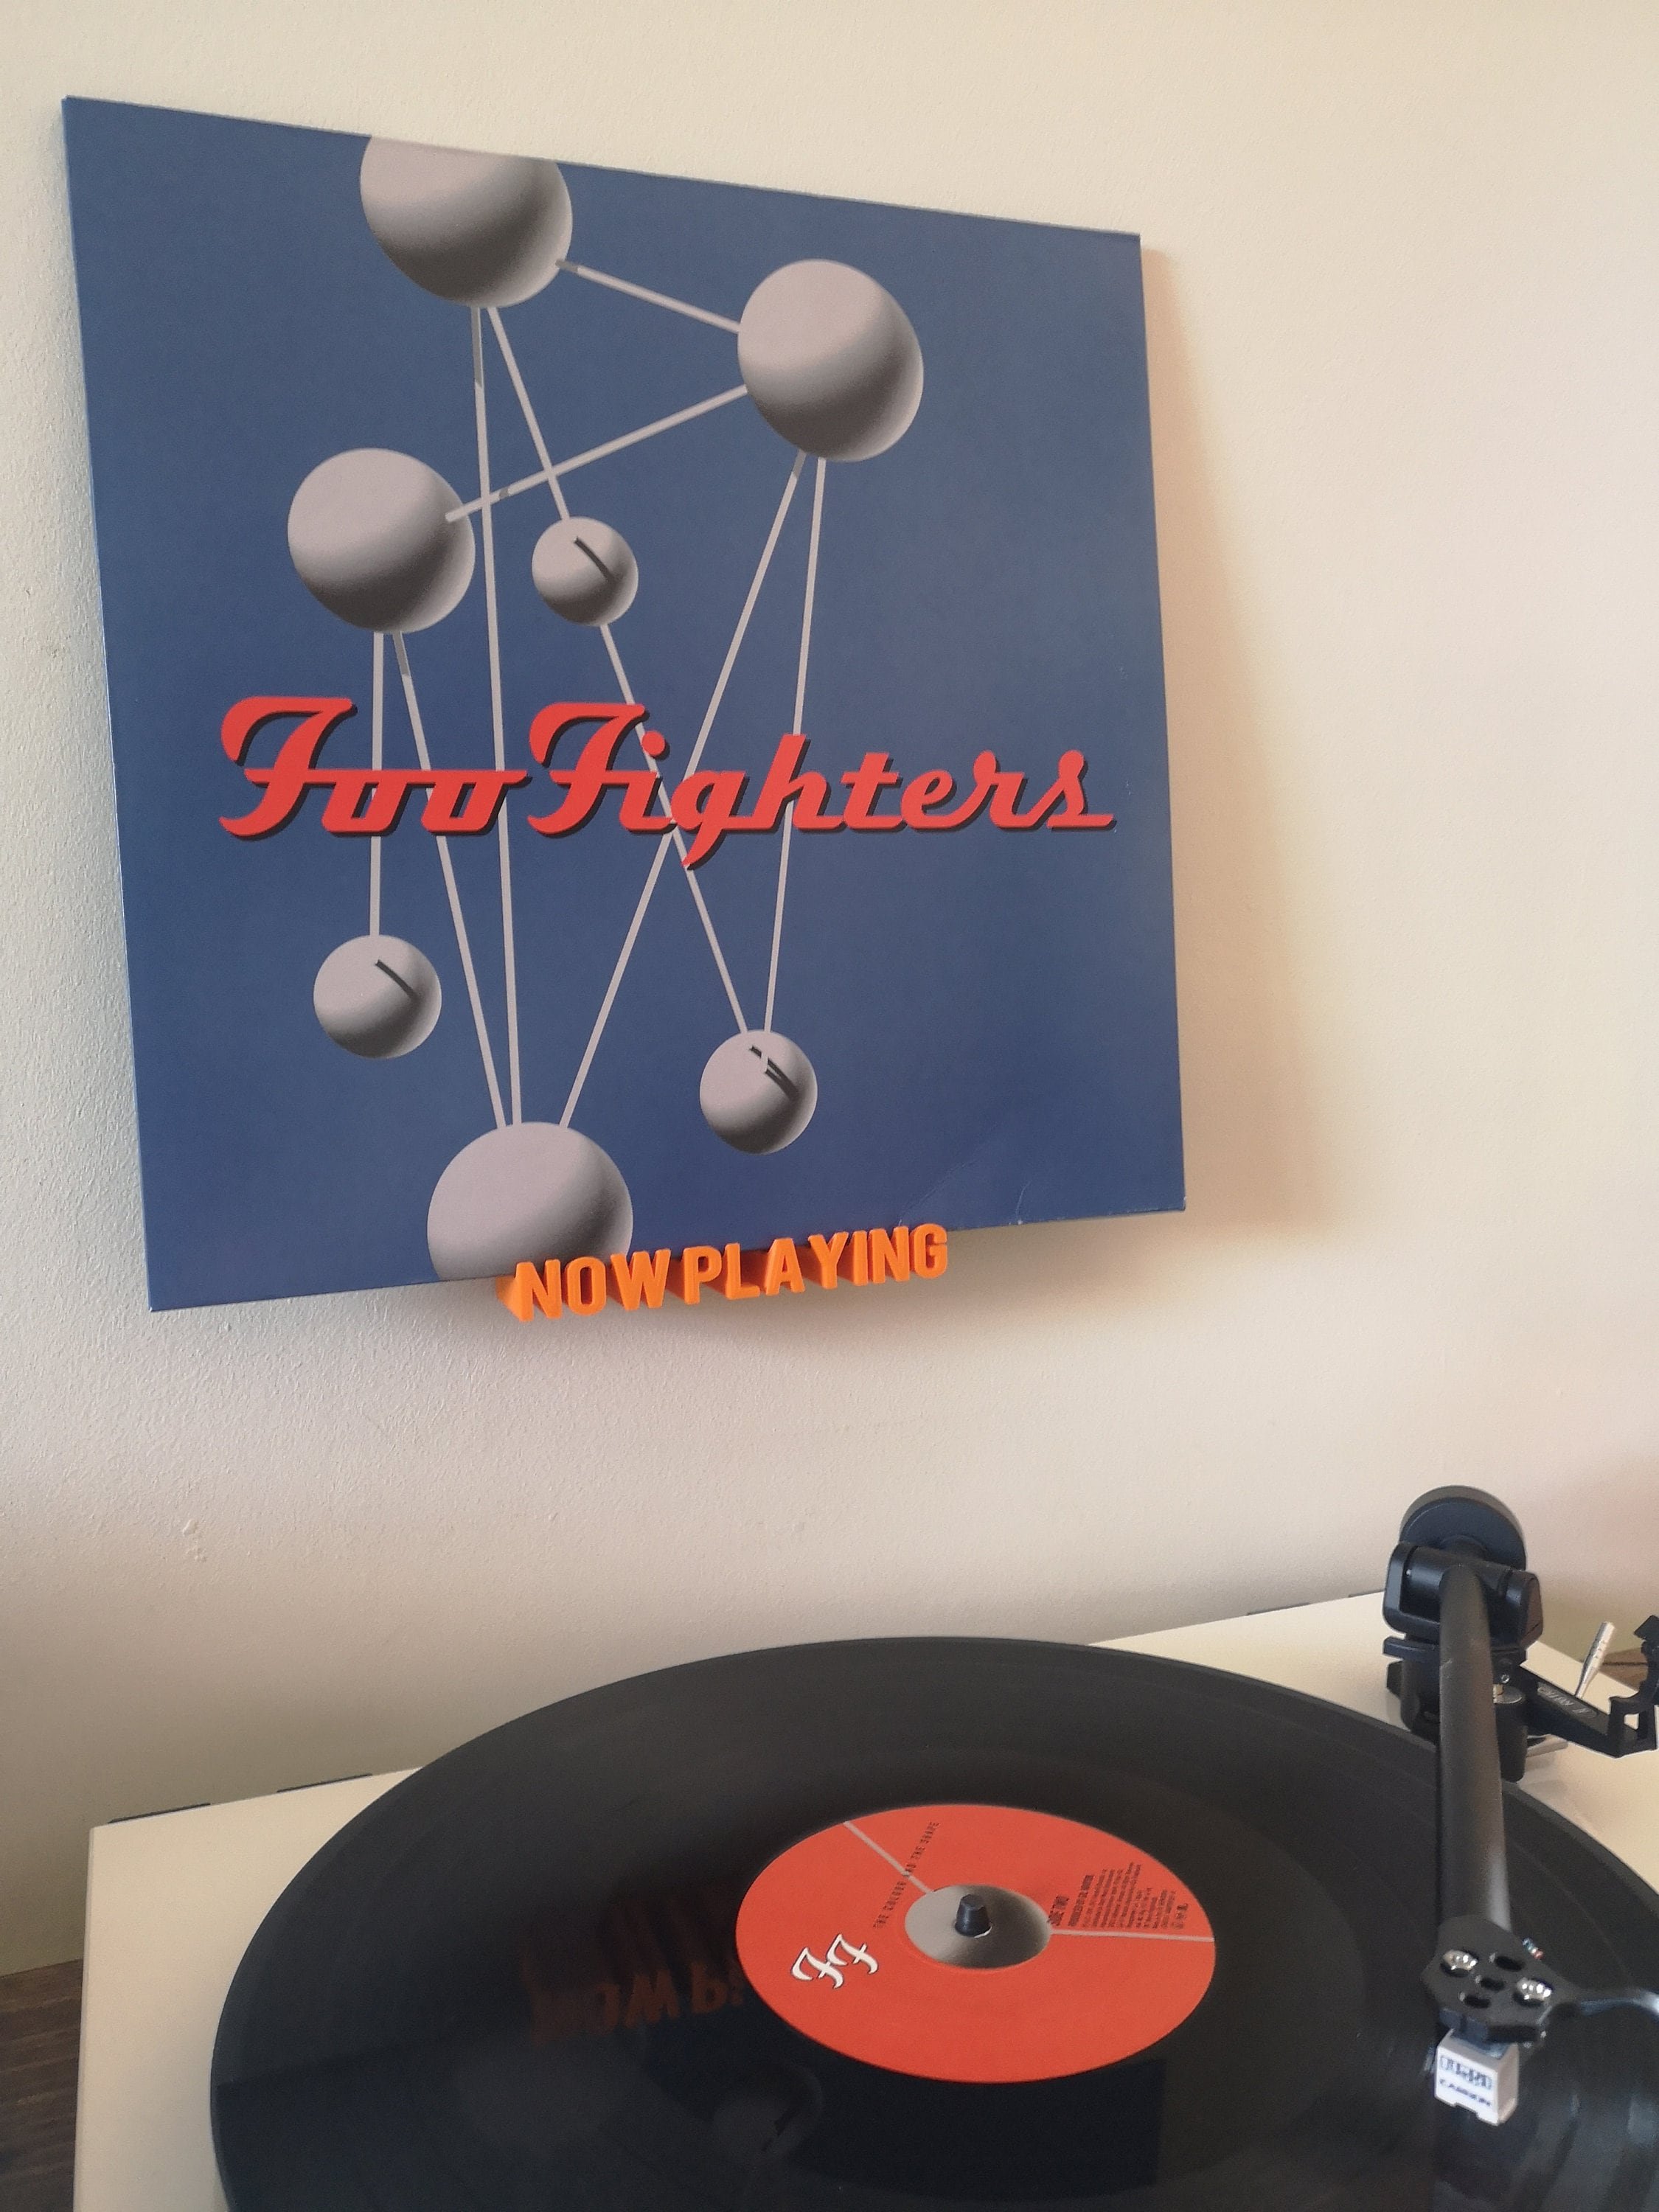
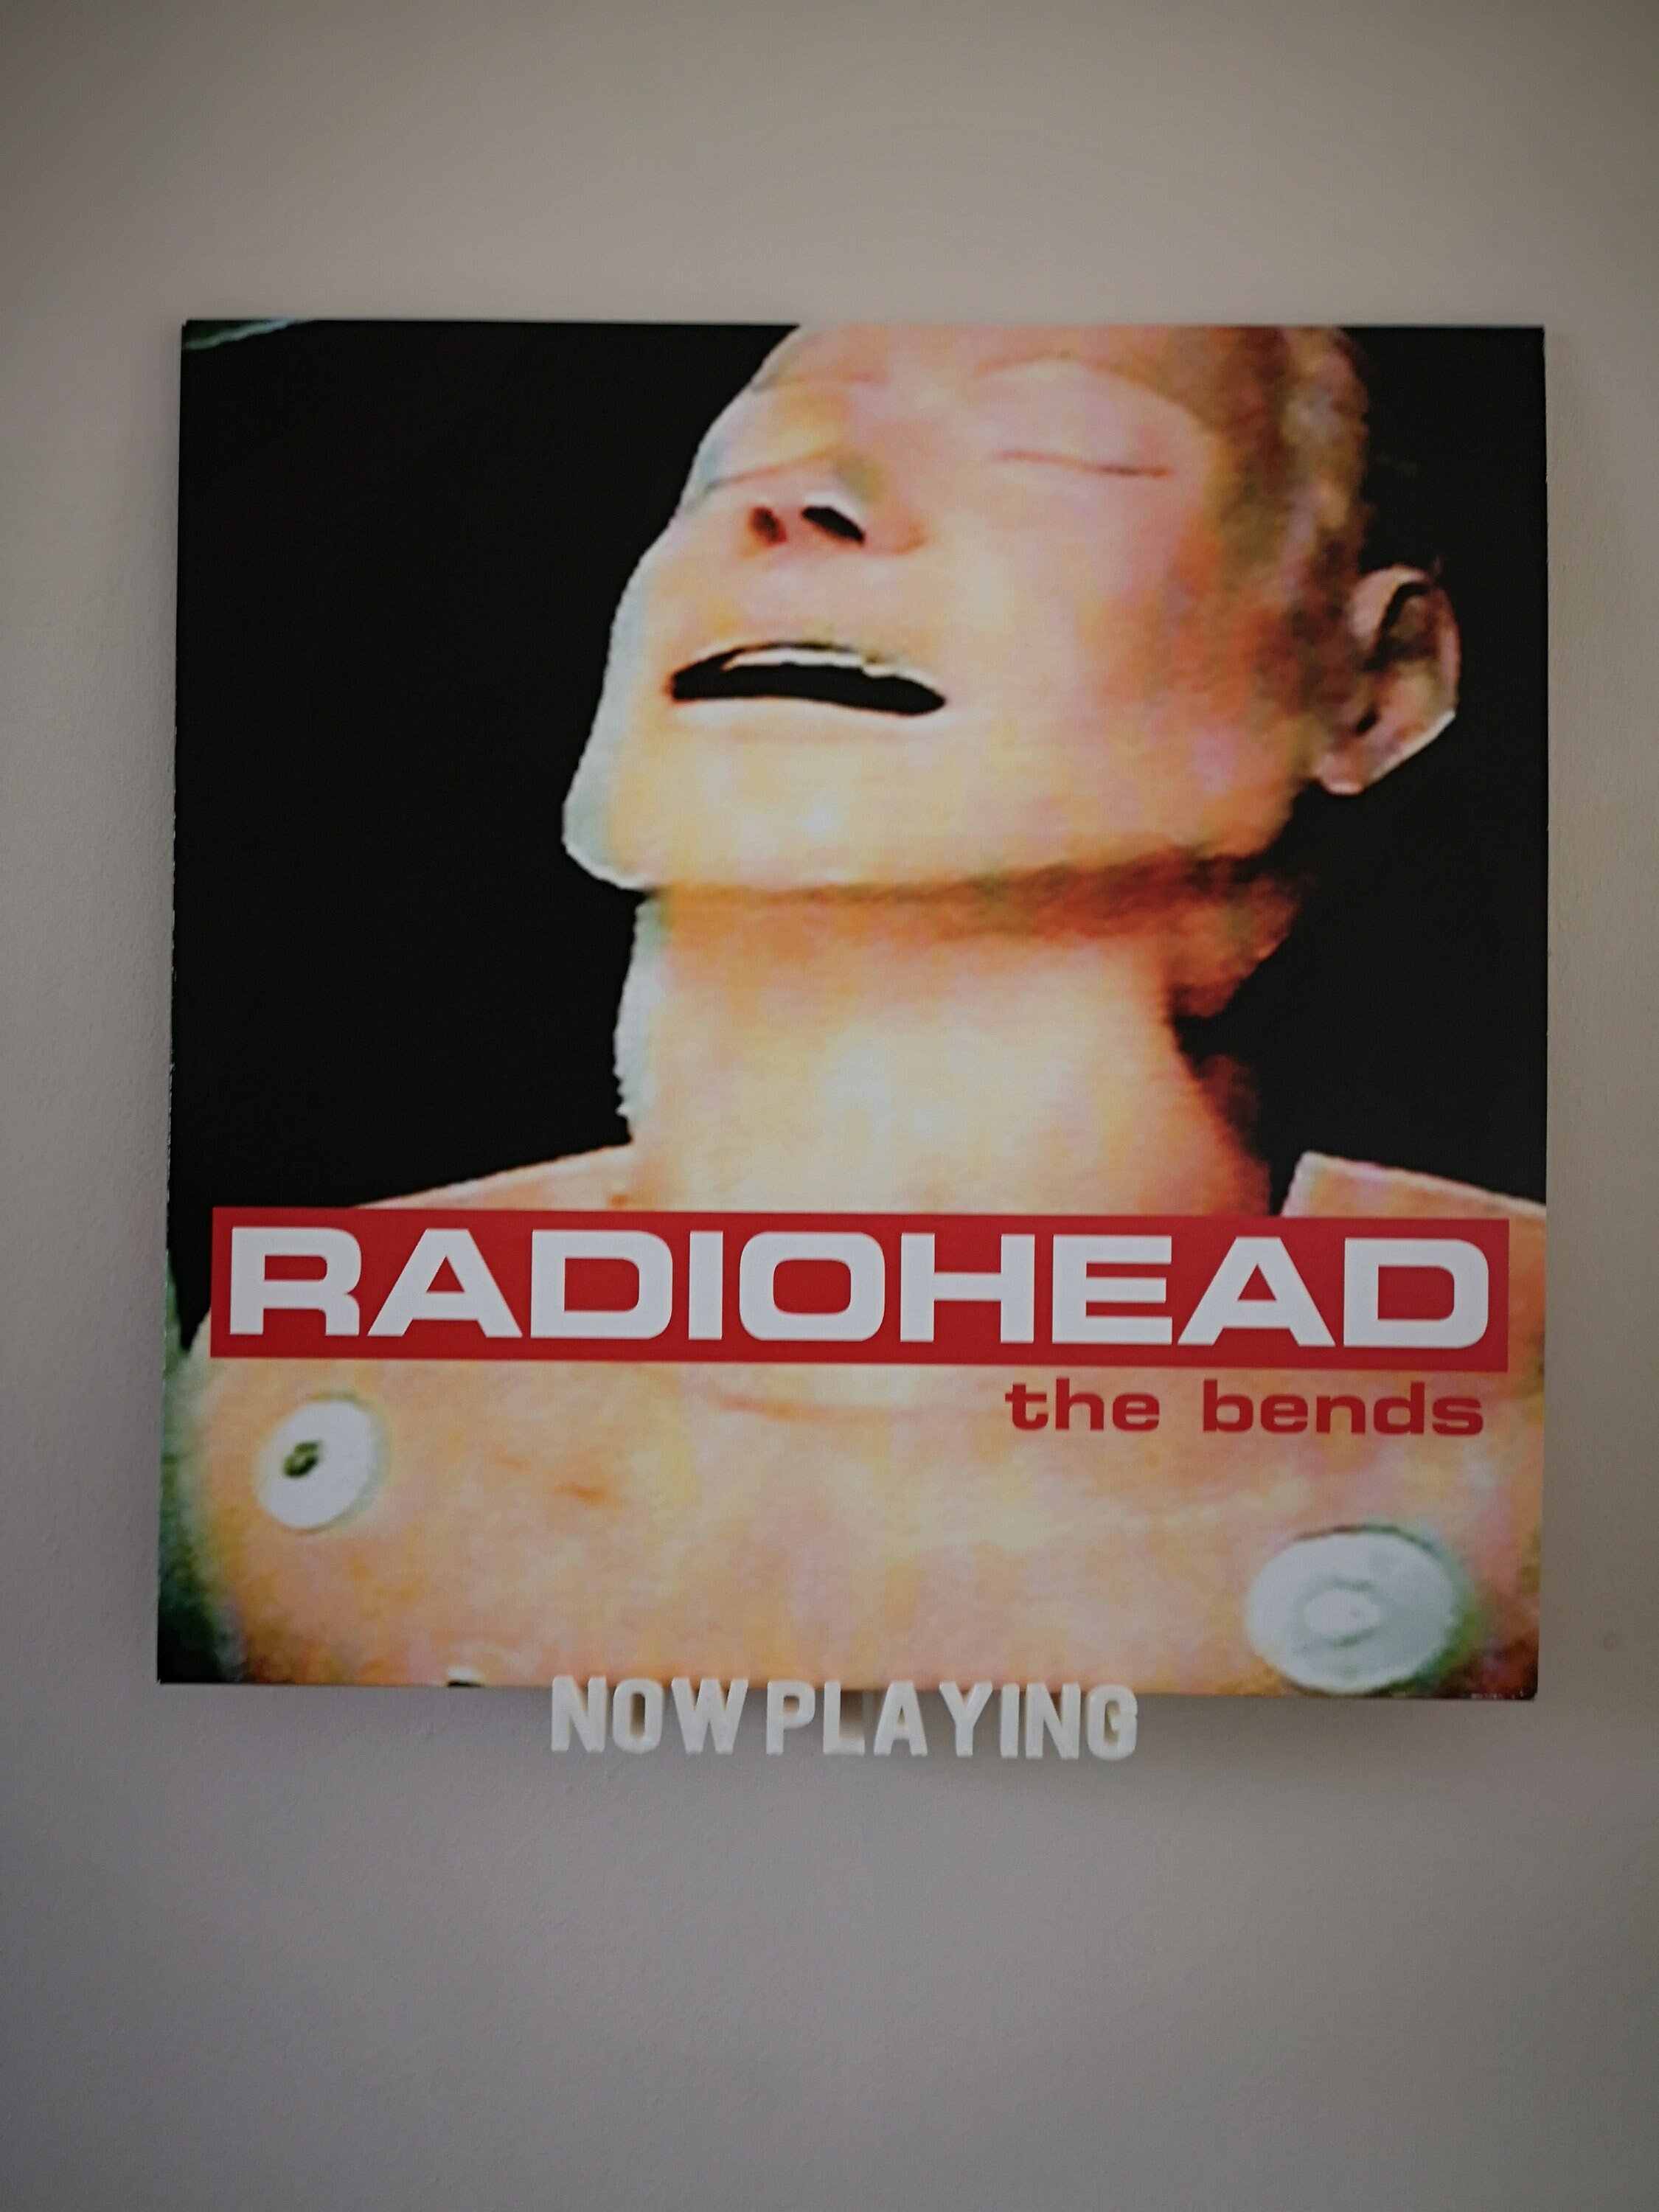
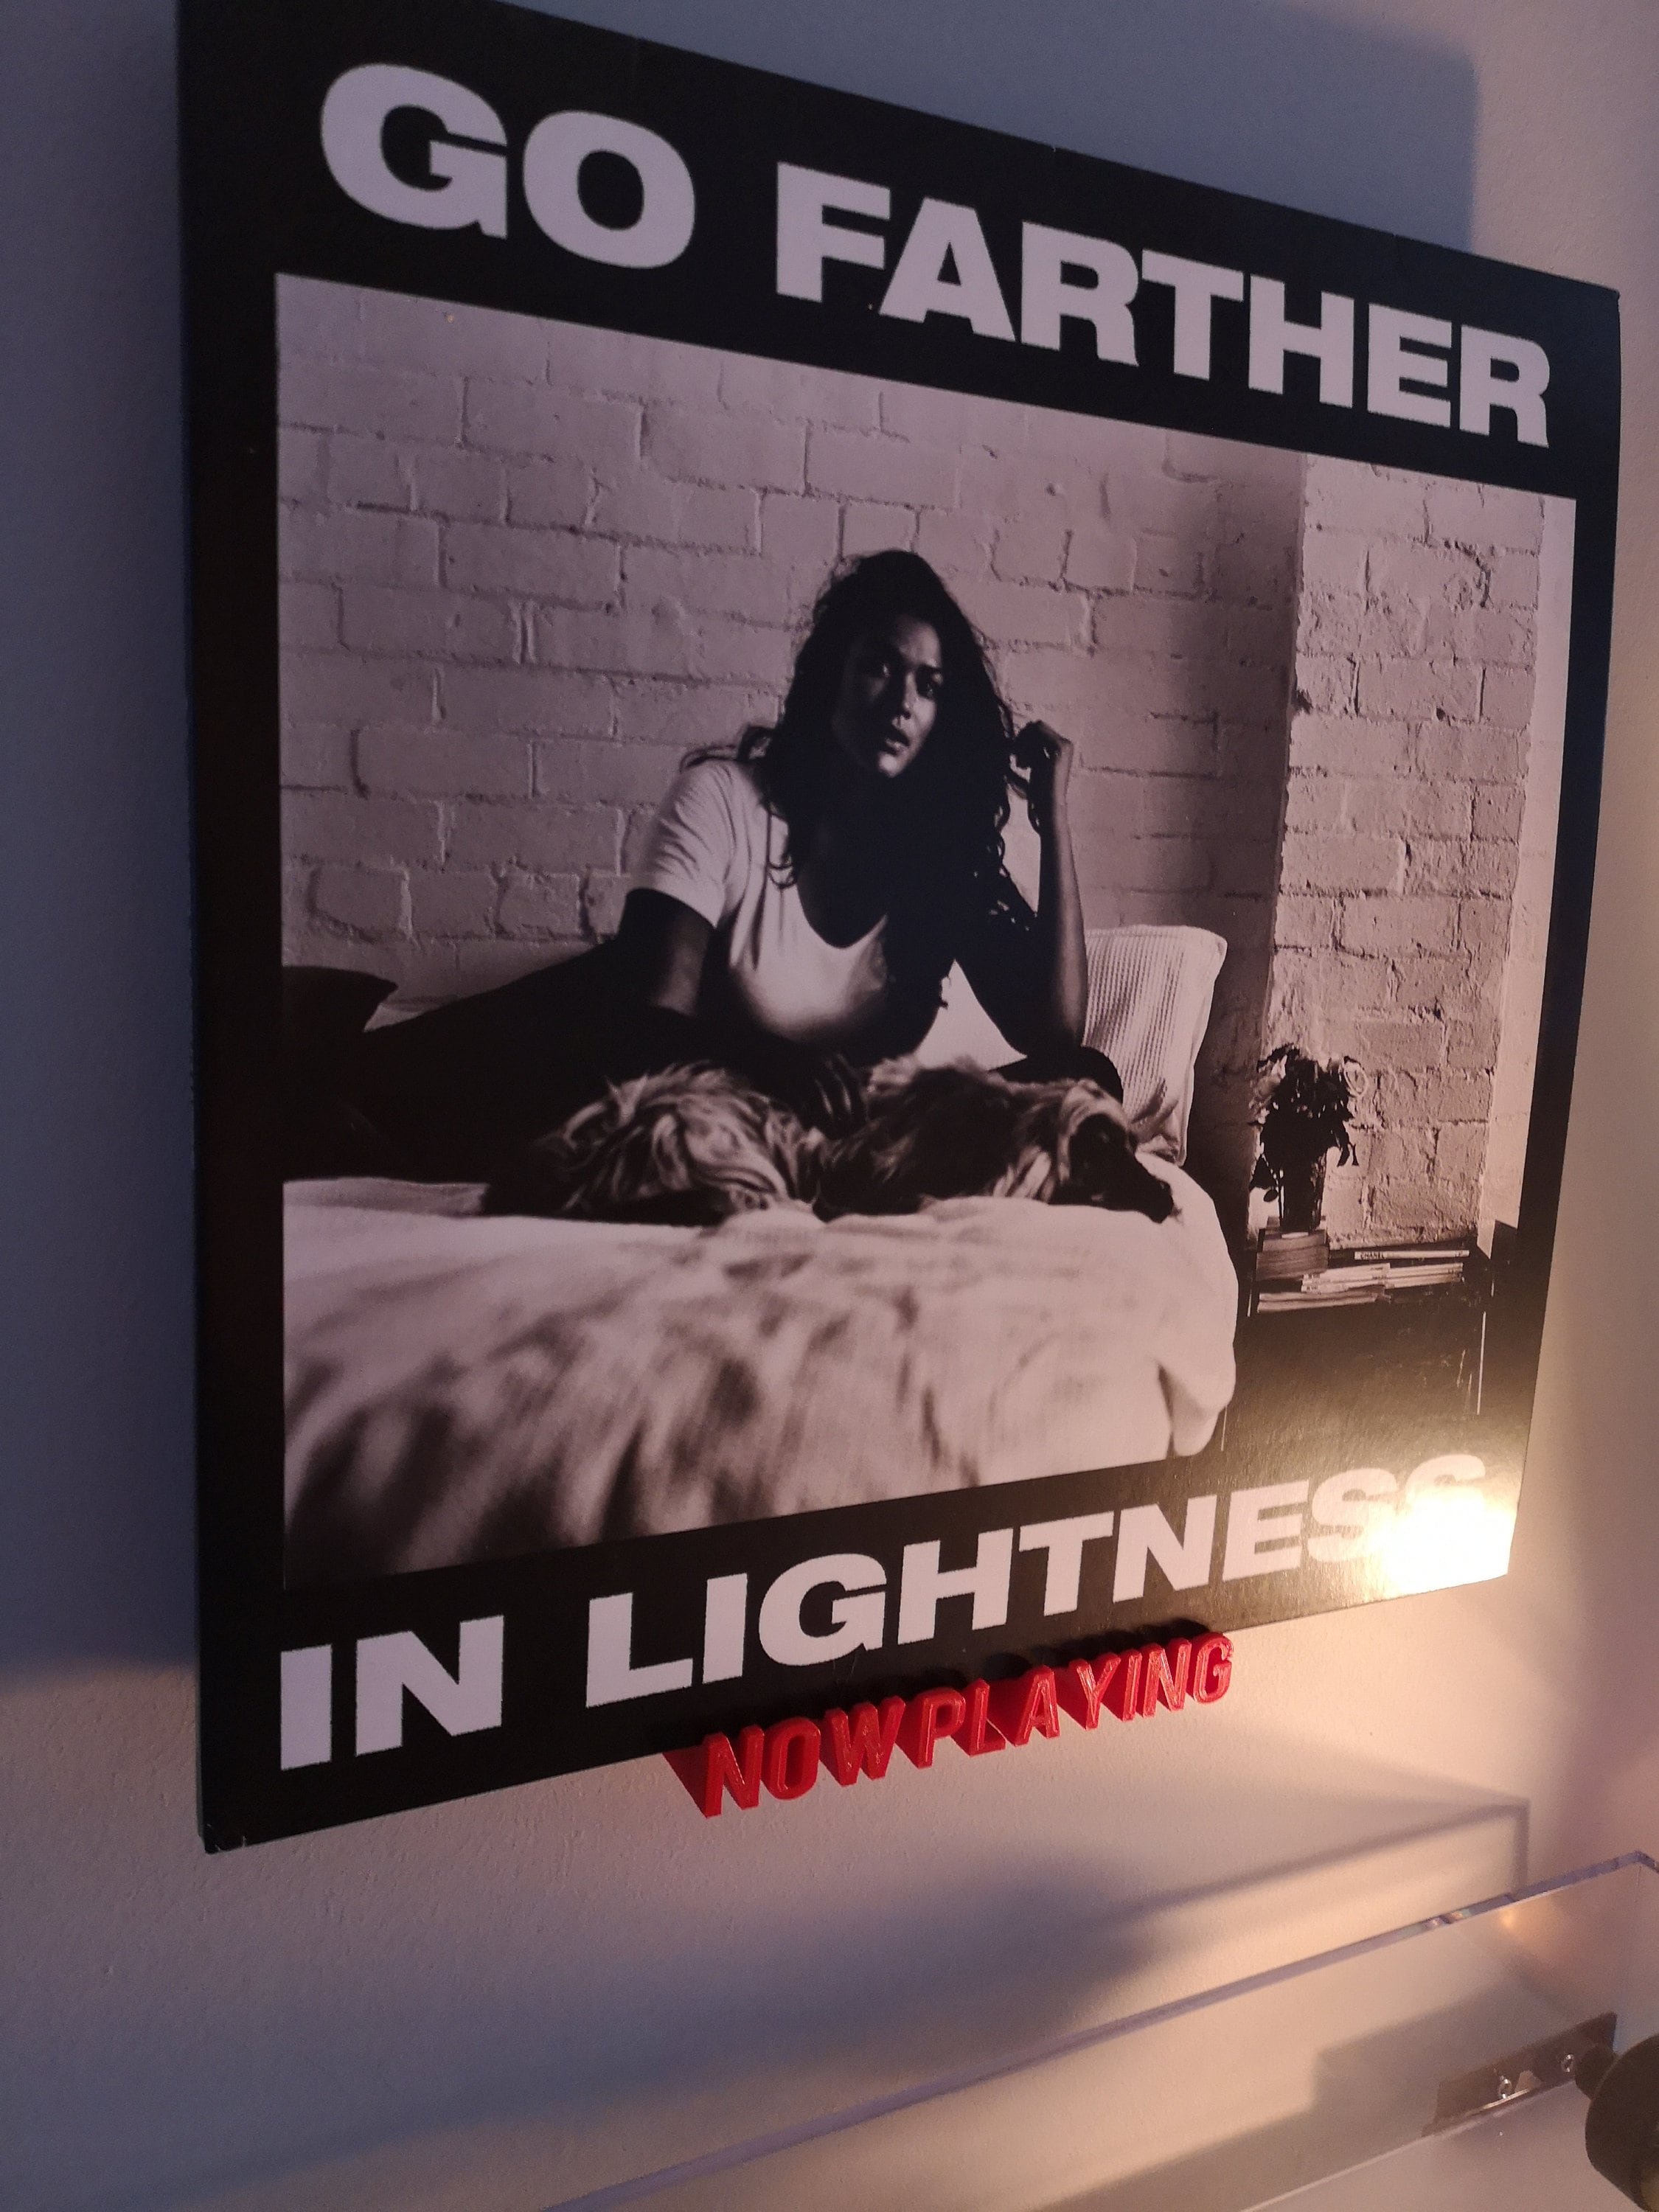
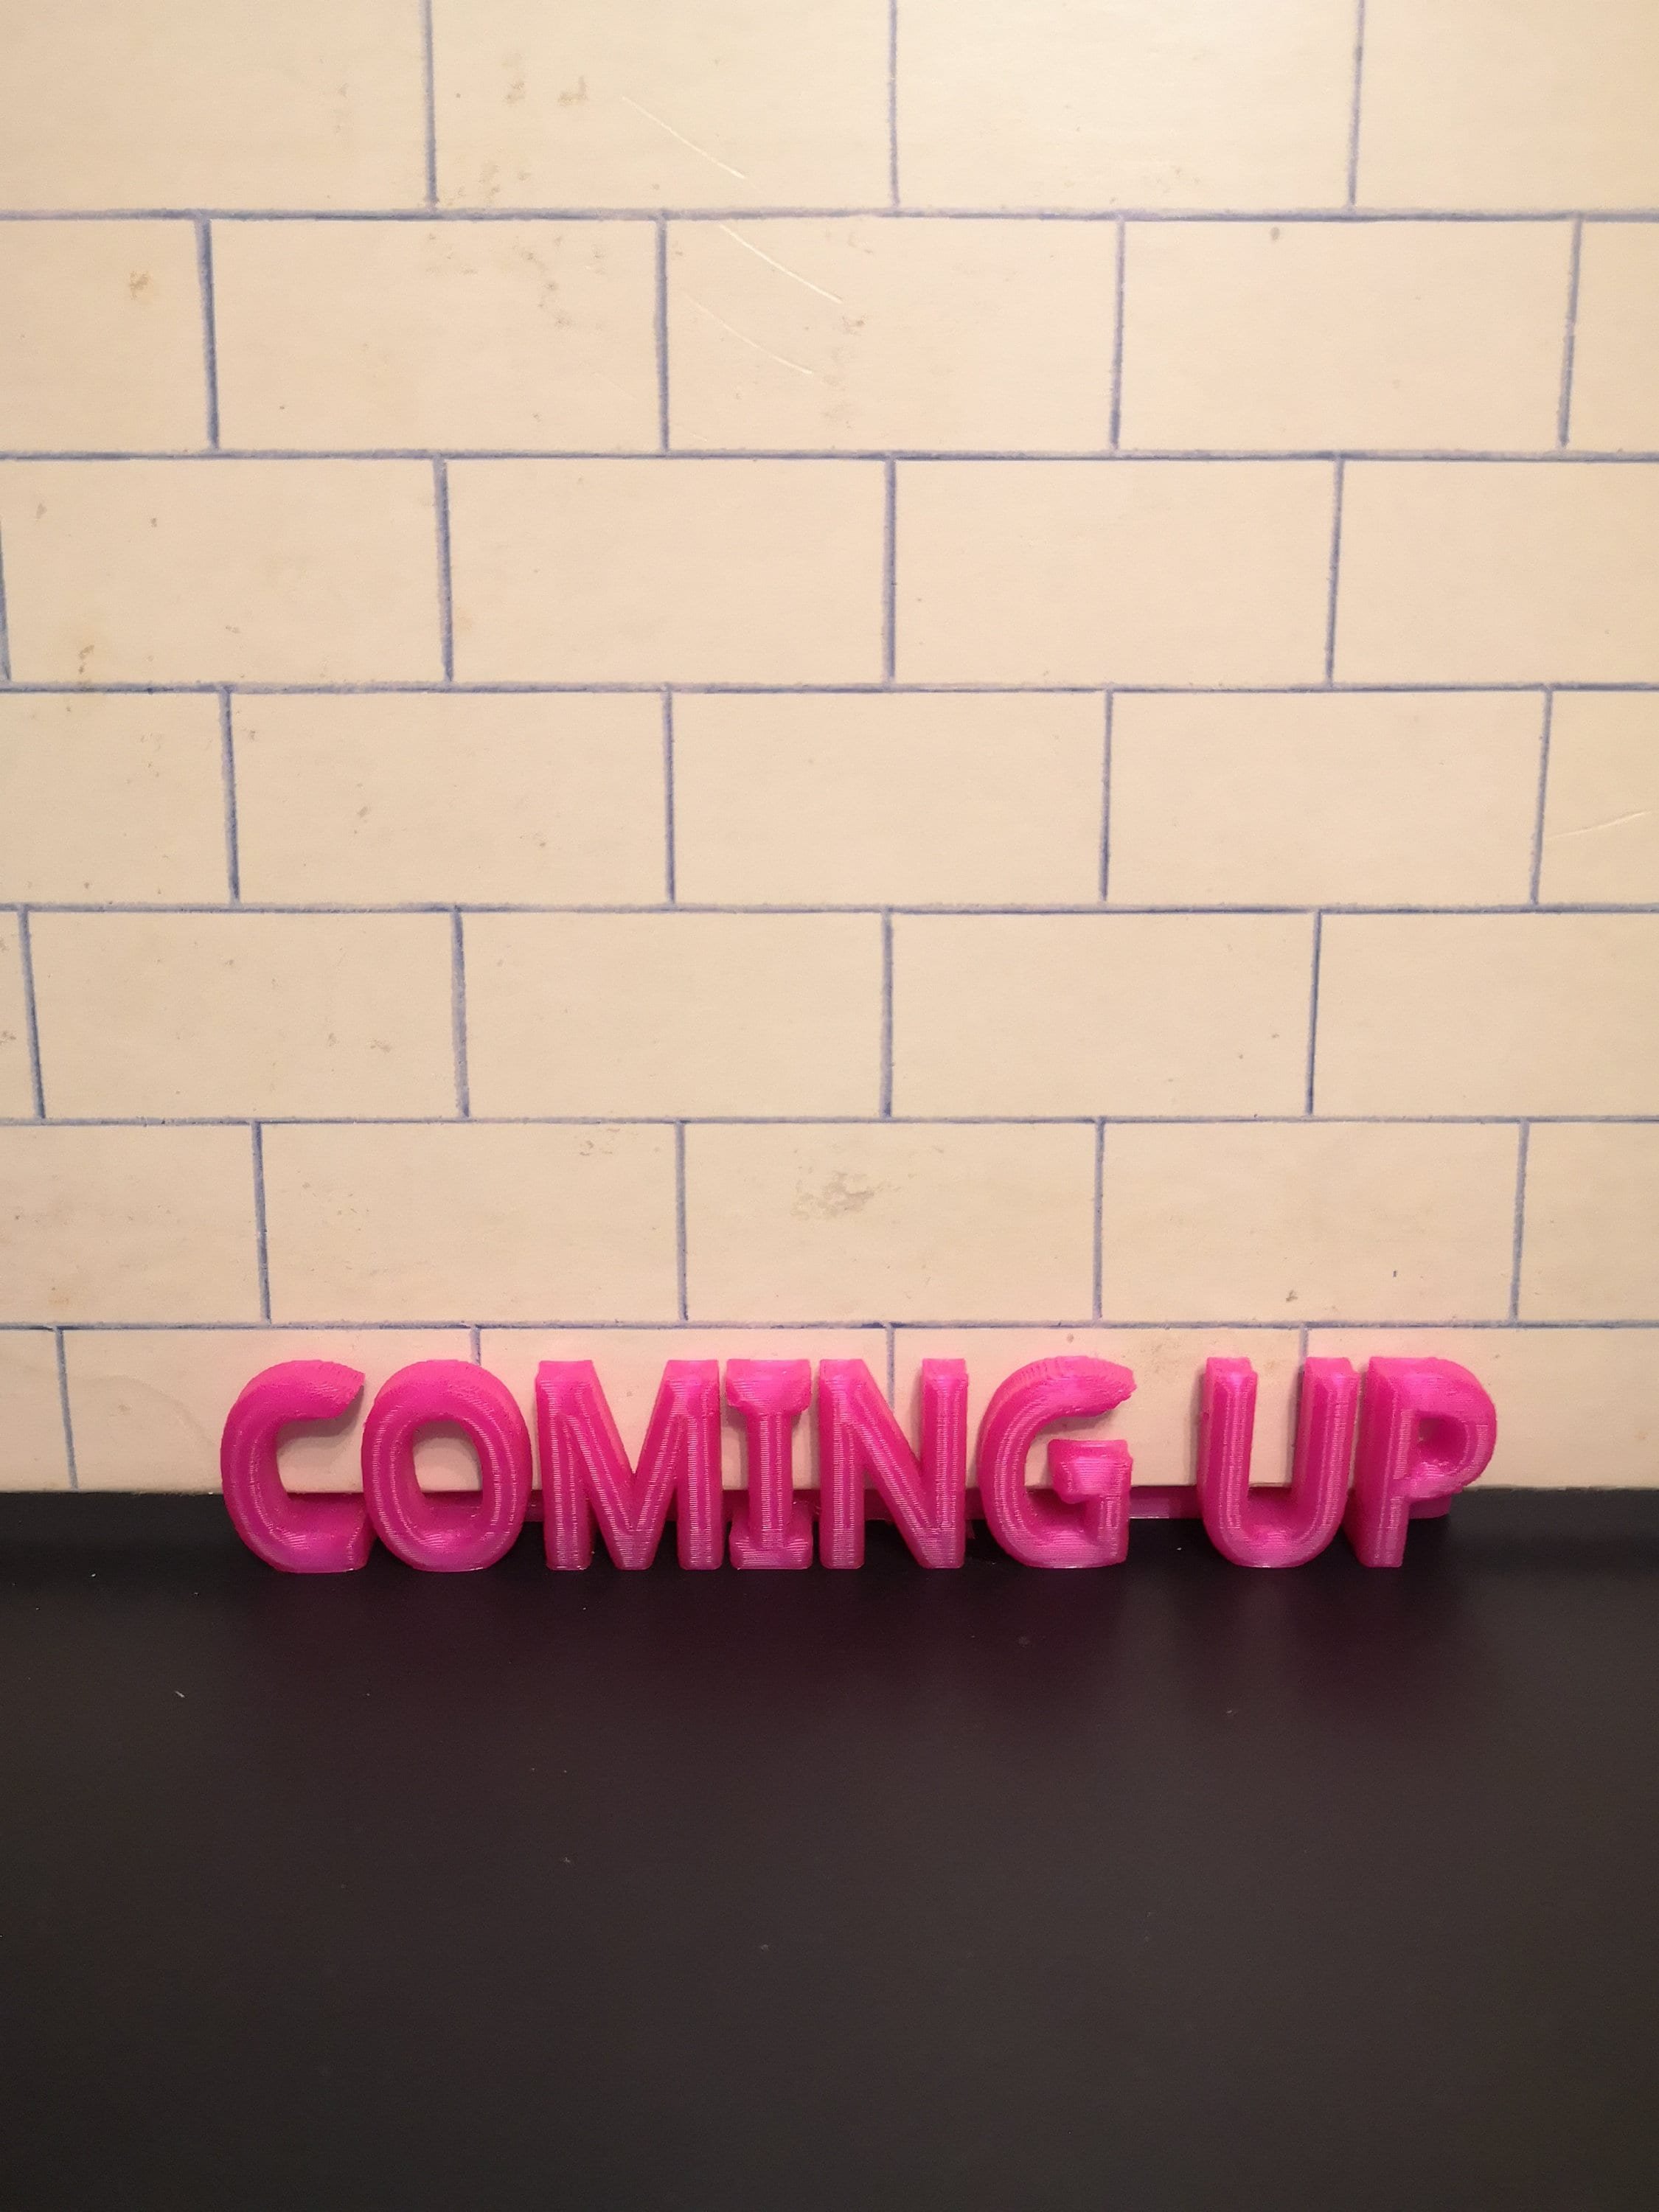
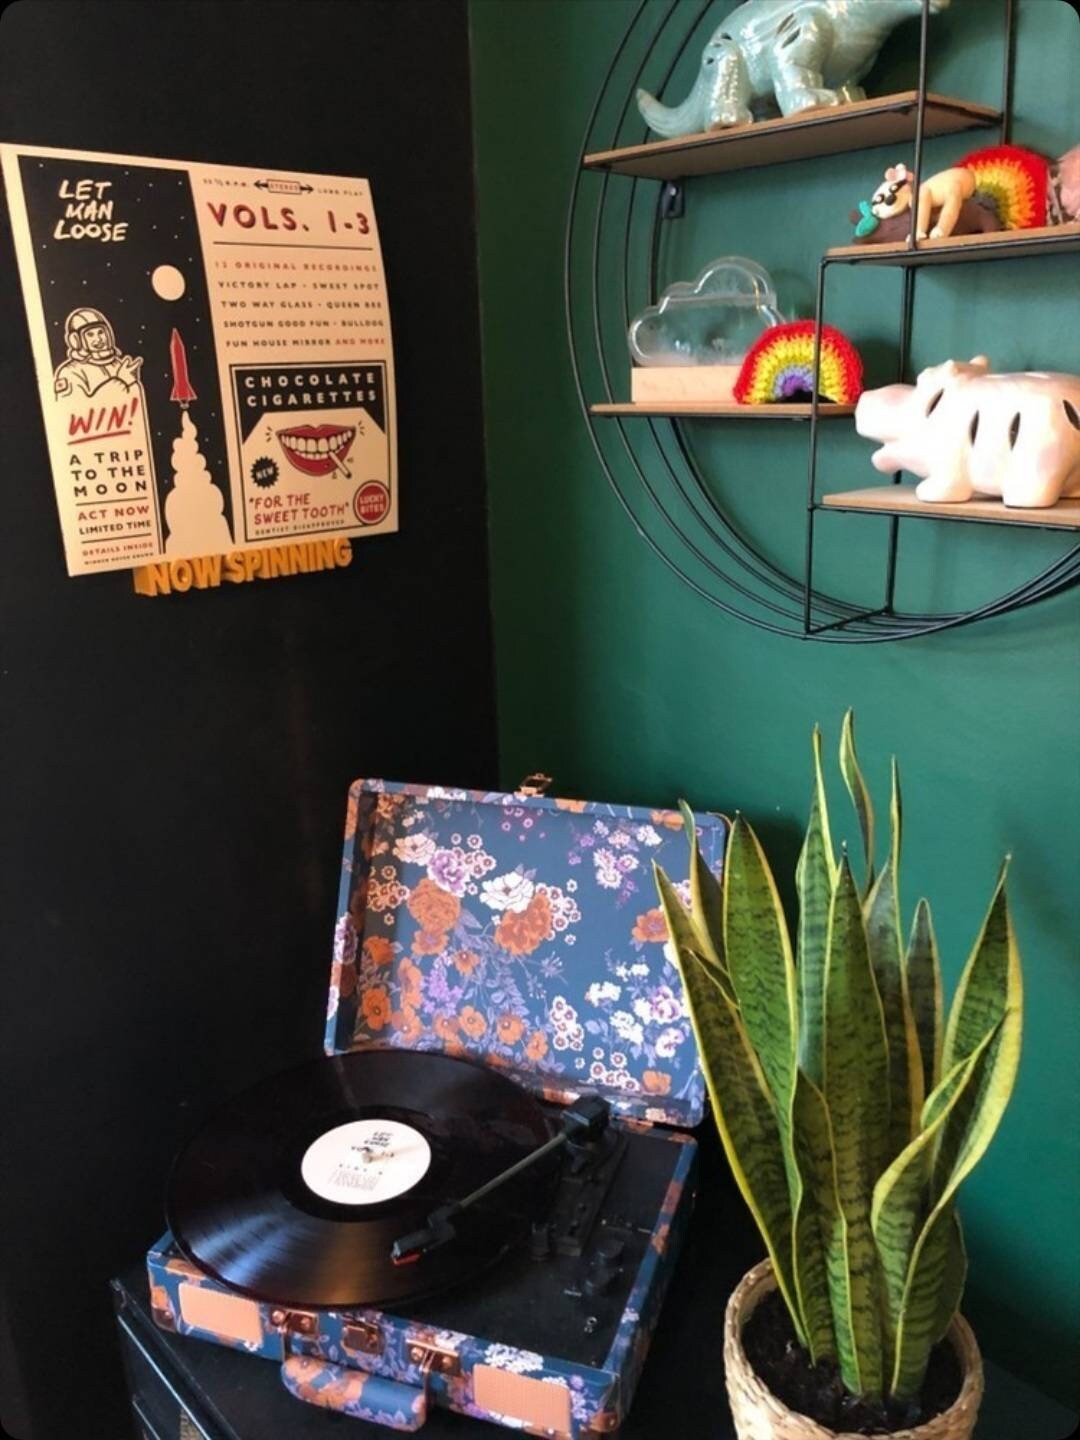
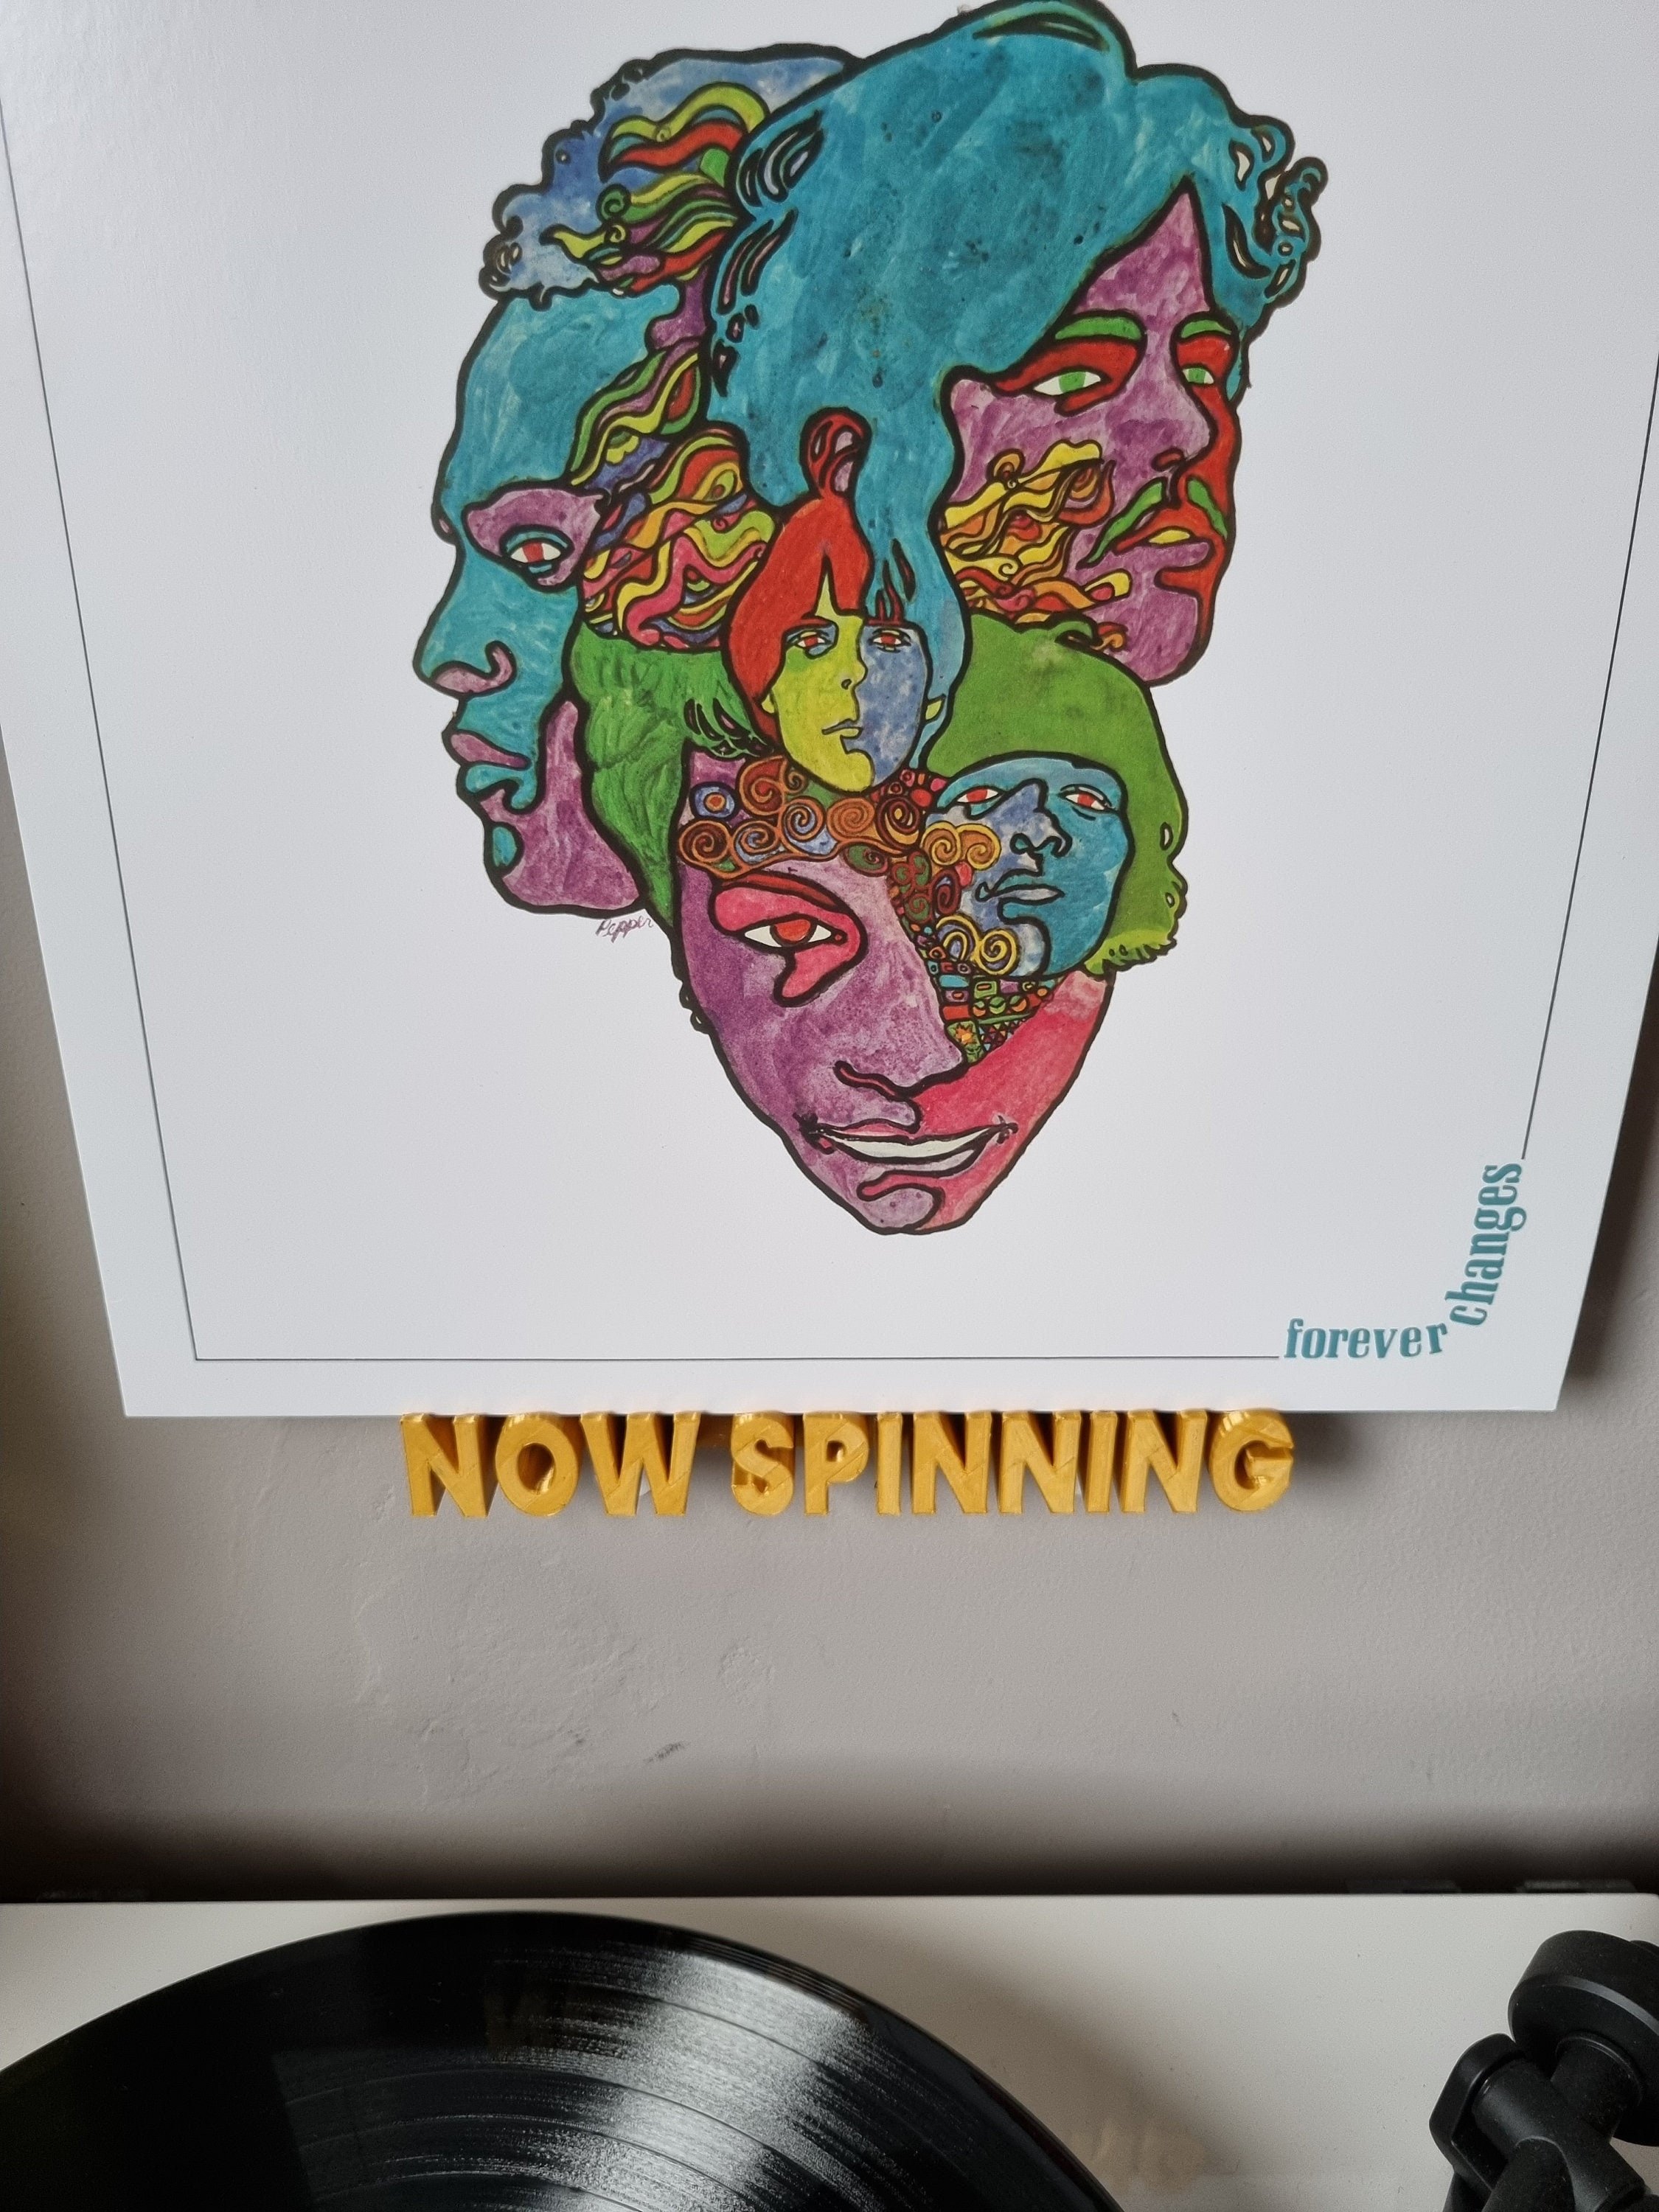
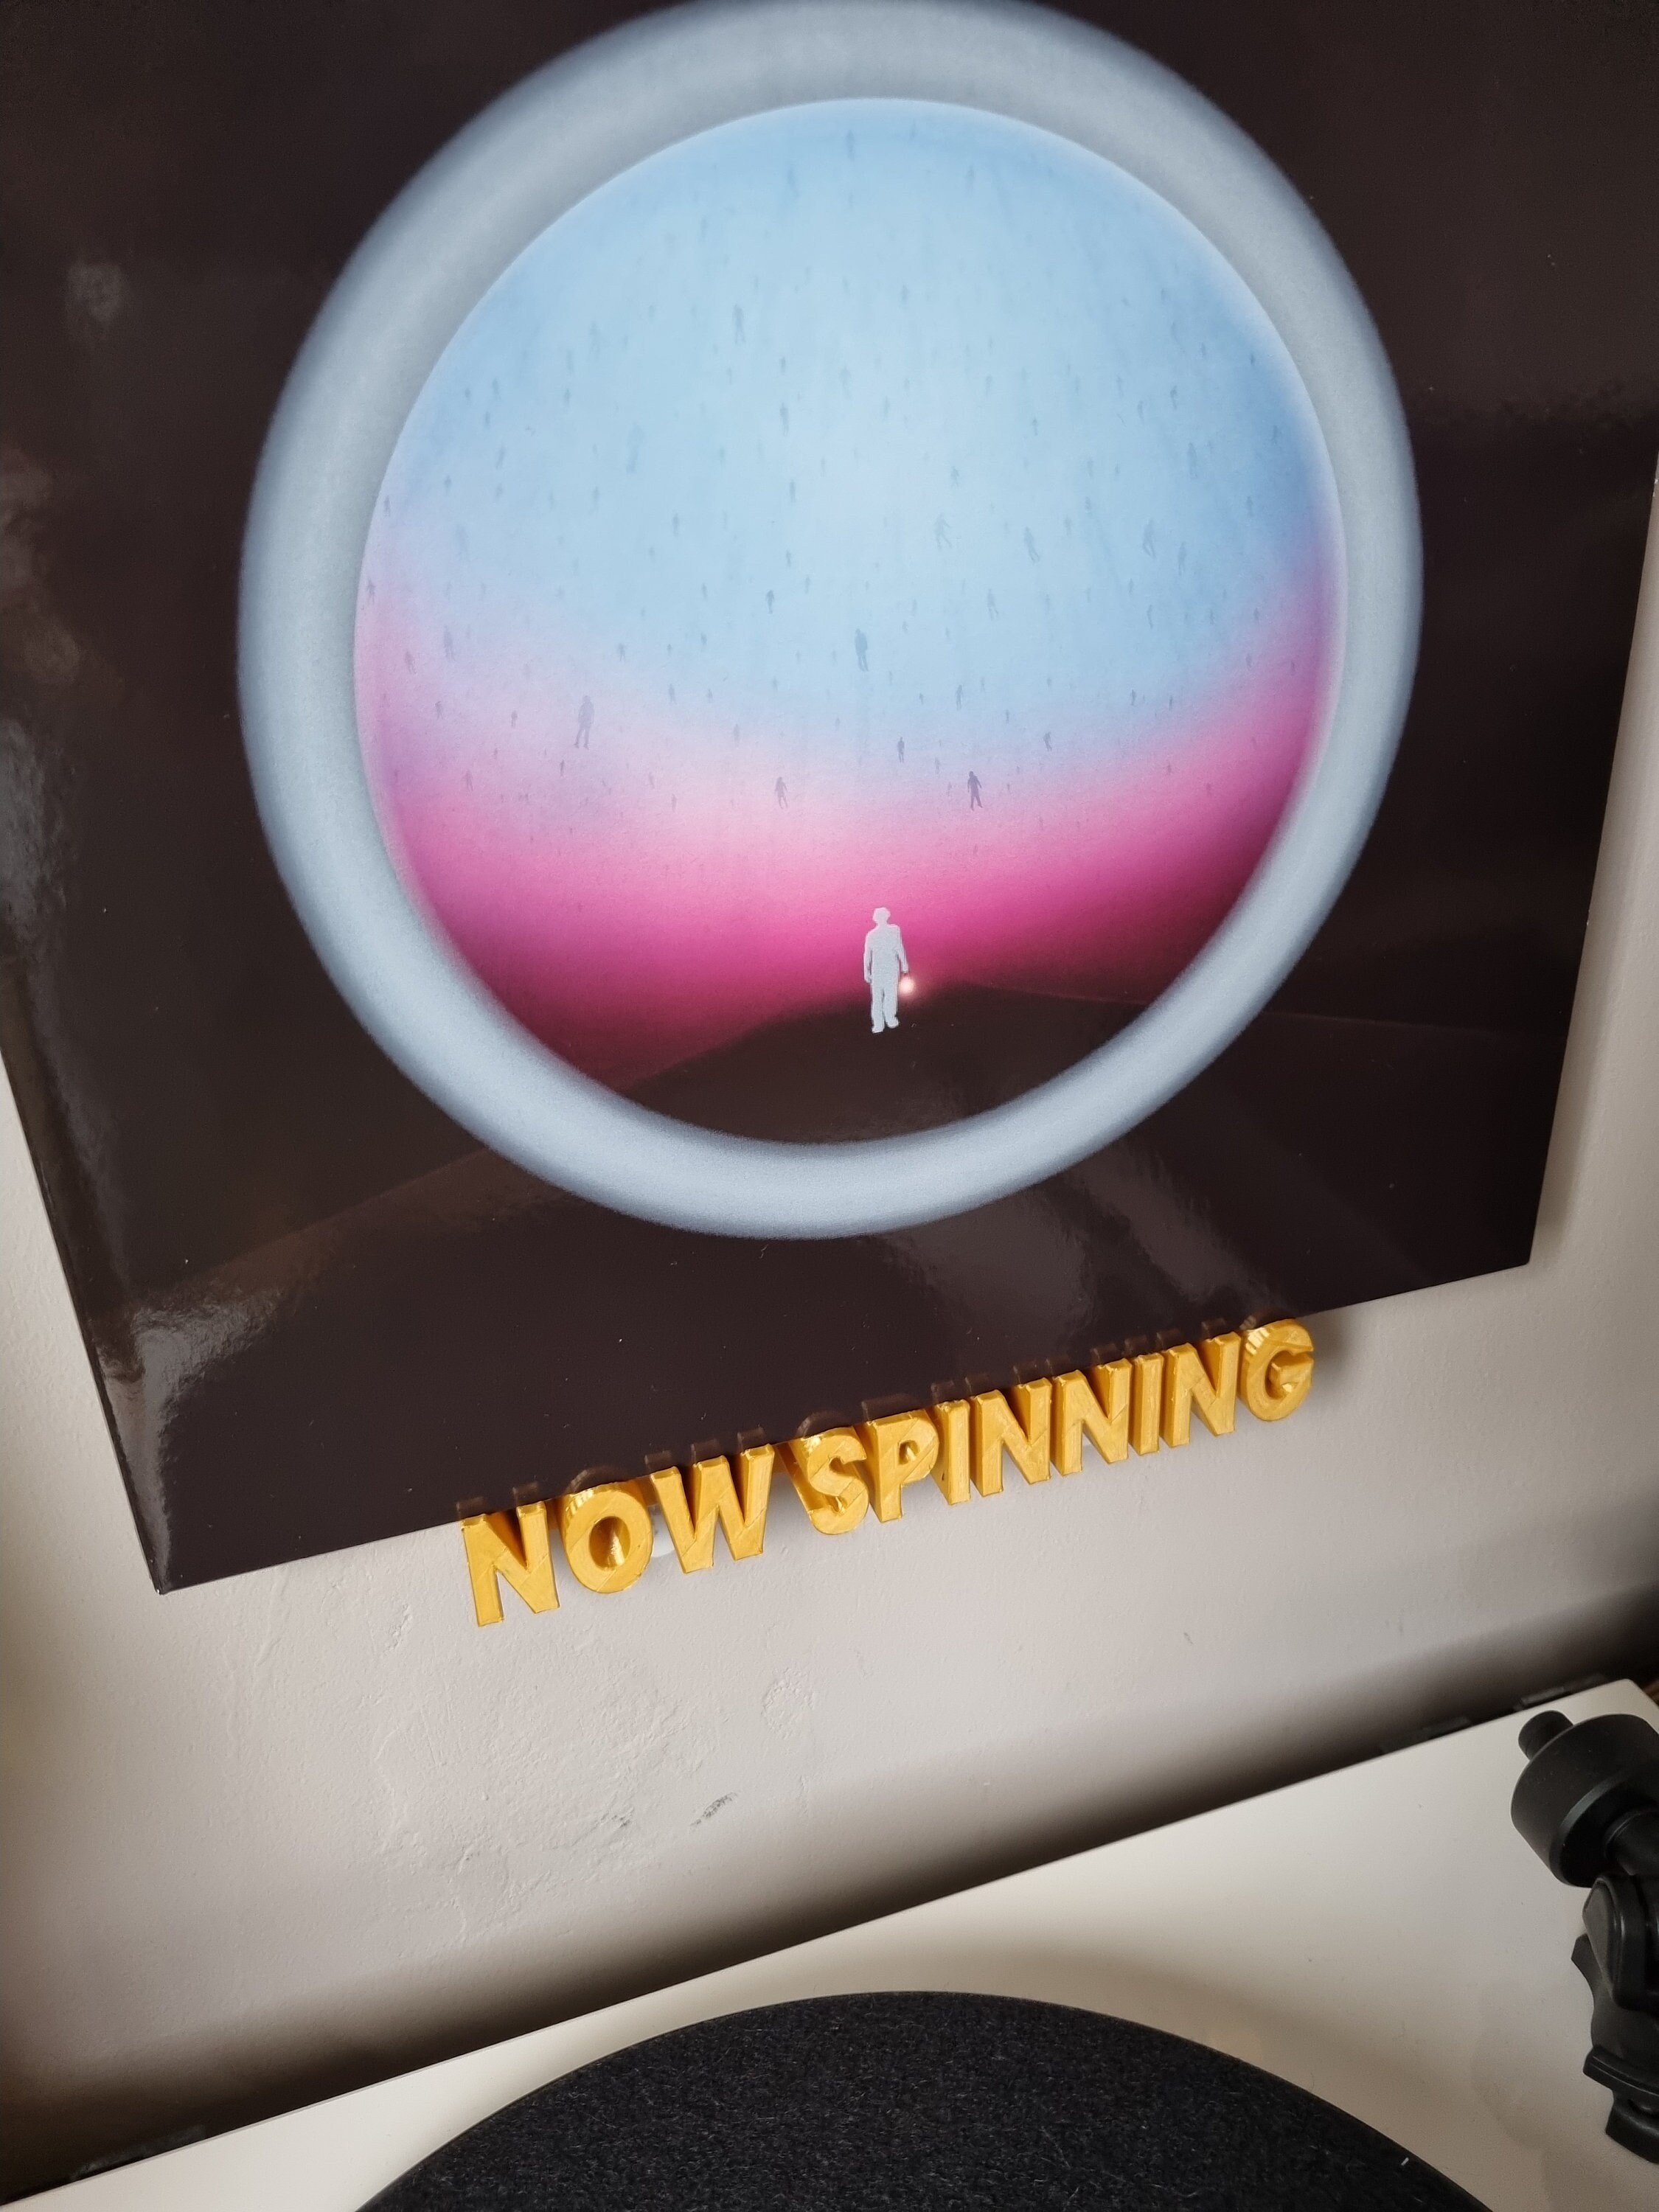
You've already got a Now Playing shelf, but you need somewhere to queue the next one up. Right?
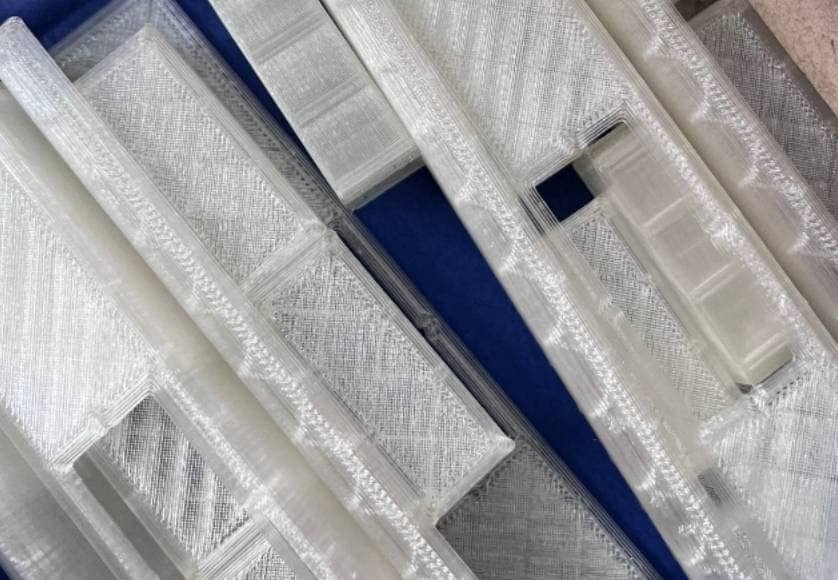
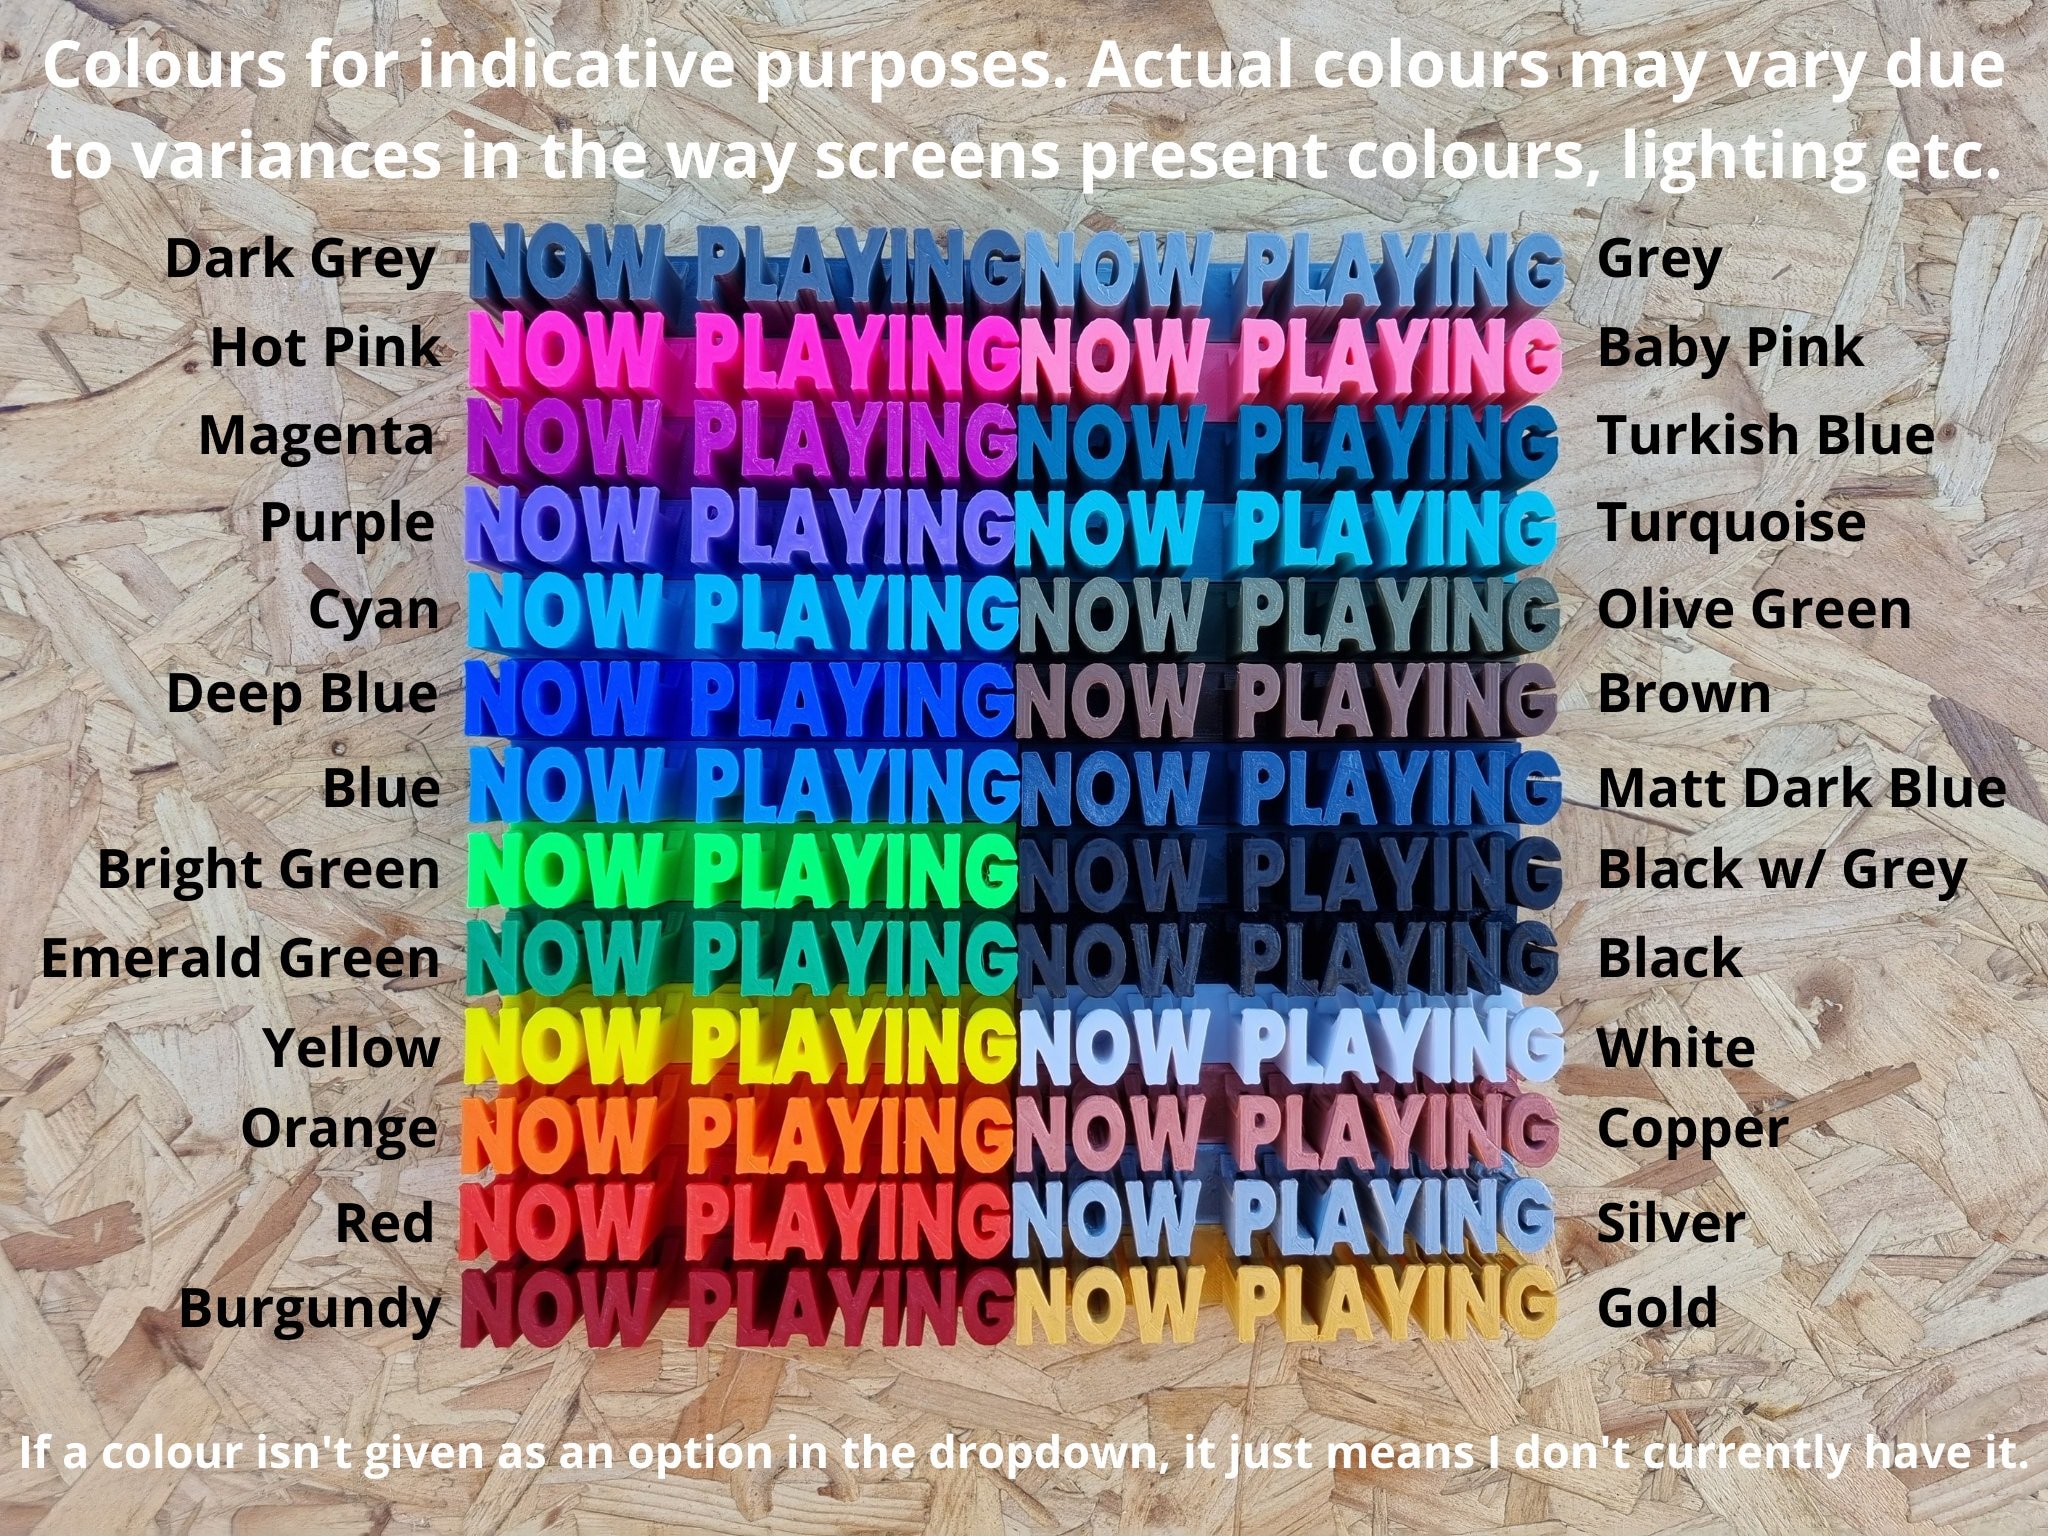
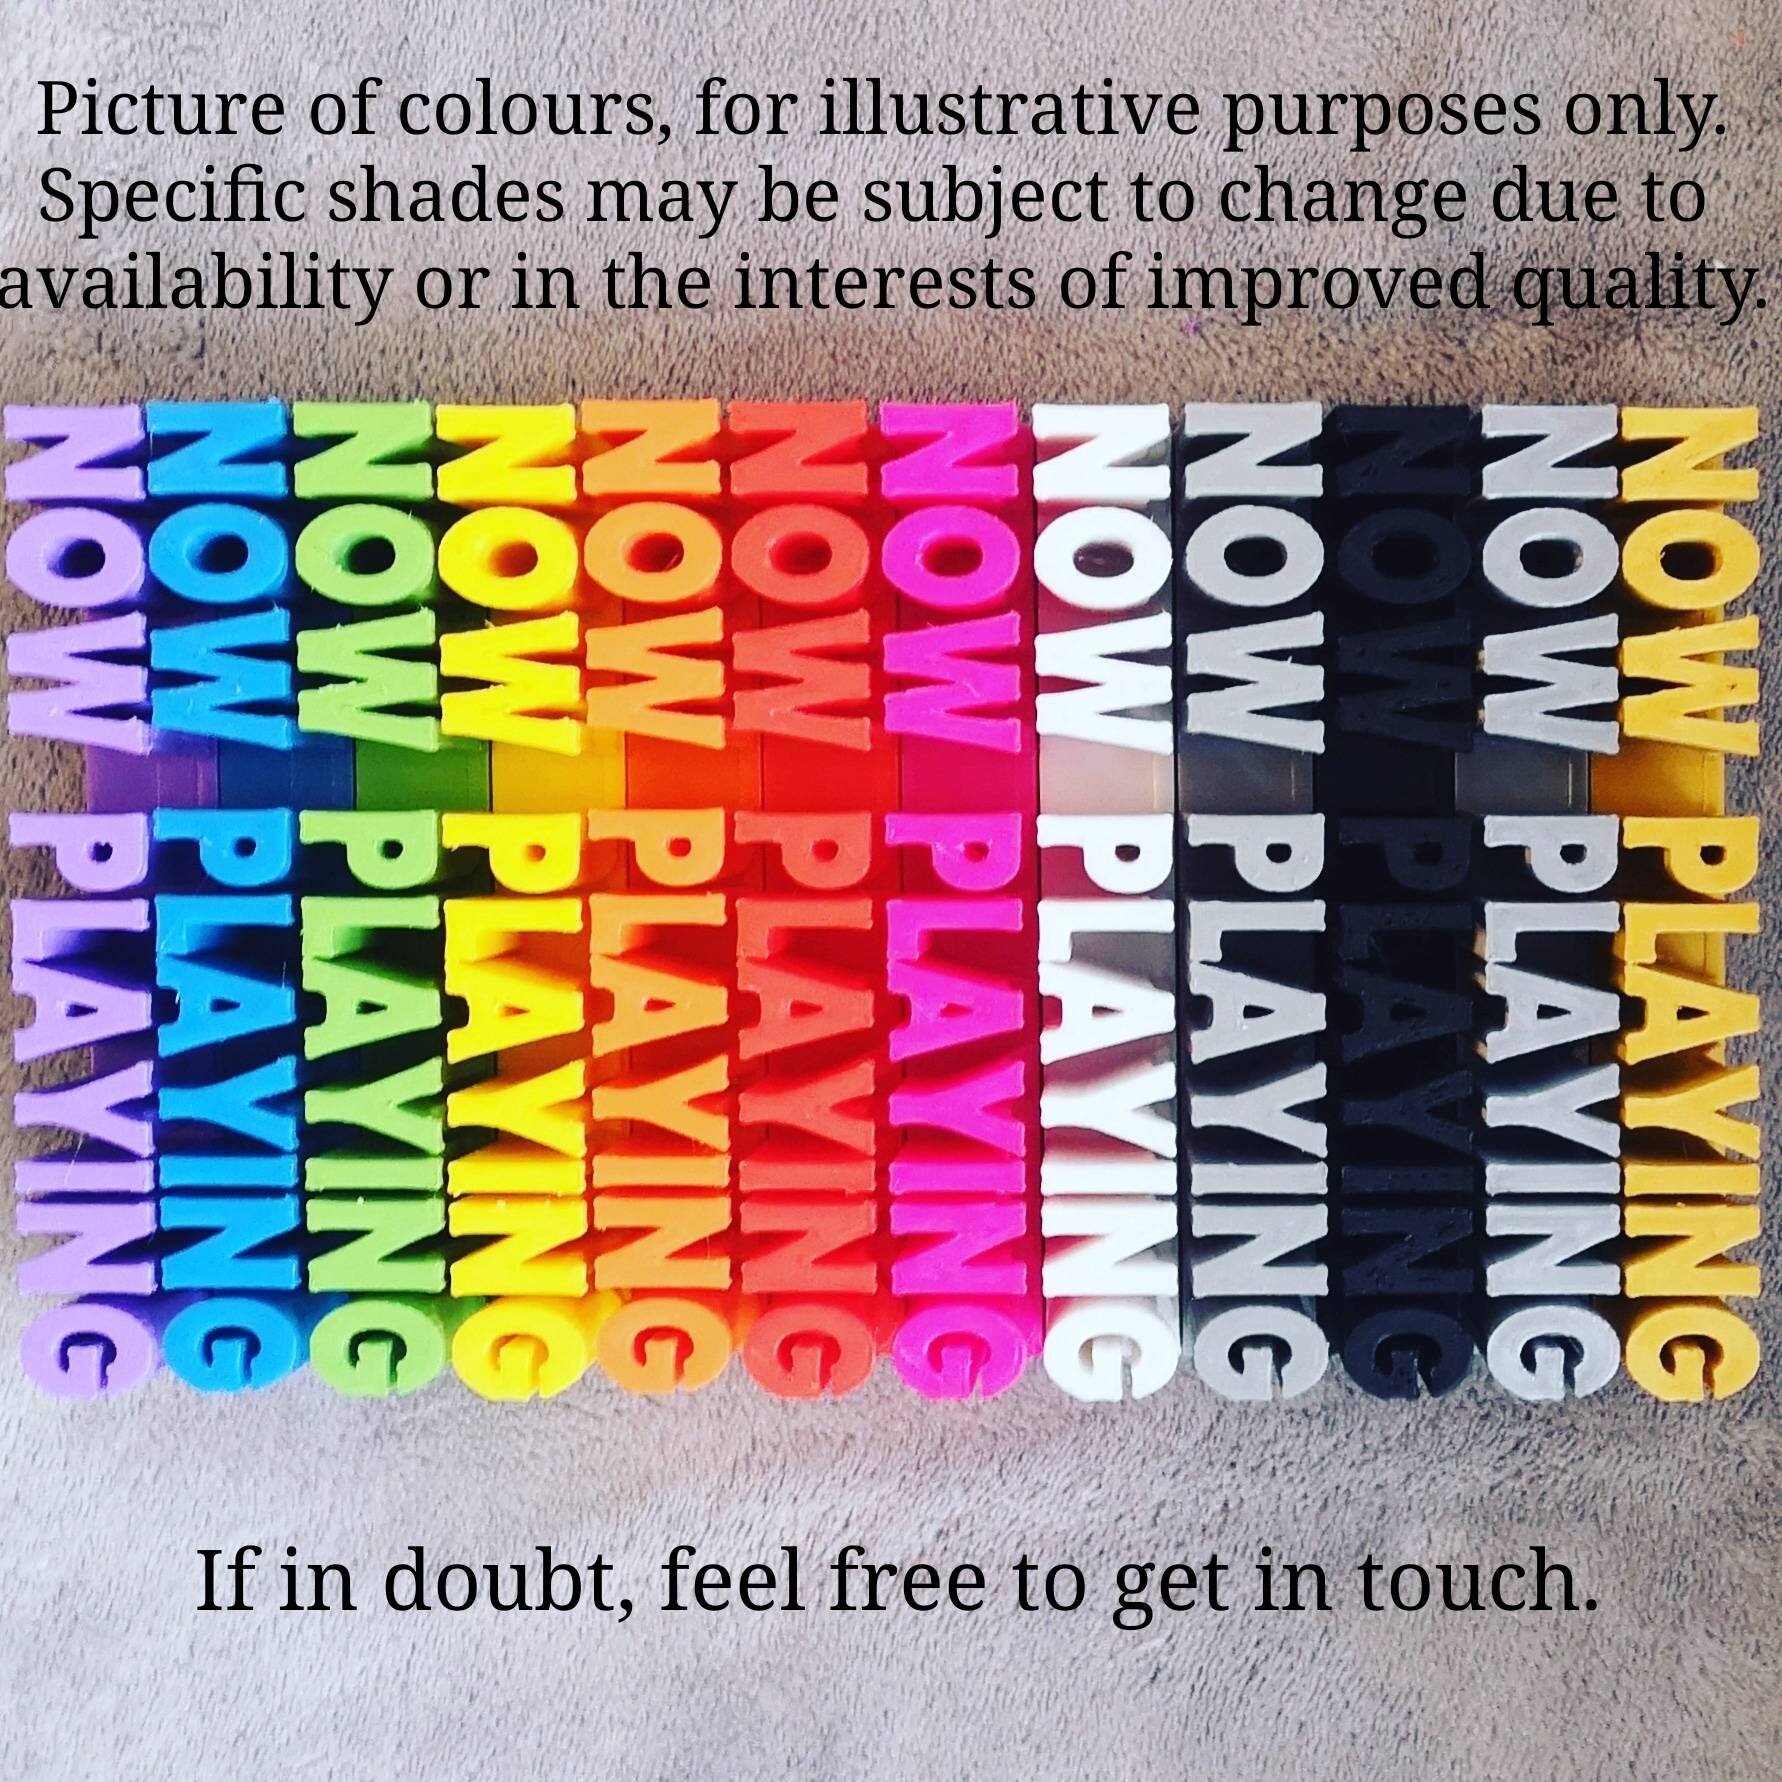
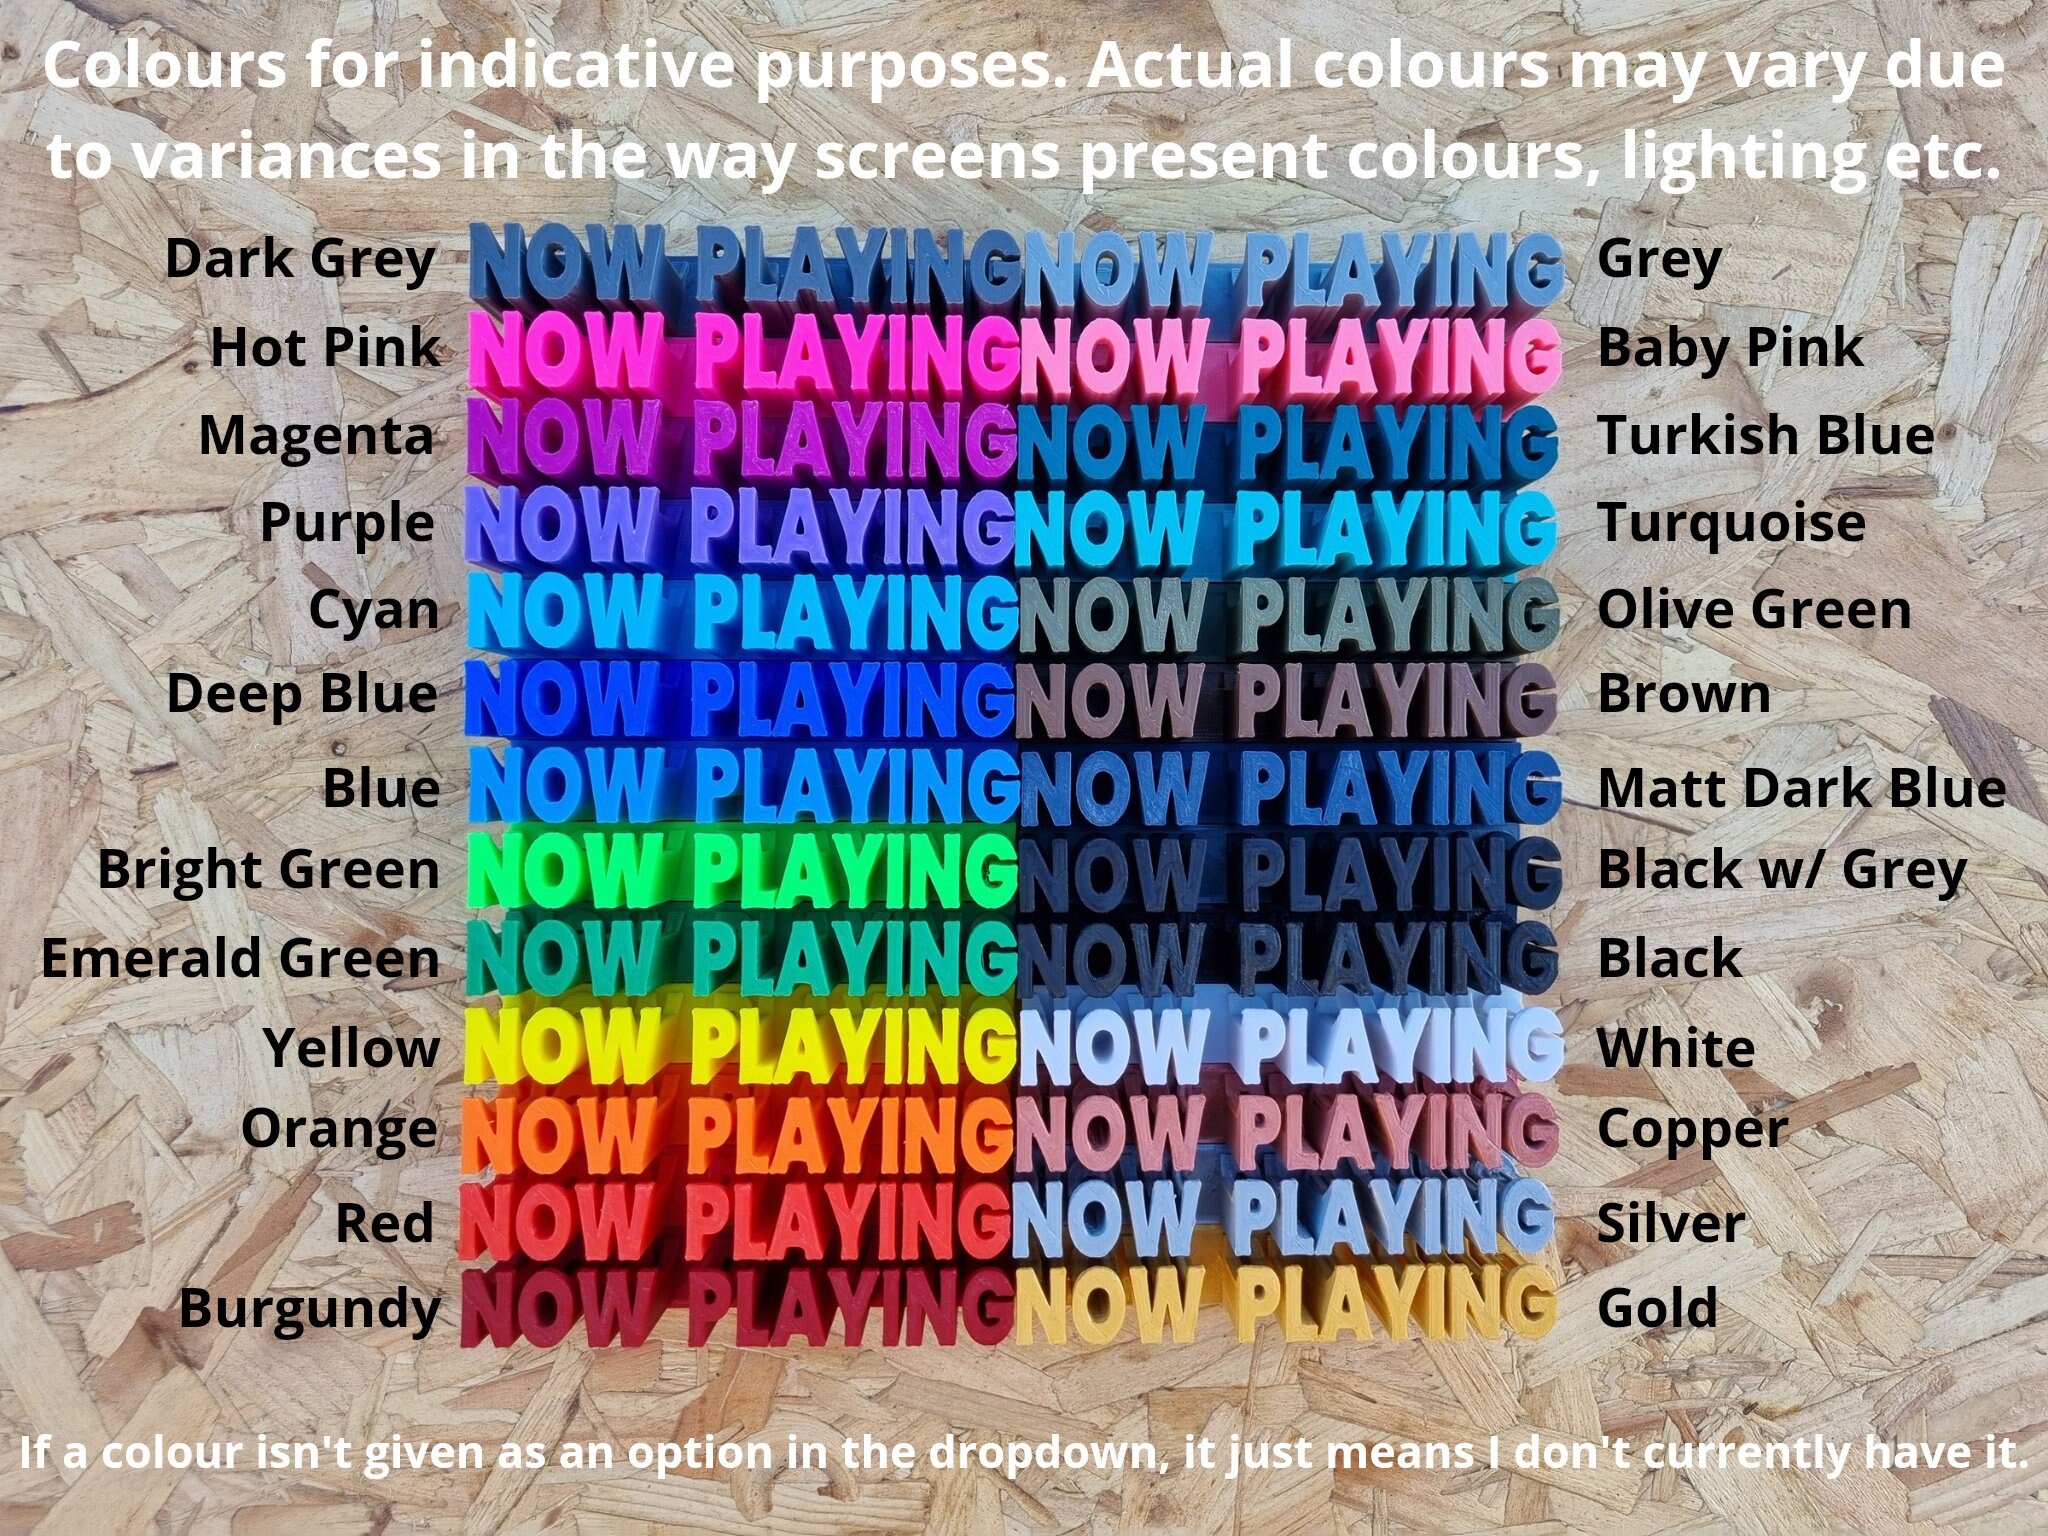
This is a 3D printed item so I'll print on demand in pretty much any colour you like. If the colour you want isn't listed send me a message and I'll see what I can do. Please bear in mind that 3D printed items aren't perfect. You'll see texture on the surface. I'll always make sure I send a decent print though, and if one doesn't come out as well as I'd expect, I'll print it again rather than sending something that I don't think is very good.
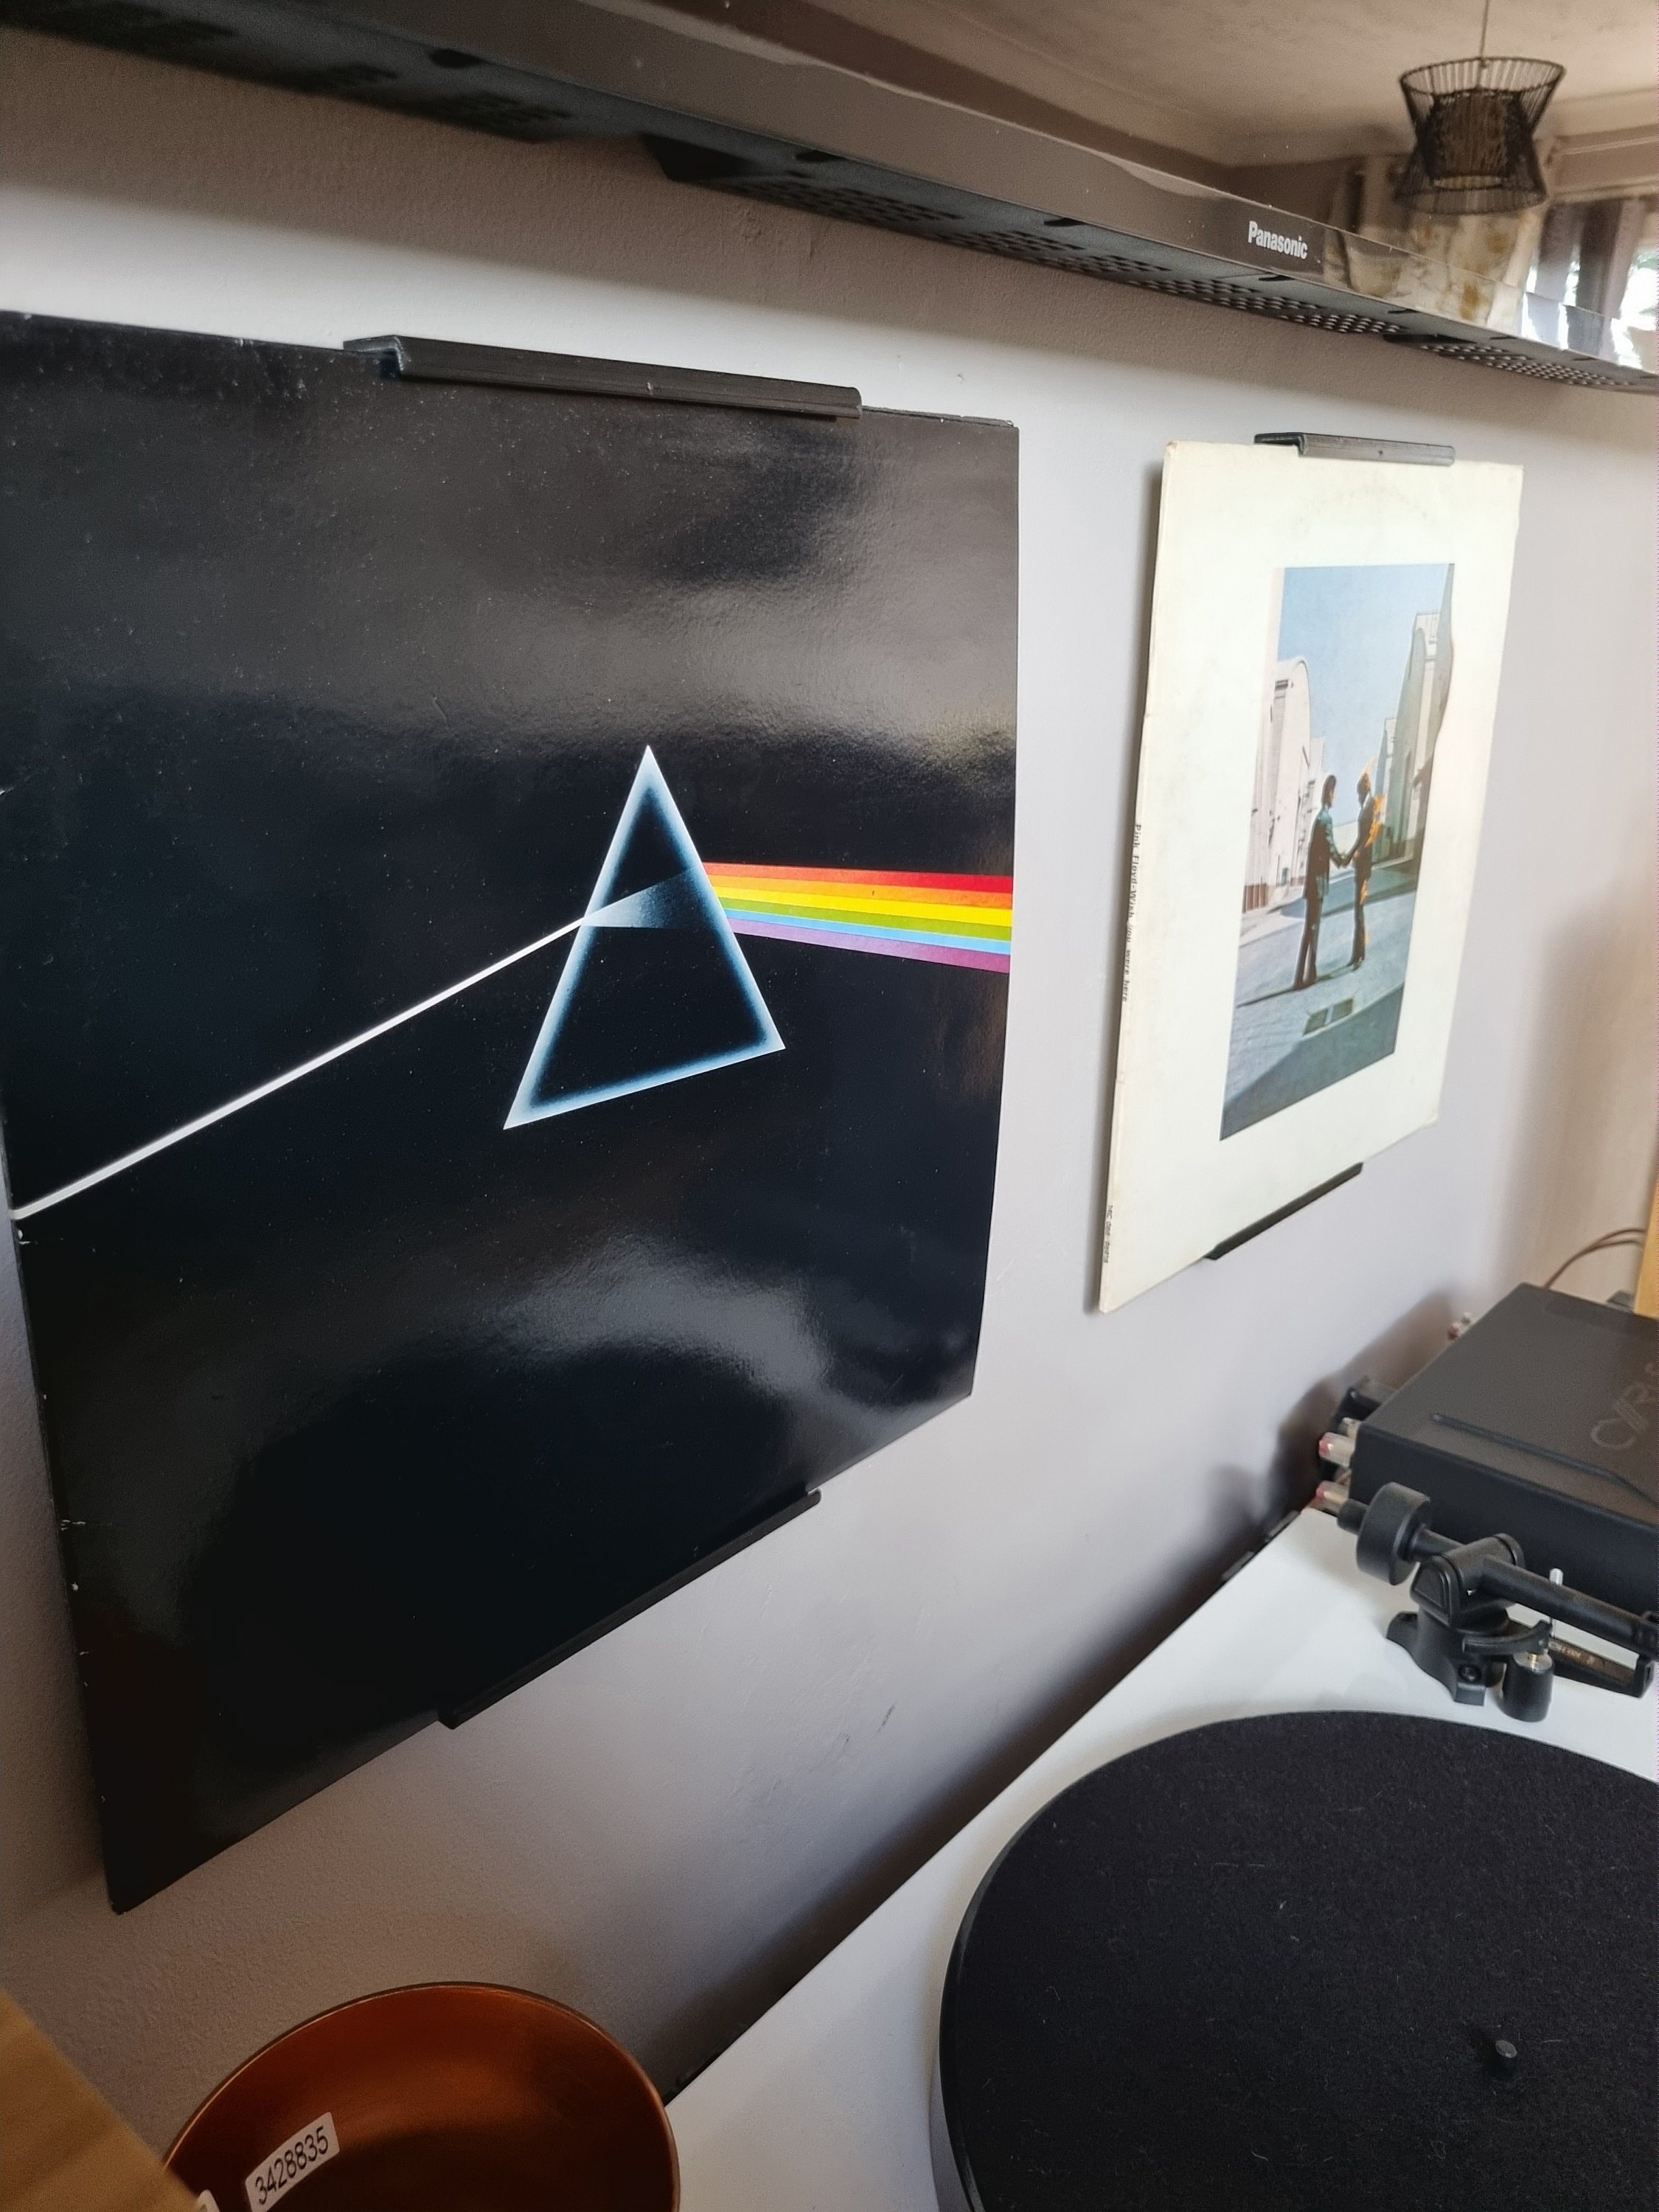
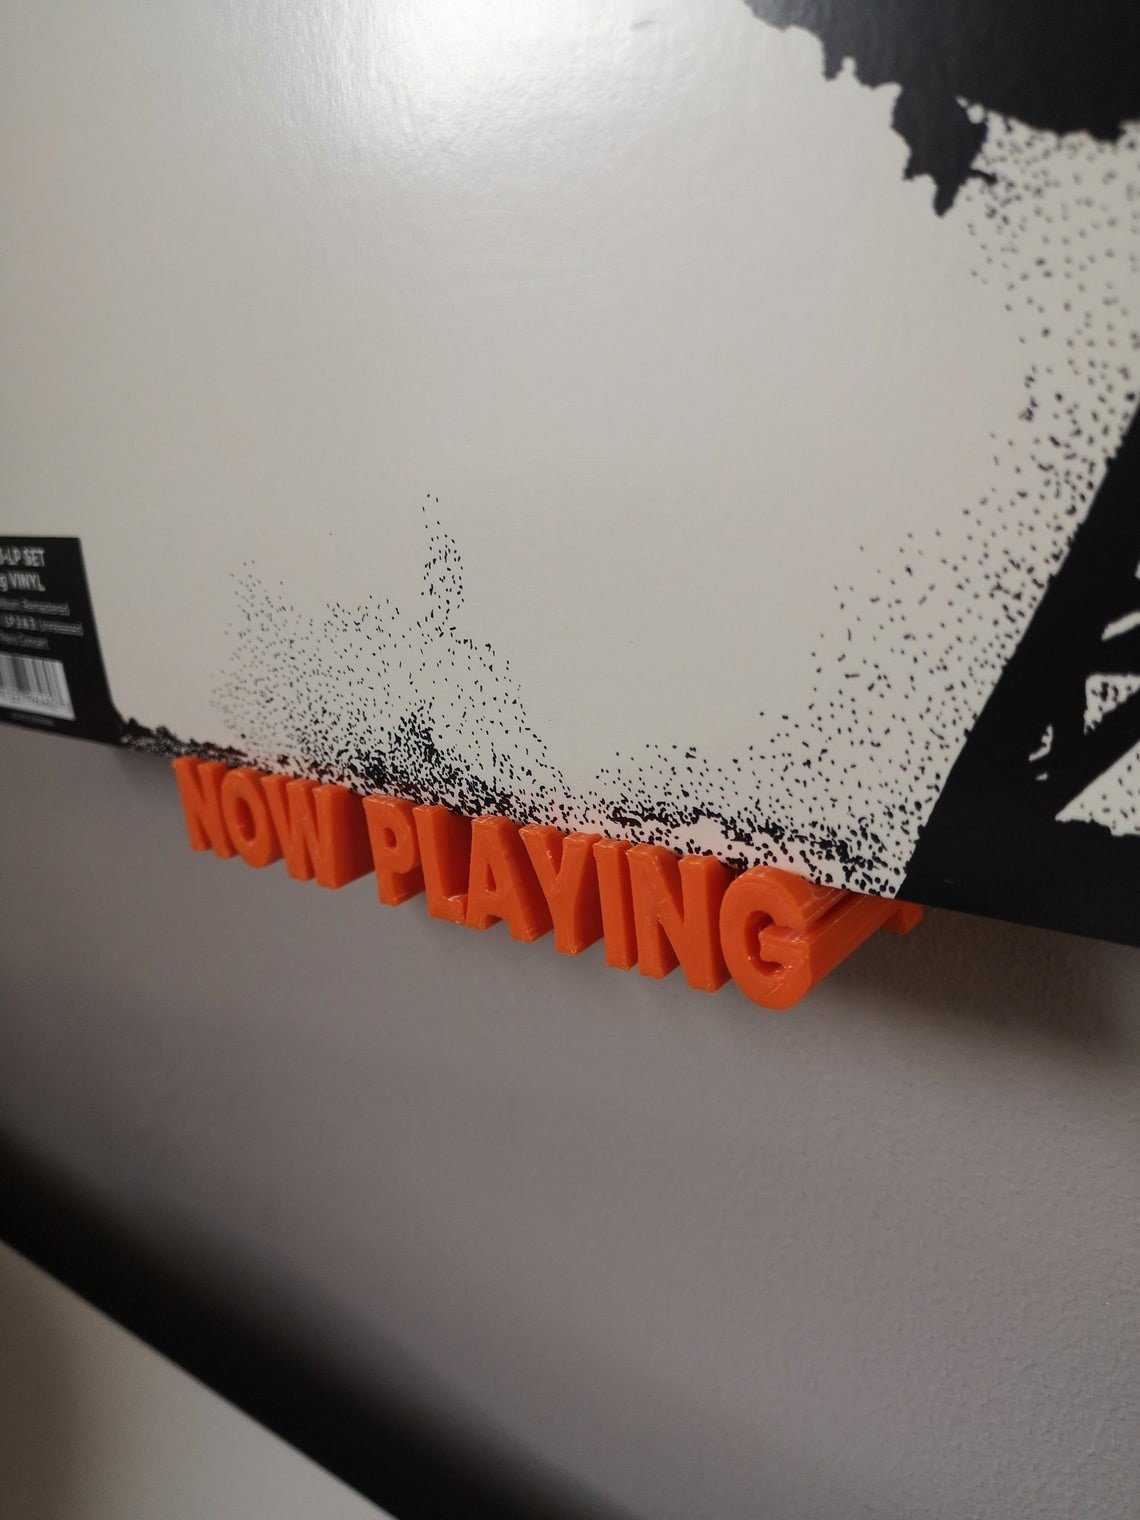
Happy to consider discounts for bulk purchases. I also have Now Playing and Spinning stands and wall mounted versions of both, as well as small record display shelves, alphabet dividers and a few other bits and pieces elsewhere on my site.
Thanks for looking.
[Instructions]
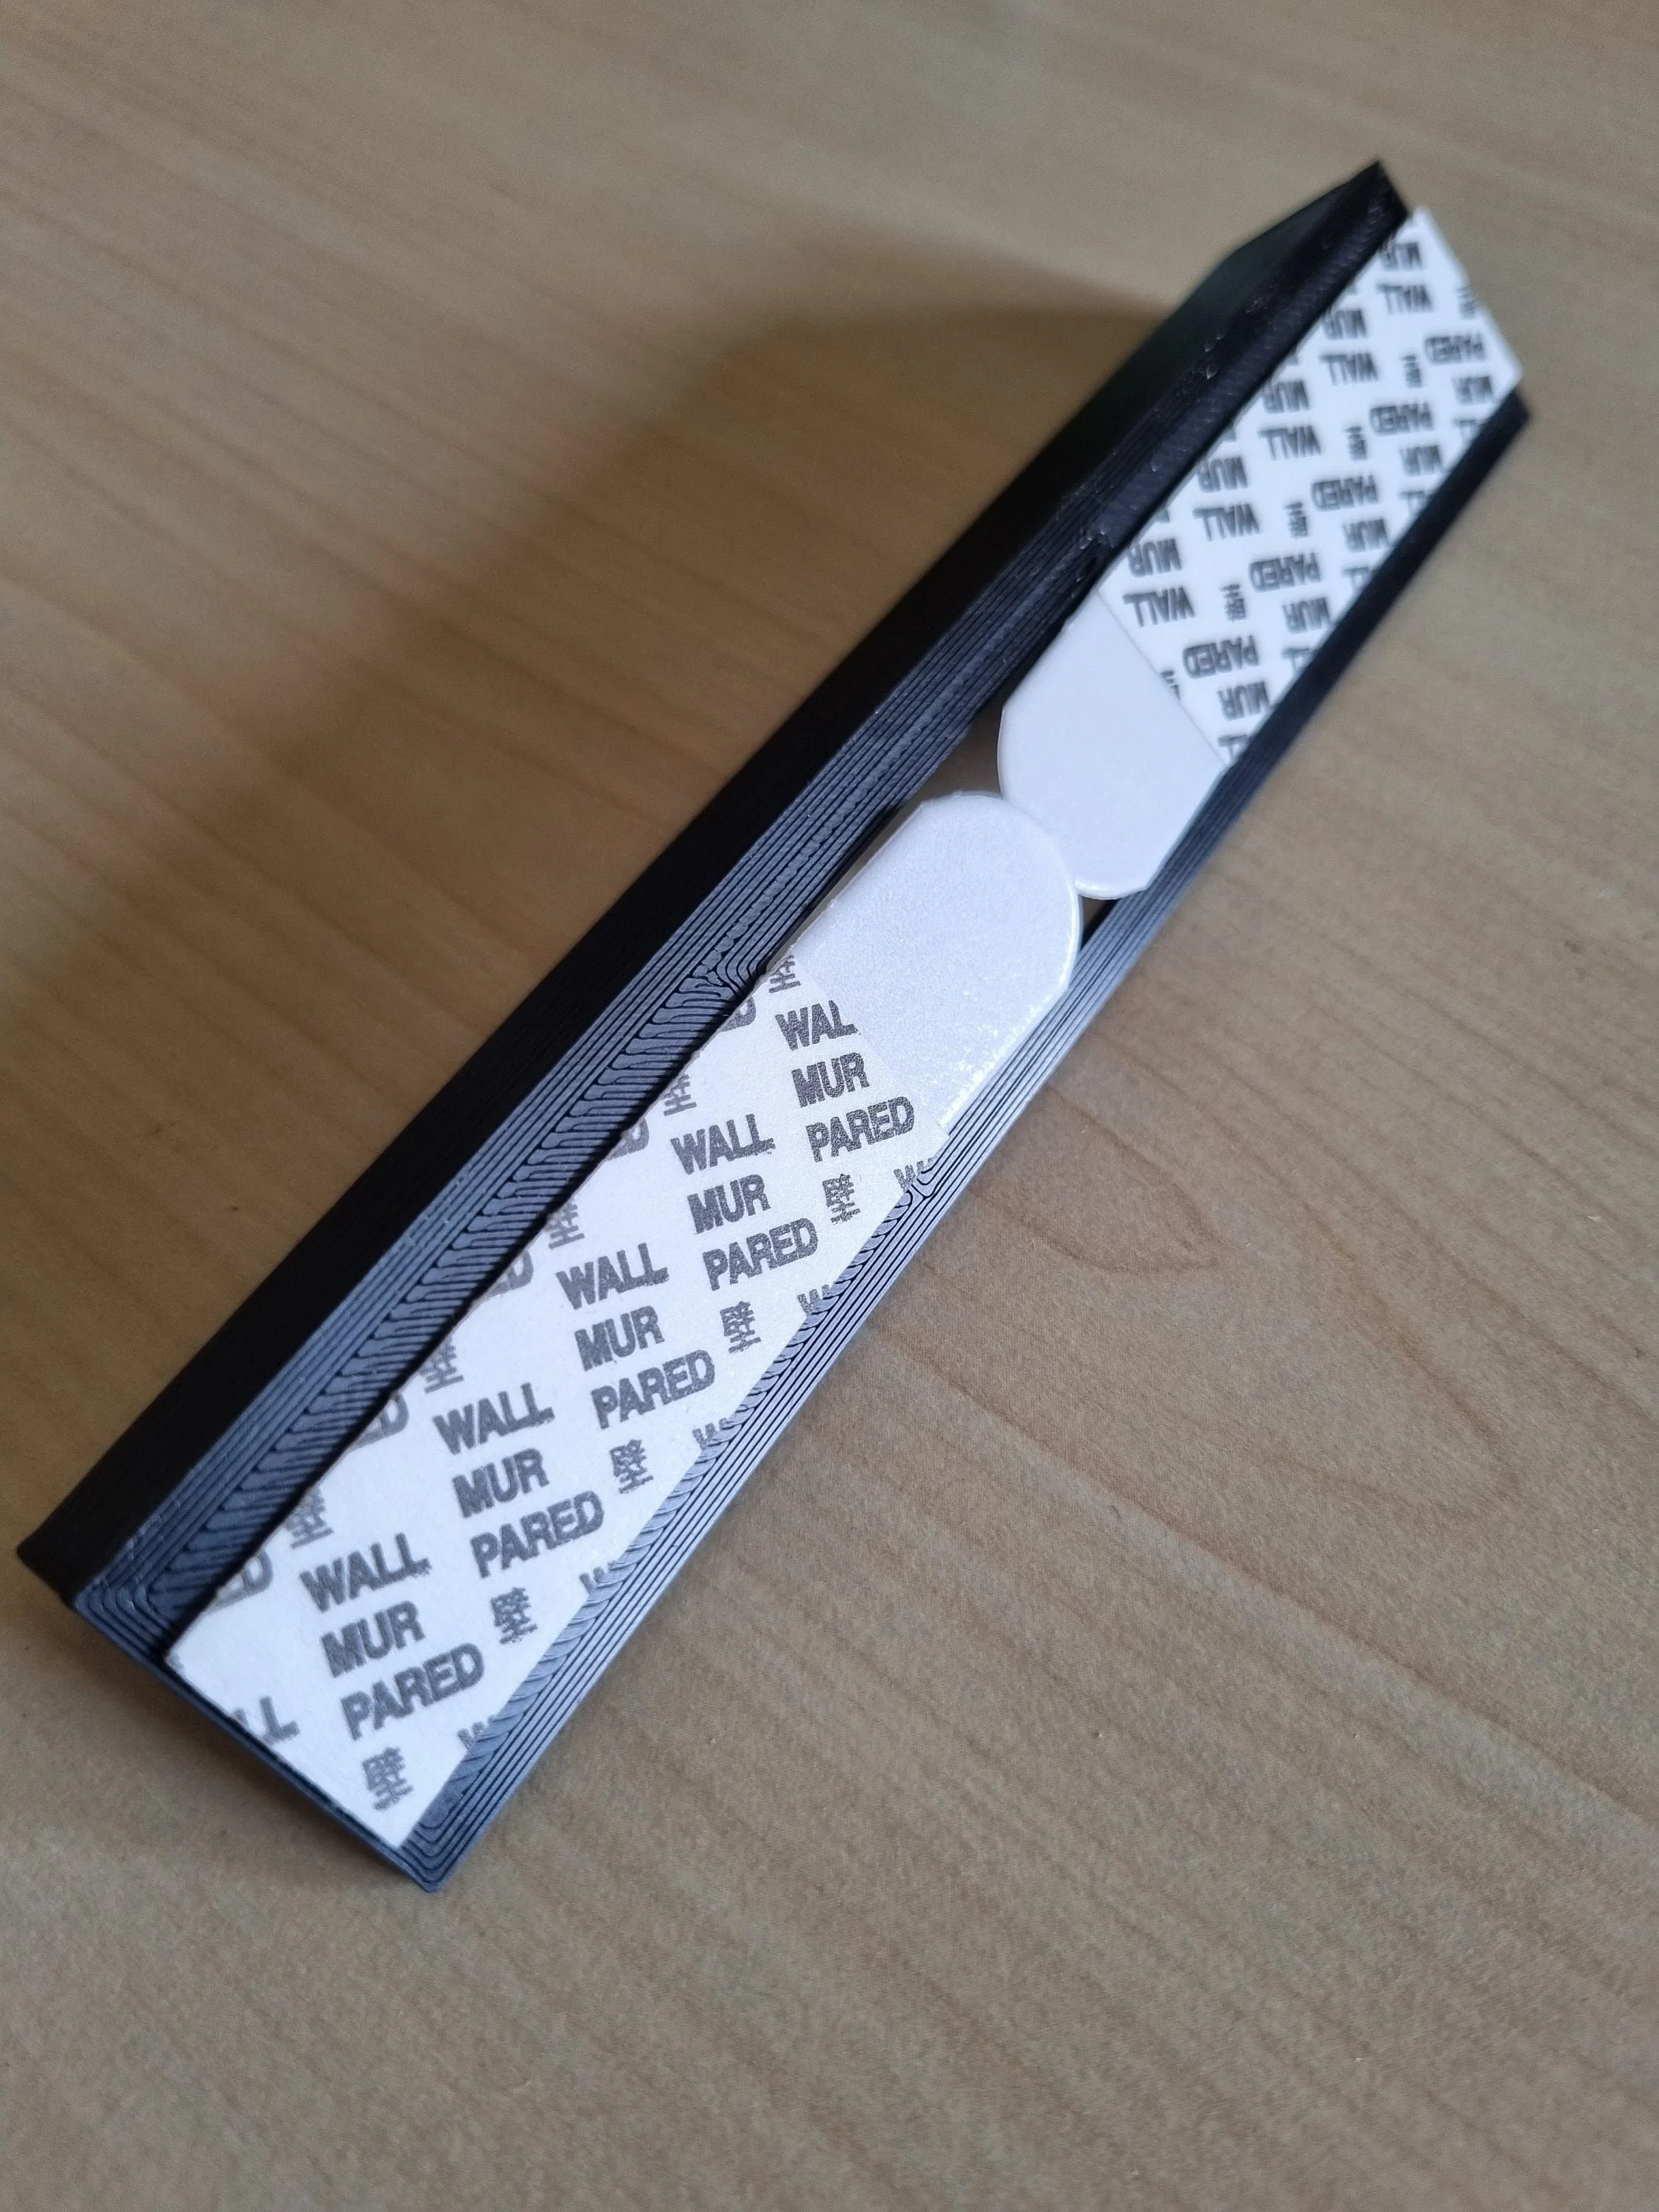
For No More Nails strips, make sure you don’t touch the back of the shelf since oils from your fingers will interfere with the adhesive. Remove the backing paper from the three strips and press them onto the back of the shelf. Press down on a hard surface for ten seconds. Then remove the remaining backing paper, line up with a spirit level and press firmly against your wall for ten seconds. Wait a couple of hours before putting any weight on.
No More Nails strips (and any other Command-style strips) must only be used on smooth, painted surfaces where the paint is sound and well-adhered. They must not be used on wallpapered or textured surfaces.
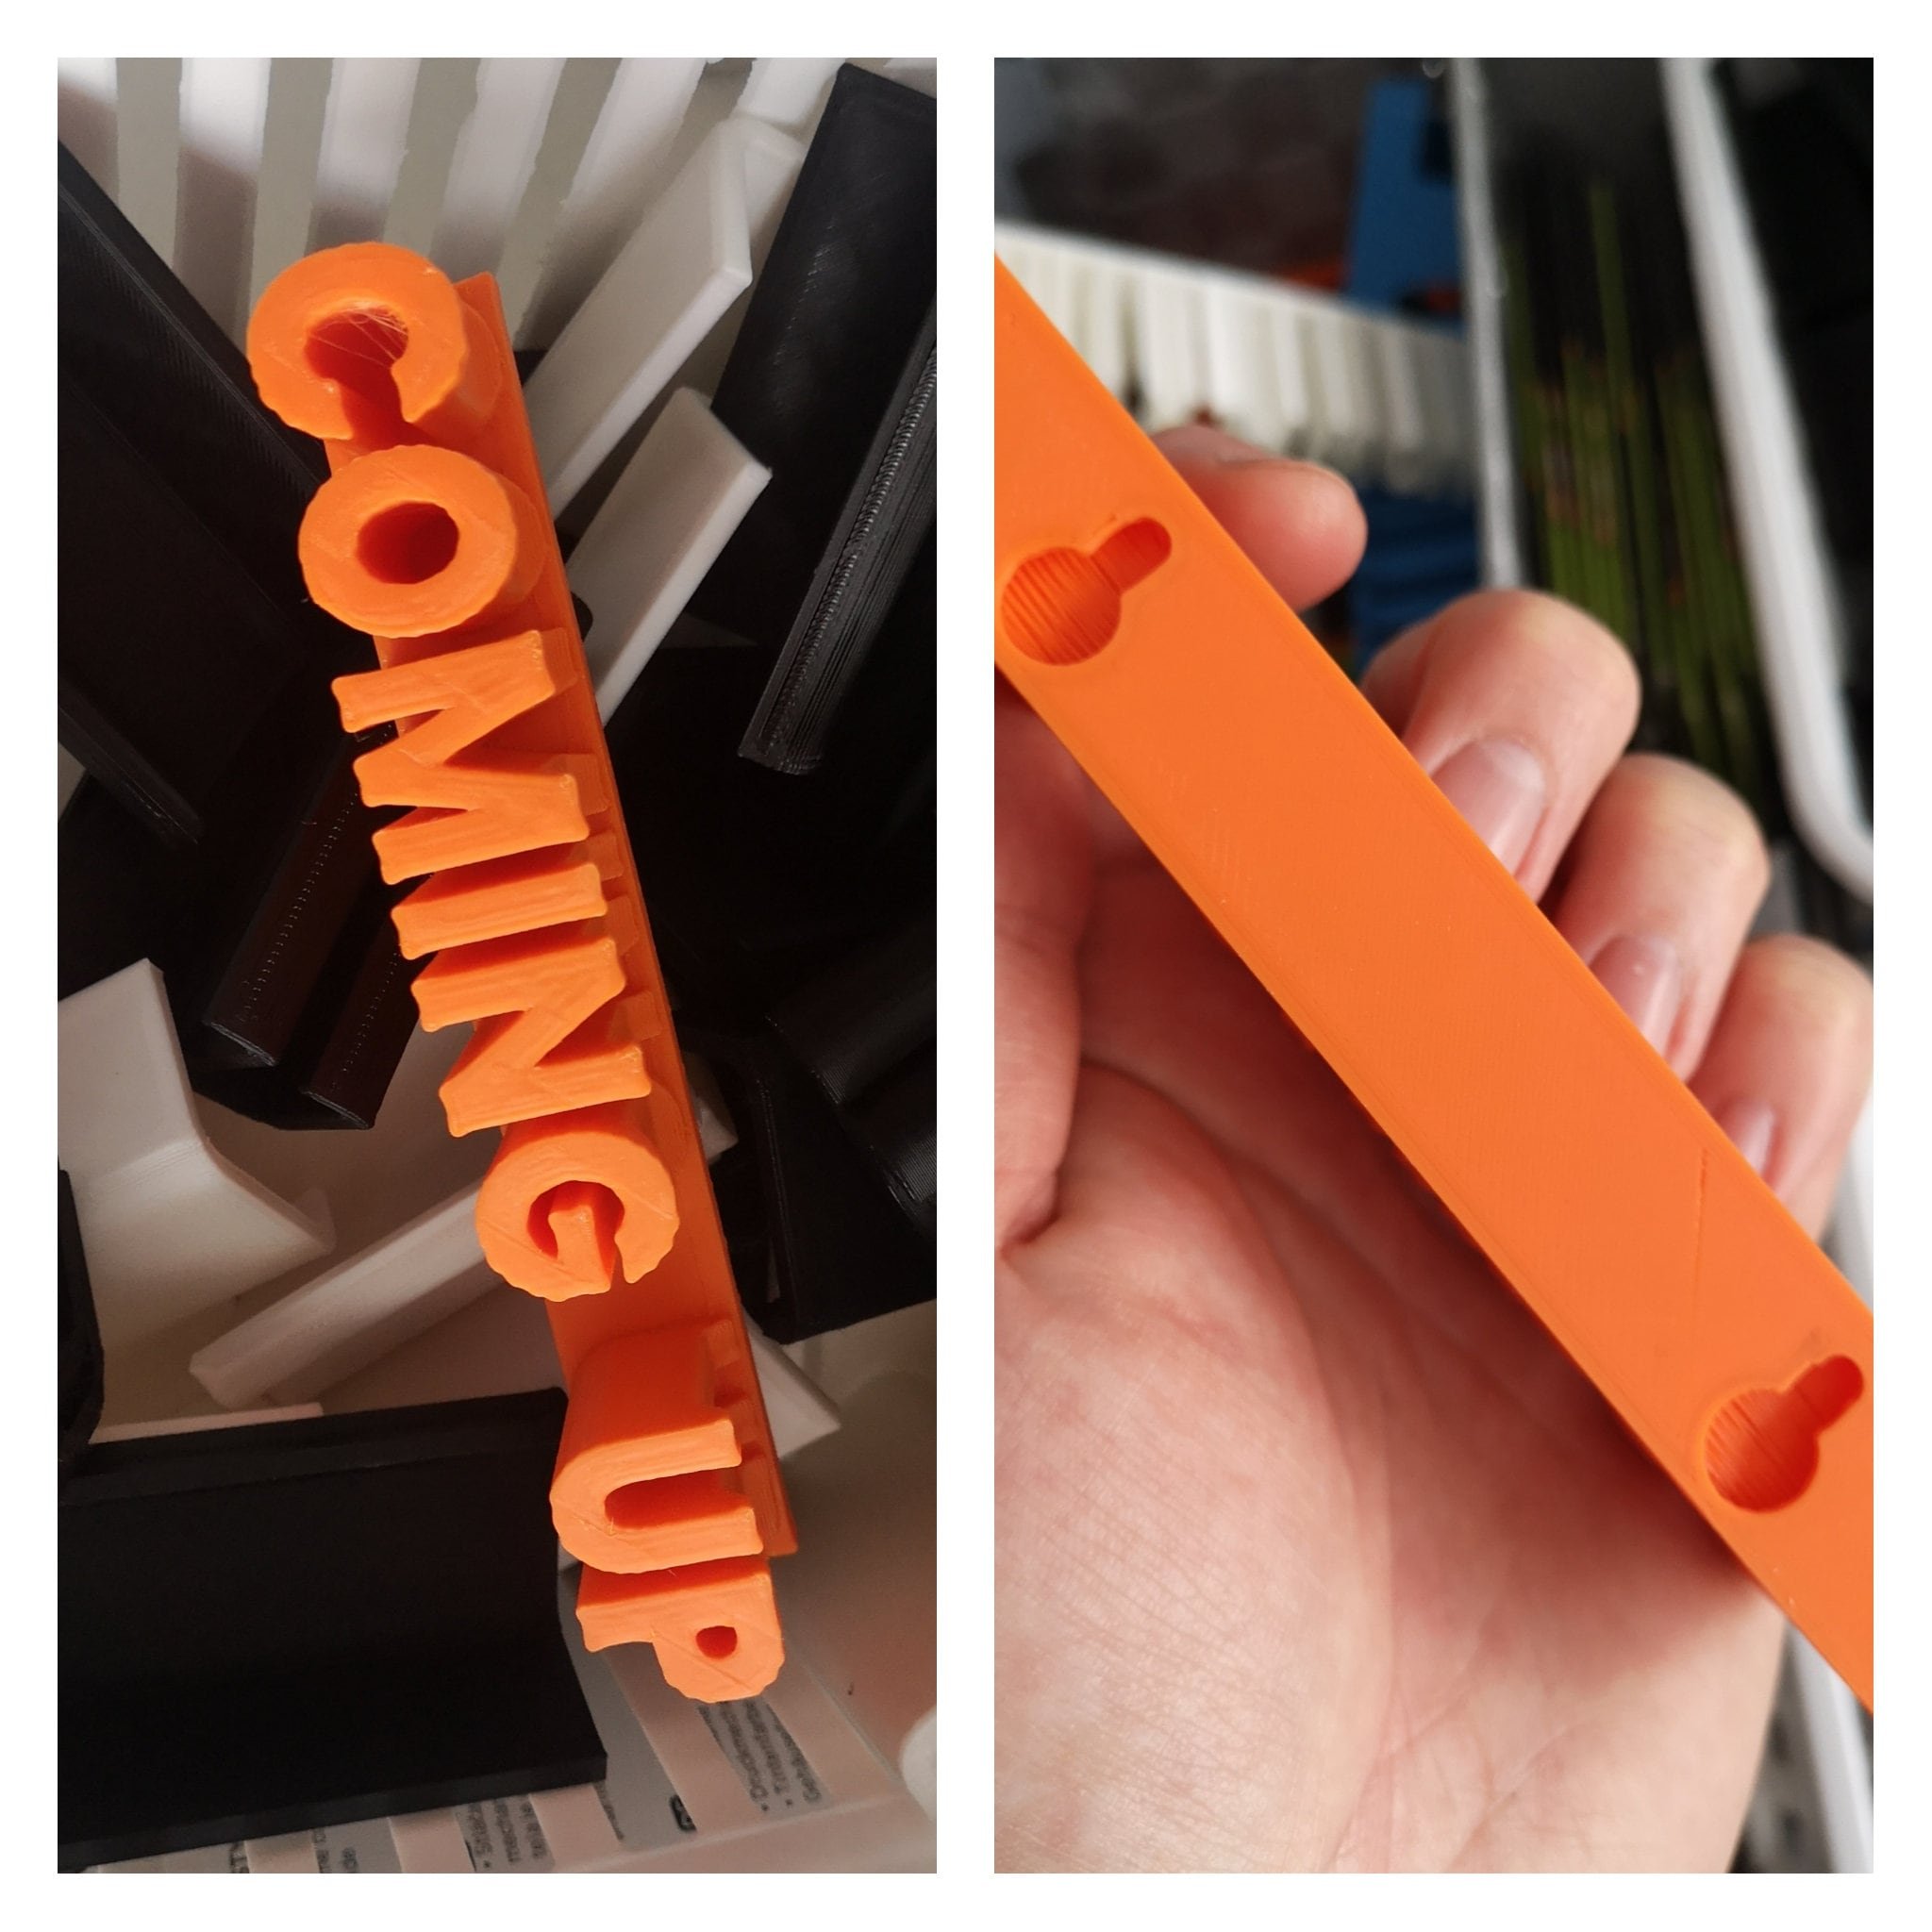
For screws, use the included drilling template to make two 6mm in holes in your wall, then insert the Rawlplugs. Screw the screws in so that the heads are 5mm from the surface of the wall, then slot the shelf onto the screws. If it’s too loose, tighten the screws a quarter turn at a time. If too tight, loosen them.
[Processing]
These will usually be ready in 2 or 3 days.
[Details]
You've already got a Now Playing shelf, but you need somewhere to queue the next one up. Right?
This is a 3D printed item so I'll print on demand in pretty much any colour you like. If the colour you want isn't listed send me a message and I'll see what I can do. Please bear in mind that 3D printed items aren't perfect. You'll see texture on the surface. I'll always make sure I send a decent print though, and if one doesn't come out as well as I'd expect, I'll print it again rather than sending something that I don't think is very good.
Happy to consider discounts for bulk purchases. I also have Now Playing and Spinning stands and wall mounted versions of both, as well as small record display shelves, alphabet dividers and a few other bits and pieces elsewhere on my site.
Thanks for looking.
[Instructions]
For No More Nails strips, make sure you don’t touch the back of the shelf since oils from your fingers will interfere with the adhesive. Remove the backing paper from the three strips and press them onto the back of the shelf. Press down on a hard surface for ten seconds. Then remove the remaining backing paper, line up with a spirit level and press firmly against your wall for ten seconds. Wait a couple of hours before putting any weight on.
No More Nails strips (and any other Command-style strips) must only be used on smooth, painted surfaces where the paint is sound and well-adhered. They must not be used on wallpapered or textured surfaces.
For screws, use the included drilling template to make two 6mm in holes in your wall, then insert the Rawlplugs. Screw the screws in so that the heads are 5mm from the surface of the wall, then slot the shelf onto the screws. If it’s too loose, tighten the screws a quarter turn at a time. If too tight, loosen them.
[Processing]
These will usually be ready in 2 or 3 days.