Display Shelf for Lego Brickheadz
I love Lego. Always have done, probably always will, but it took me a while to realise these Brickheadz things are pretty good. There's quite a lot in the box for such a small thing. Anyway, that's not really the point. The point is, I put together a display shelf so they could go on the wall above the record player, alongside the FunkoPops.
The shelf consists of a backing piece and a shelf, which push fit together and attach to the wall with a single Command Strip (included). Brickheadz model not included.
You can choose the colour from the drop down, but if you want a mix, or if you want shelves and backing plates to be different colours or whatever, just add a note to let me know.
Each one comes with a small Command Strip, which will hold your model with no issues as long as you do it right. Pay attention to the wording on the Command Strip itself, which tells you which way round to put it. Press firmly against the wall for 10 seconds when you put it up, and wait an hour or so before you put anything on it. Don't use on bare brick or similar surfaces, and make sure your paint is well adhered to the wall.
Please note that the tab on the Command Strip needs to be accessible to stay removable, so you can see that under the shelf. You could just paint it the same colour as the wall though if you wanted to hide it.
Now, I only have a couple of these things, so I don't really know if there's loads of variation in the sizing and how far they stick out backwards. I've made this to be 60mm wide and 65mm deep, so that's a bit over 2" in both directions. There's a square recess in the shelf that's slightly narrower than the shelf itself, and sized perfectly for an 6x6 plate. If your model won't fit on because there's not enough clearance behind it, just shout and I'll make a deeper one for you.
The fit of the shelf into the backing piece is tight. That's deliberate so that it holds it firmly. Push it in hard and it'll go in fine. There's a couple of little marks to show you where to put it so that it's centred. I'd suggest doing that before putting it up on the wall, and if you swap them at any point make sure you press on the backing bit to keep it in place while you remove the shelf.
To fit to the wall, just place the Command Strip on the back with the tab bit pointing downwards (there's a little ridge at the top so you can see which way round it goes), making sure to put the side with the red text on the shelf piece, and the other side - which says 'wall' all over it - against the wall.
Any questions just shout.
Cheers
Rob

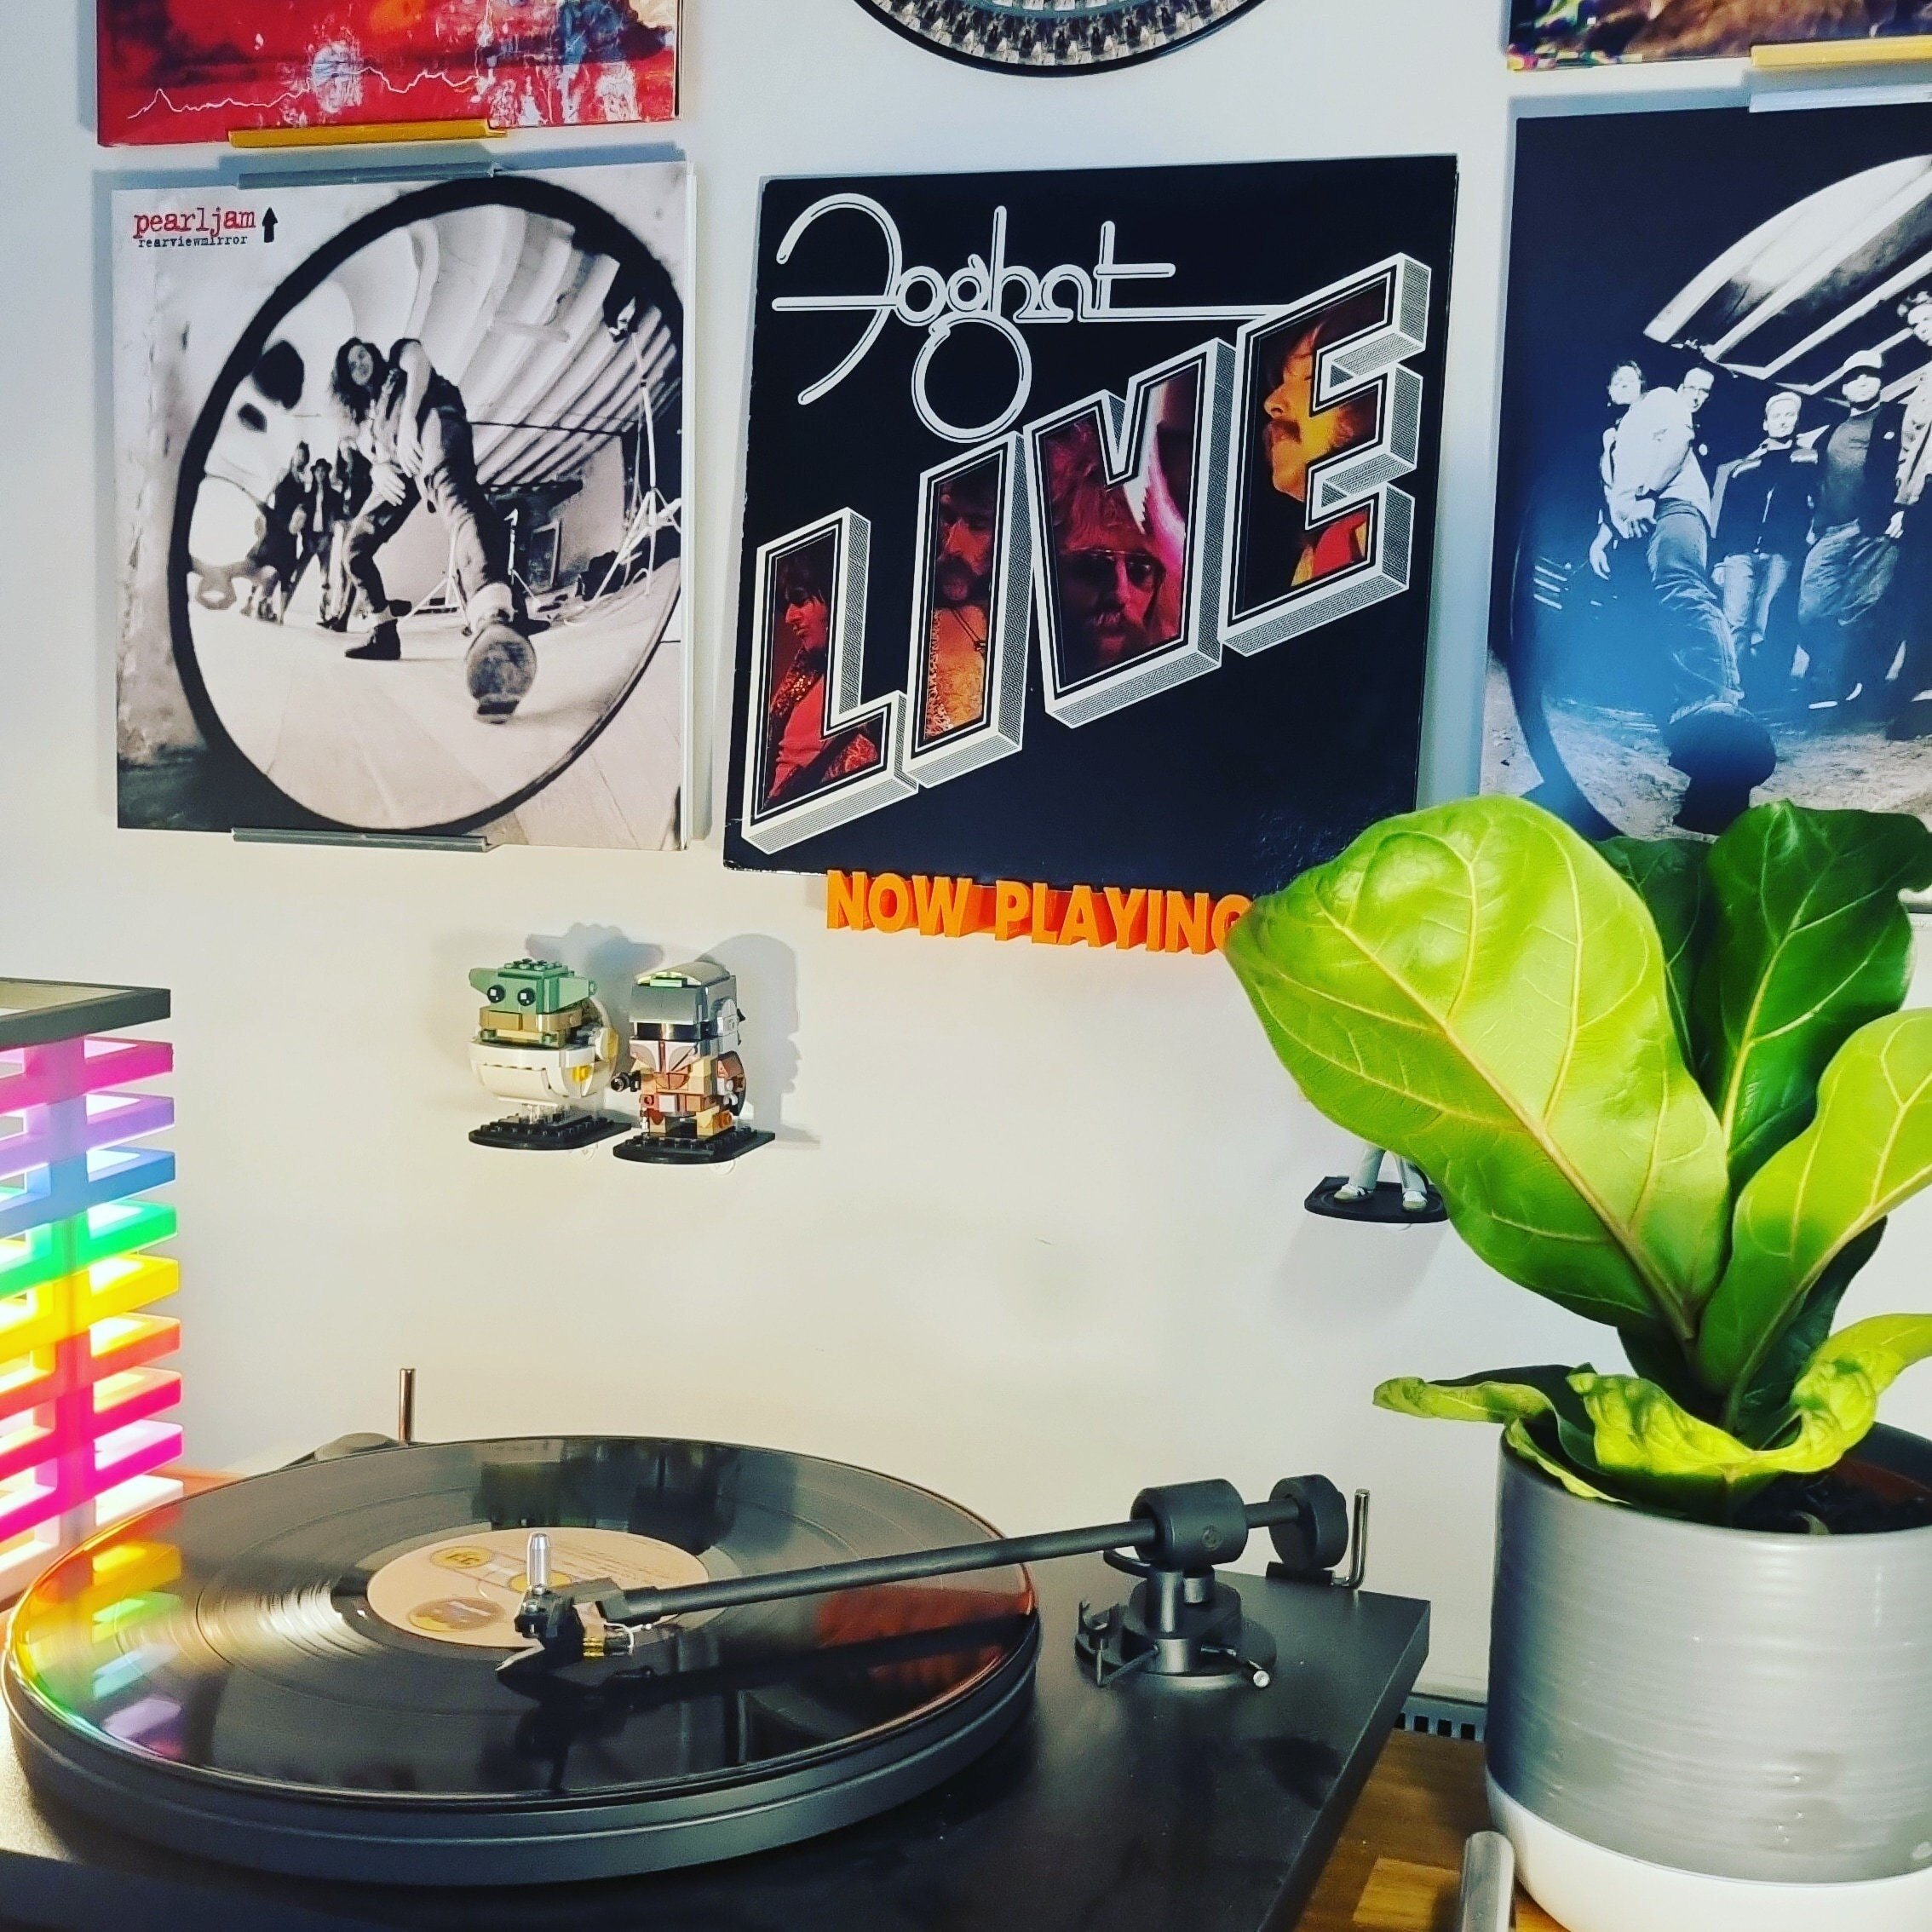 Image 1 of 9
 Image 2 of 9
 Image 3 of 9
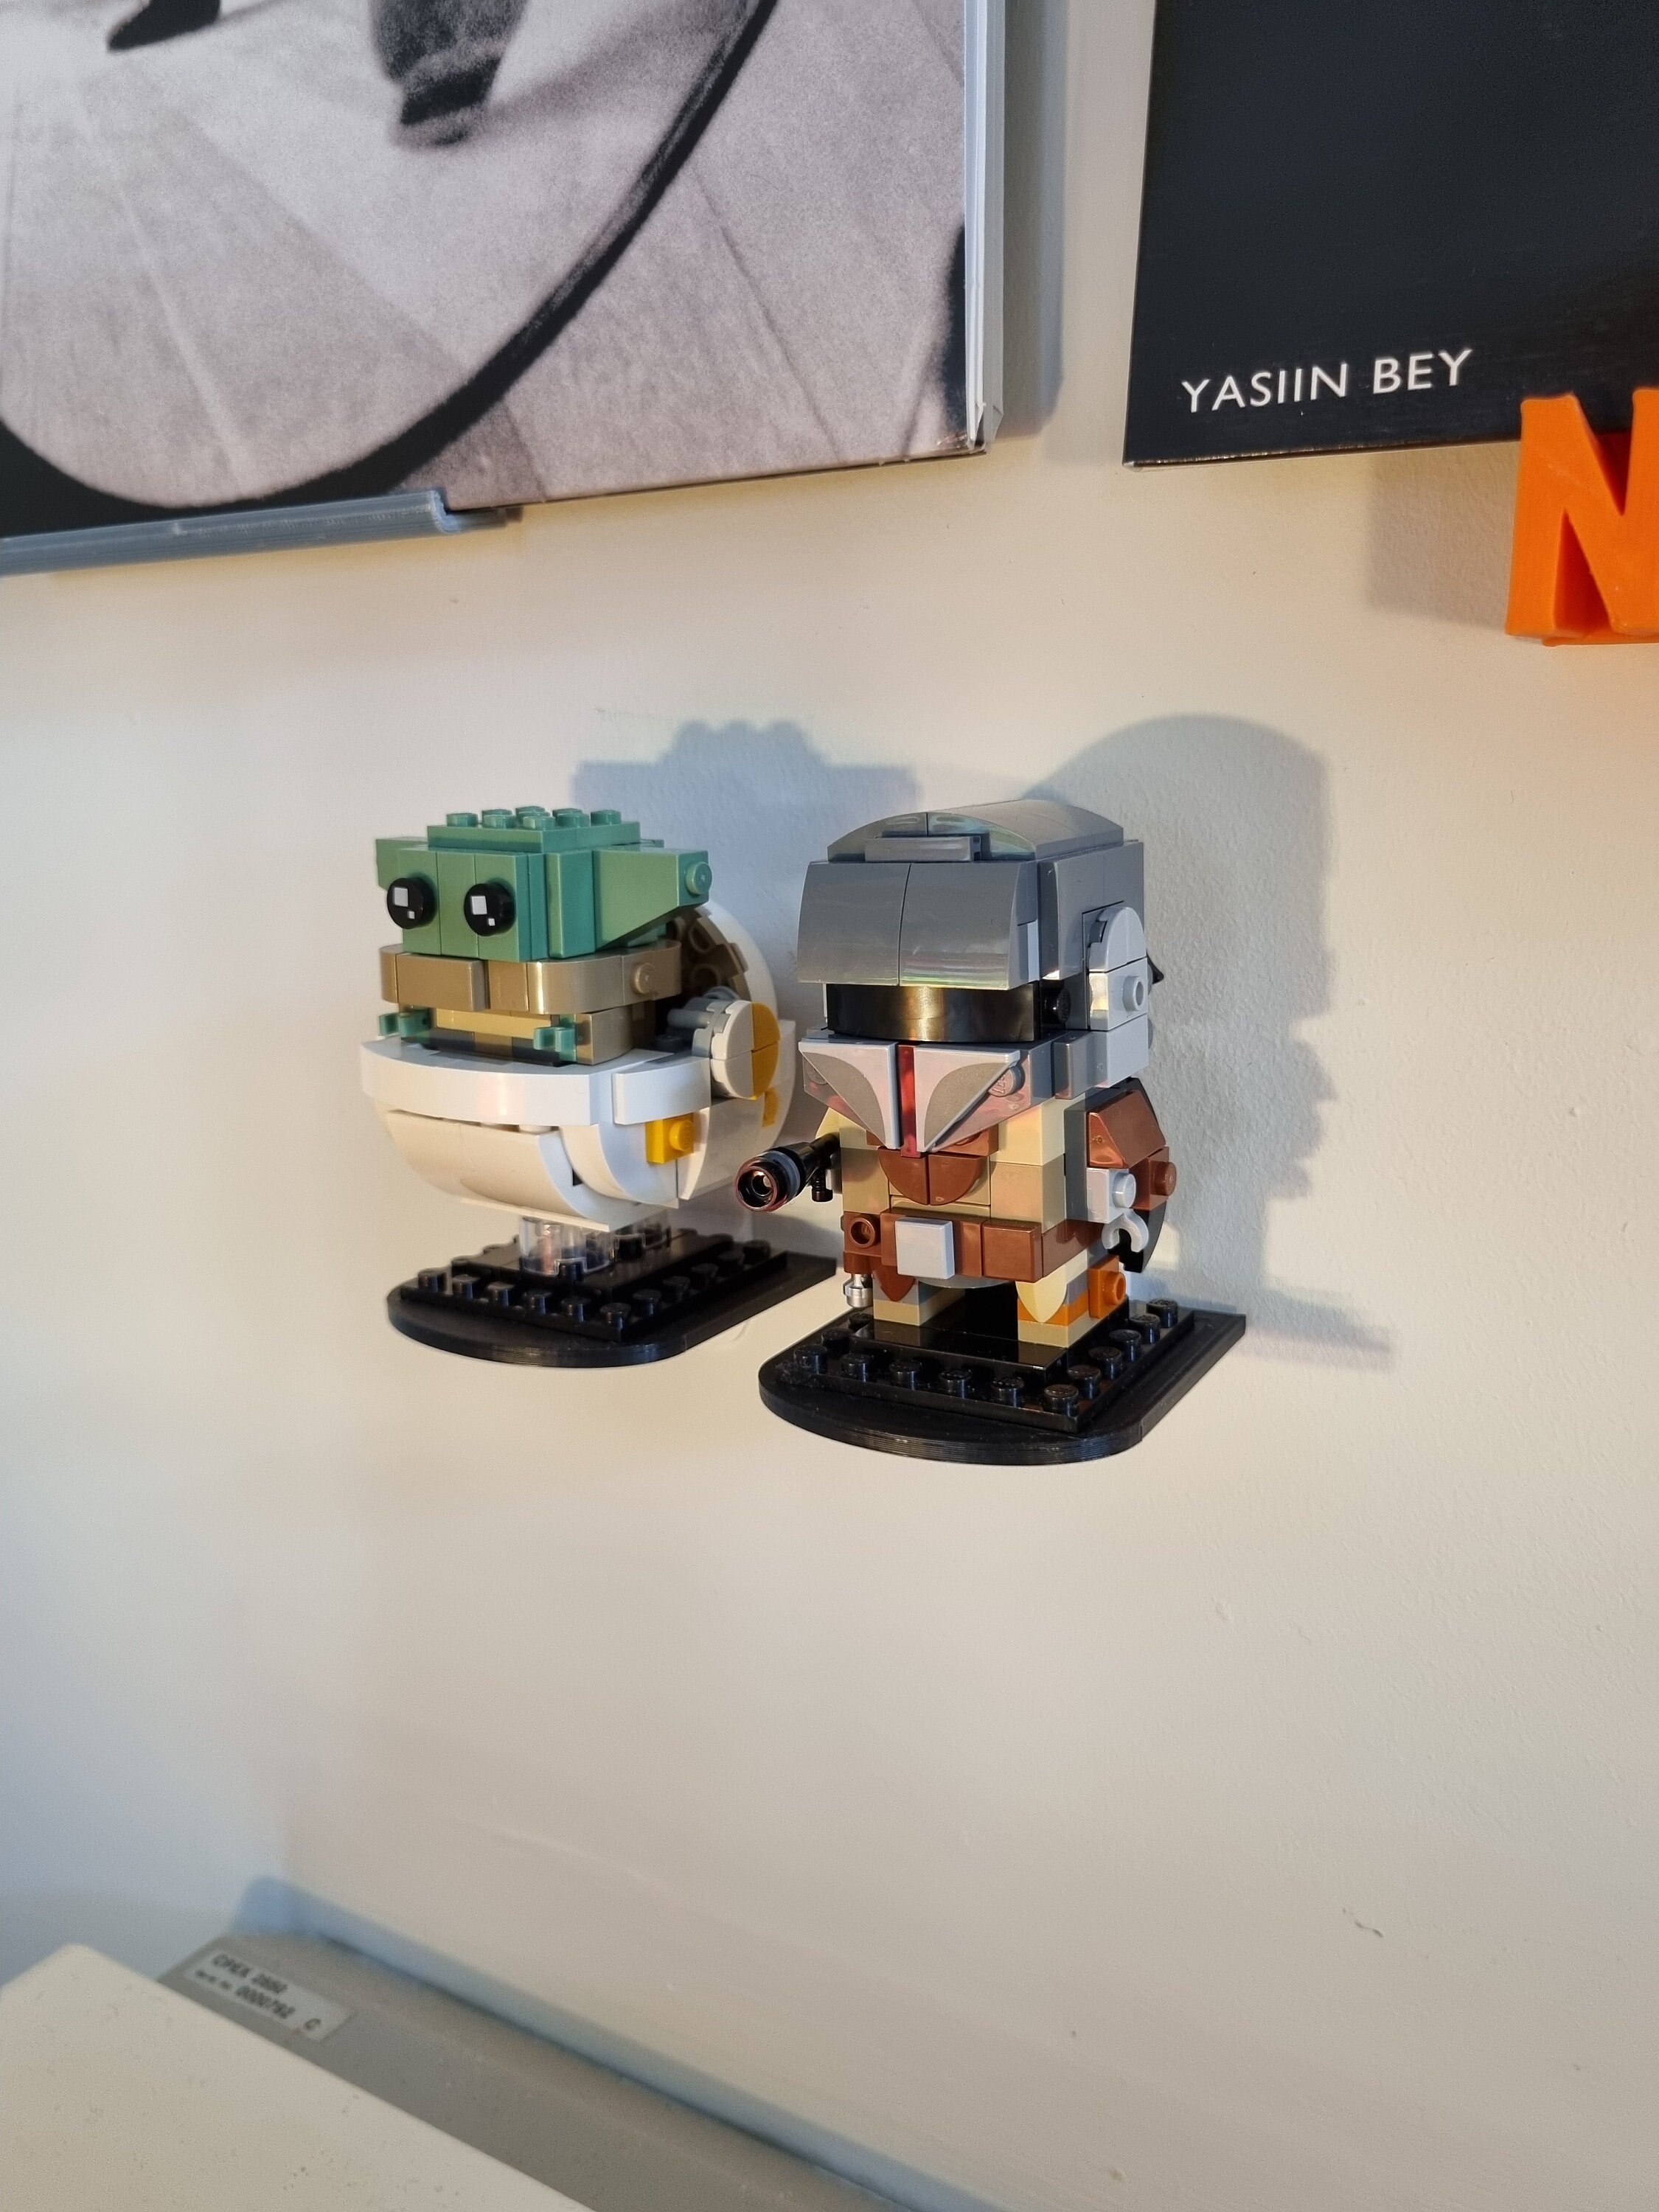 Image 4 of 9
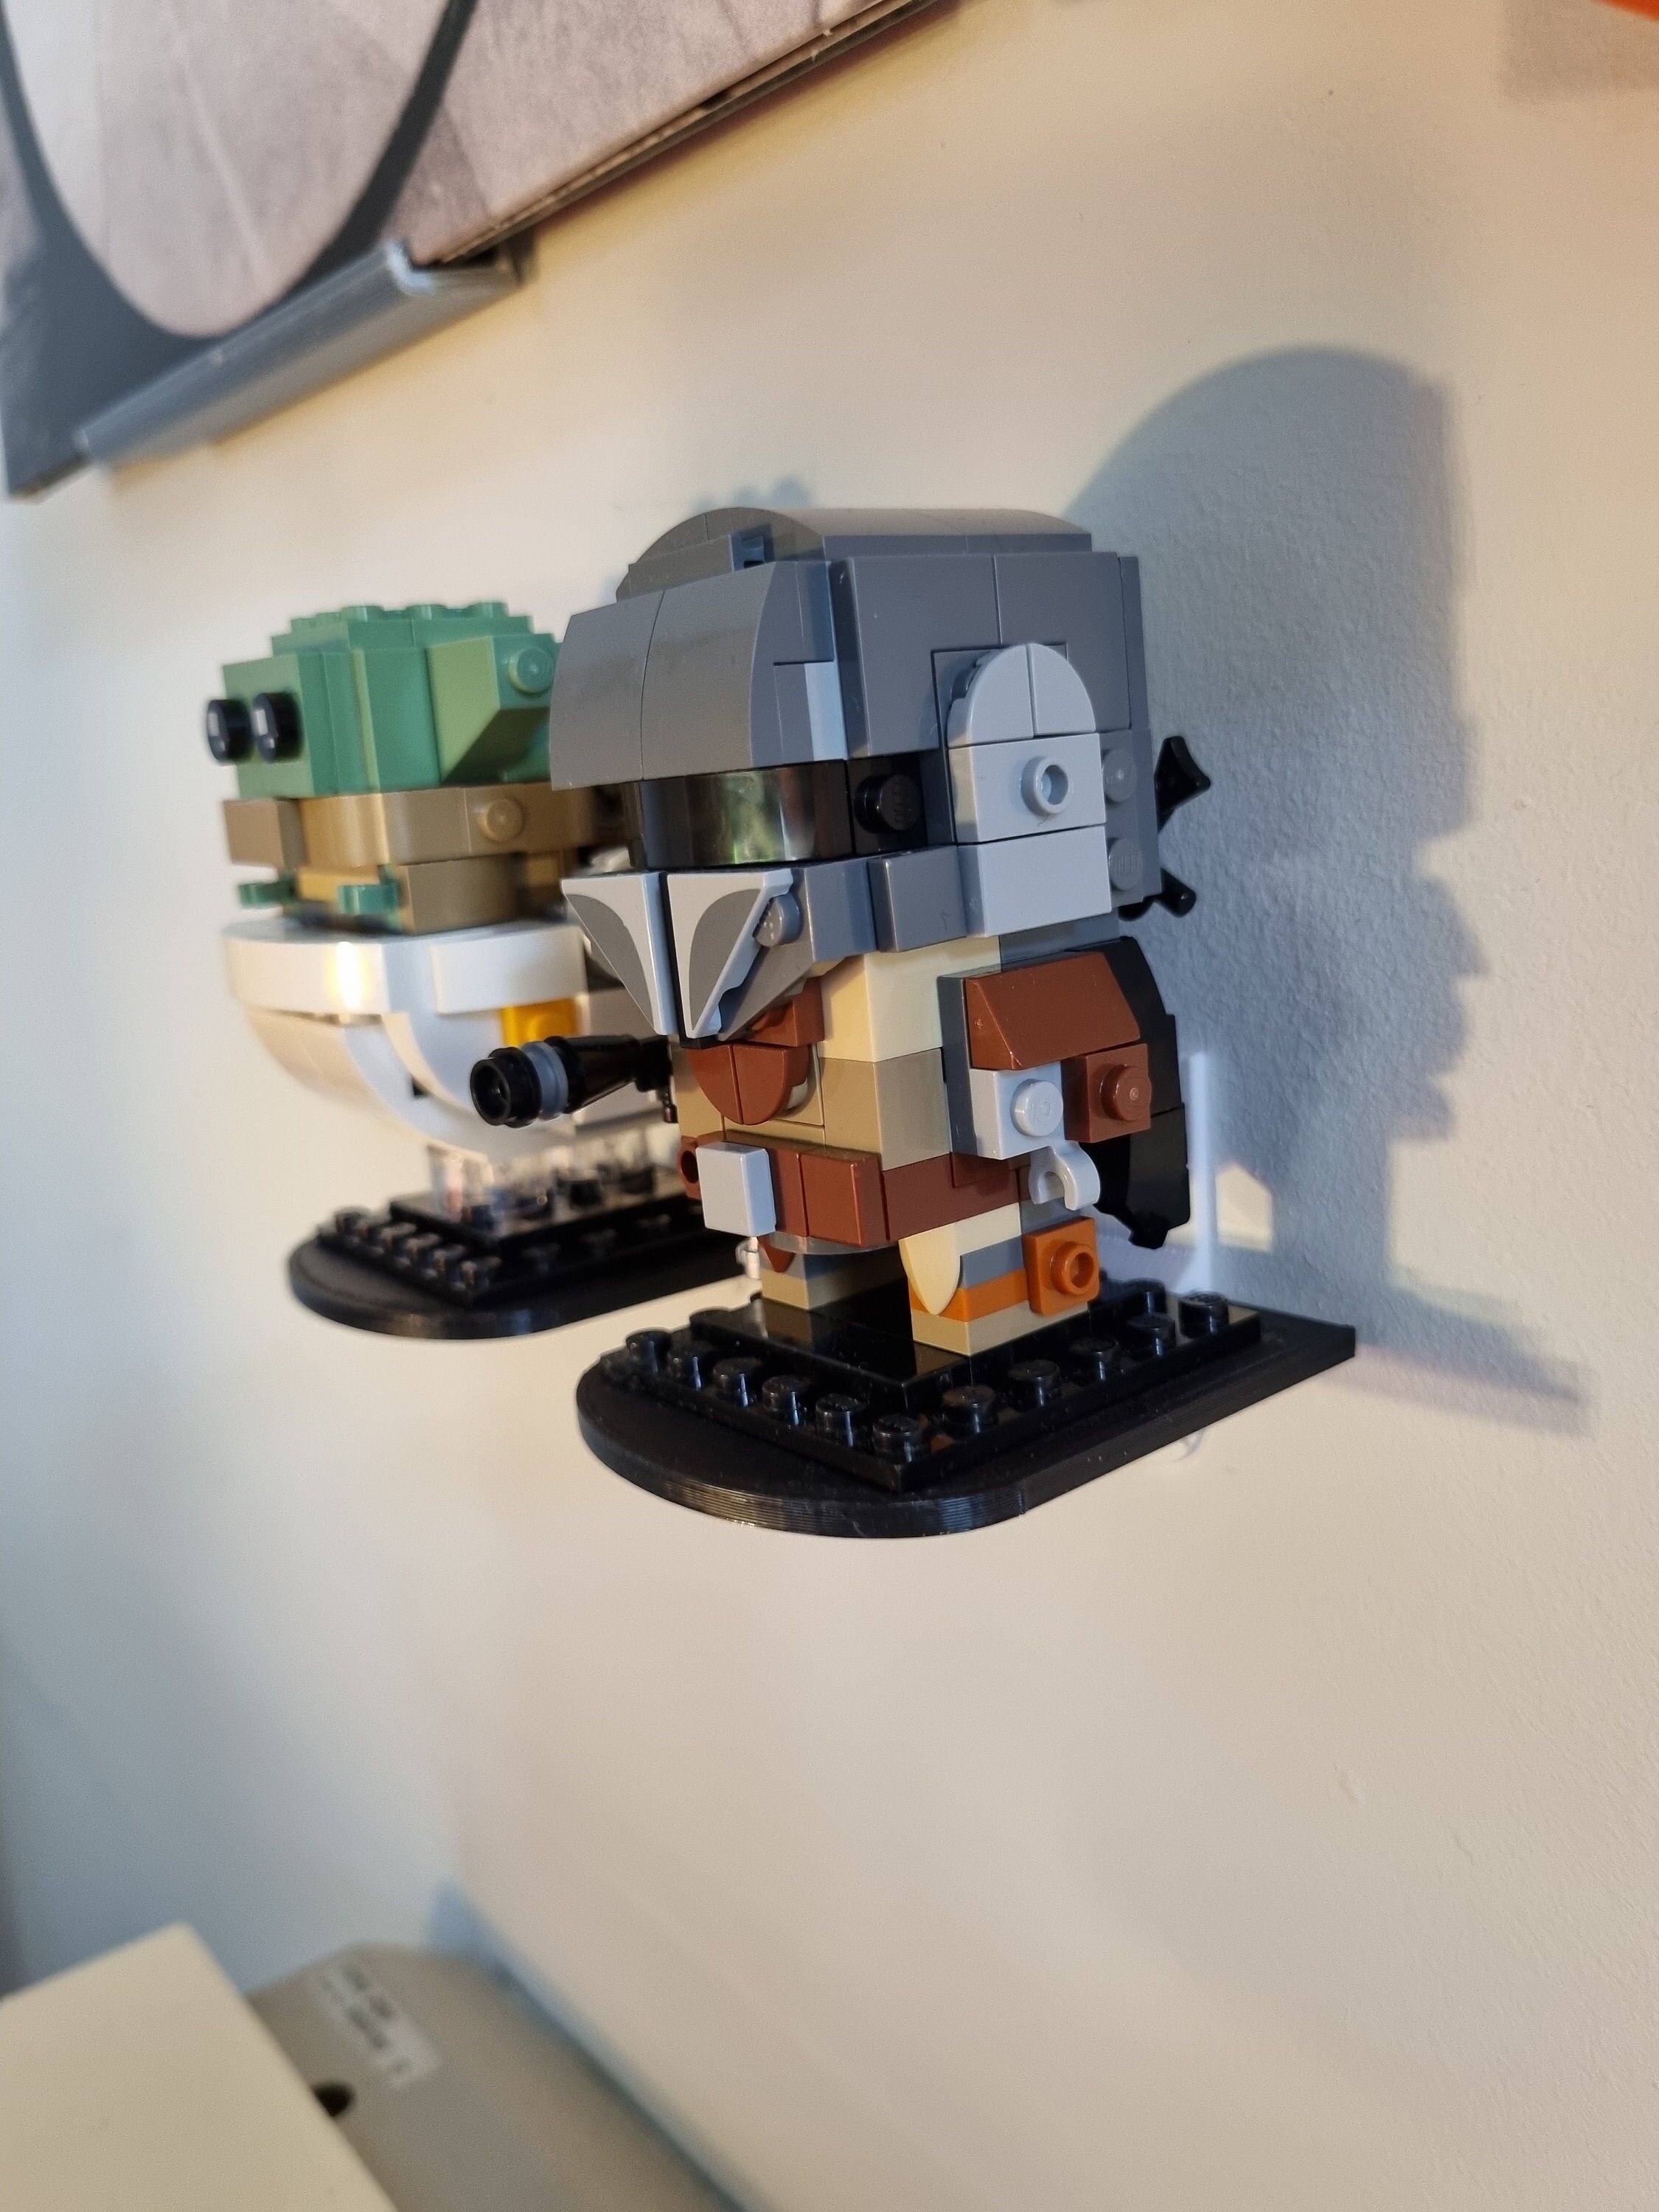 Image 5 of 9
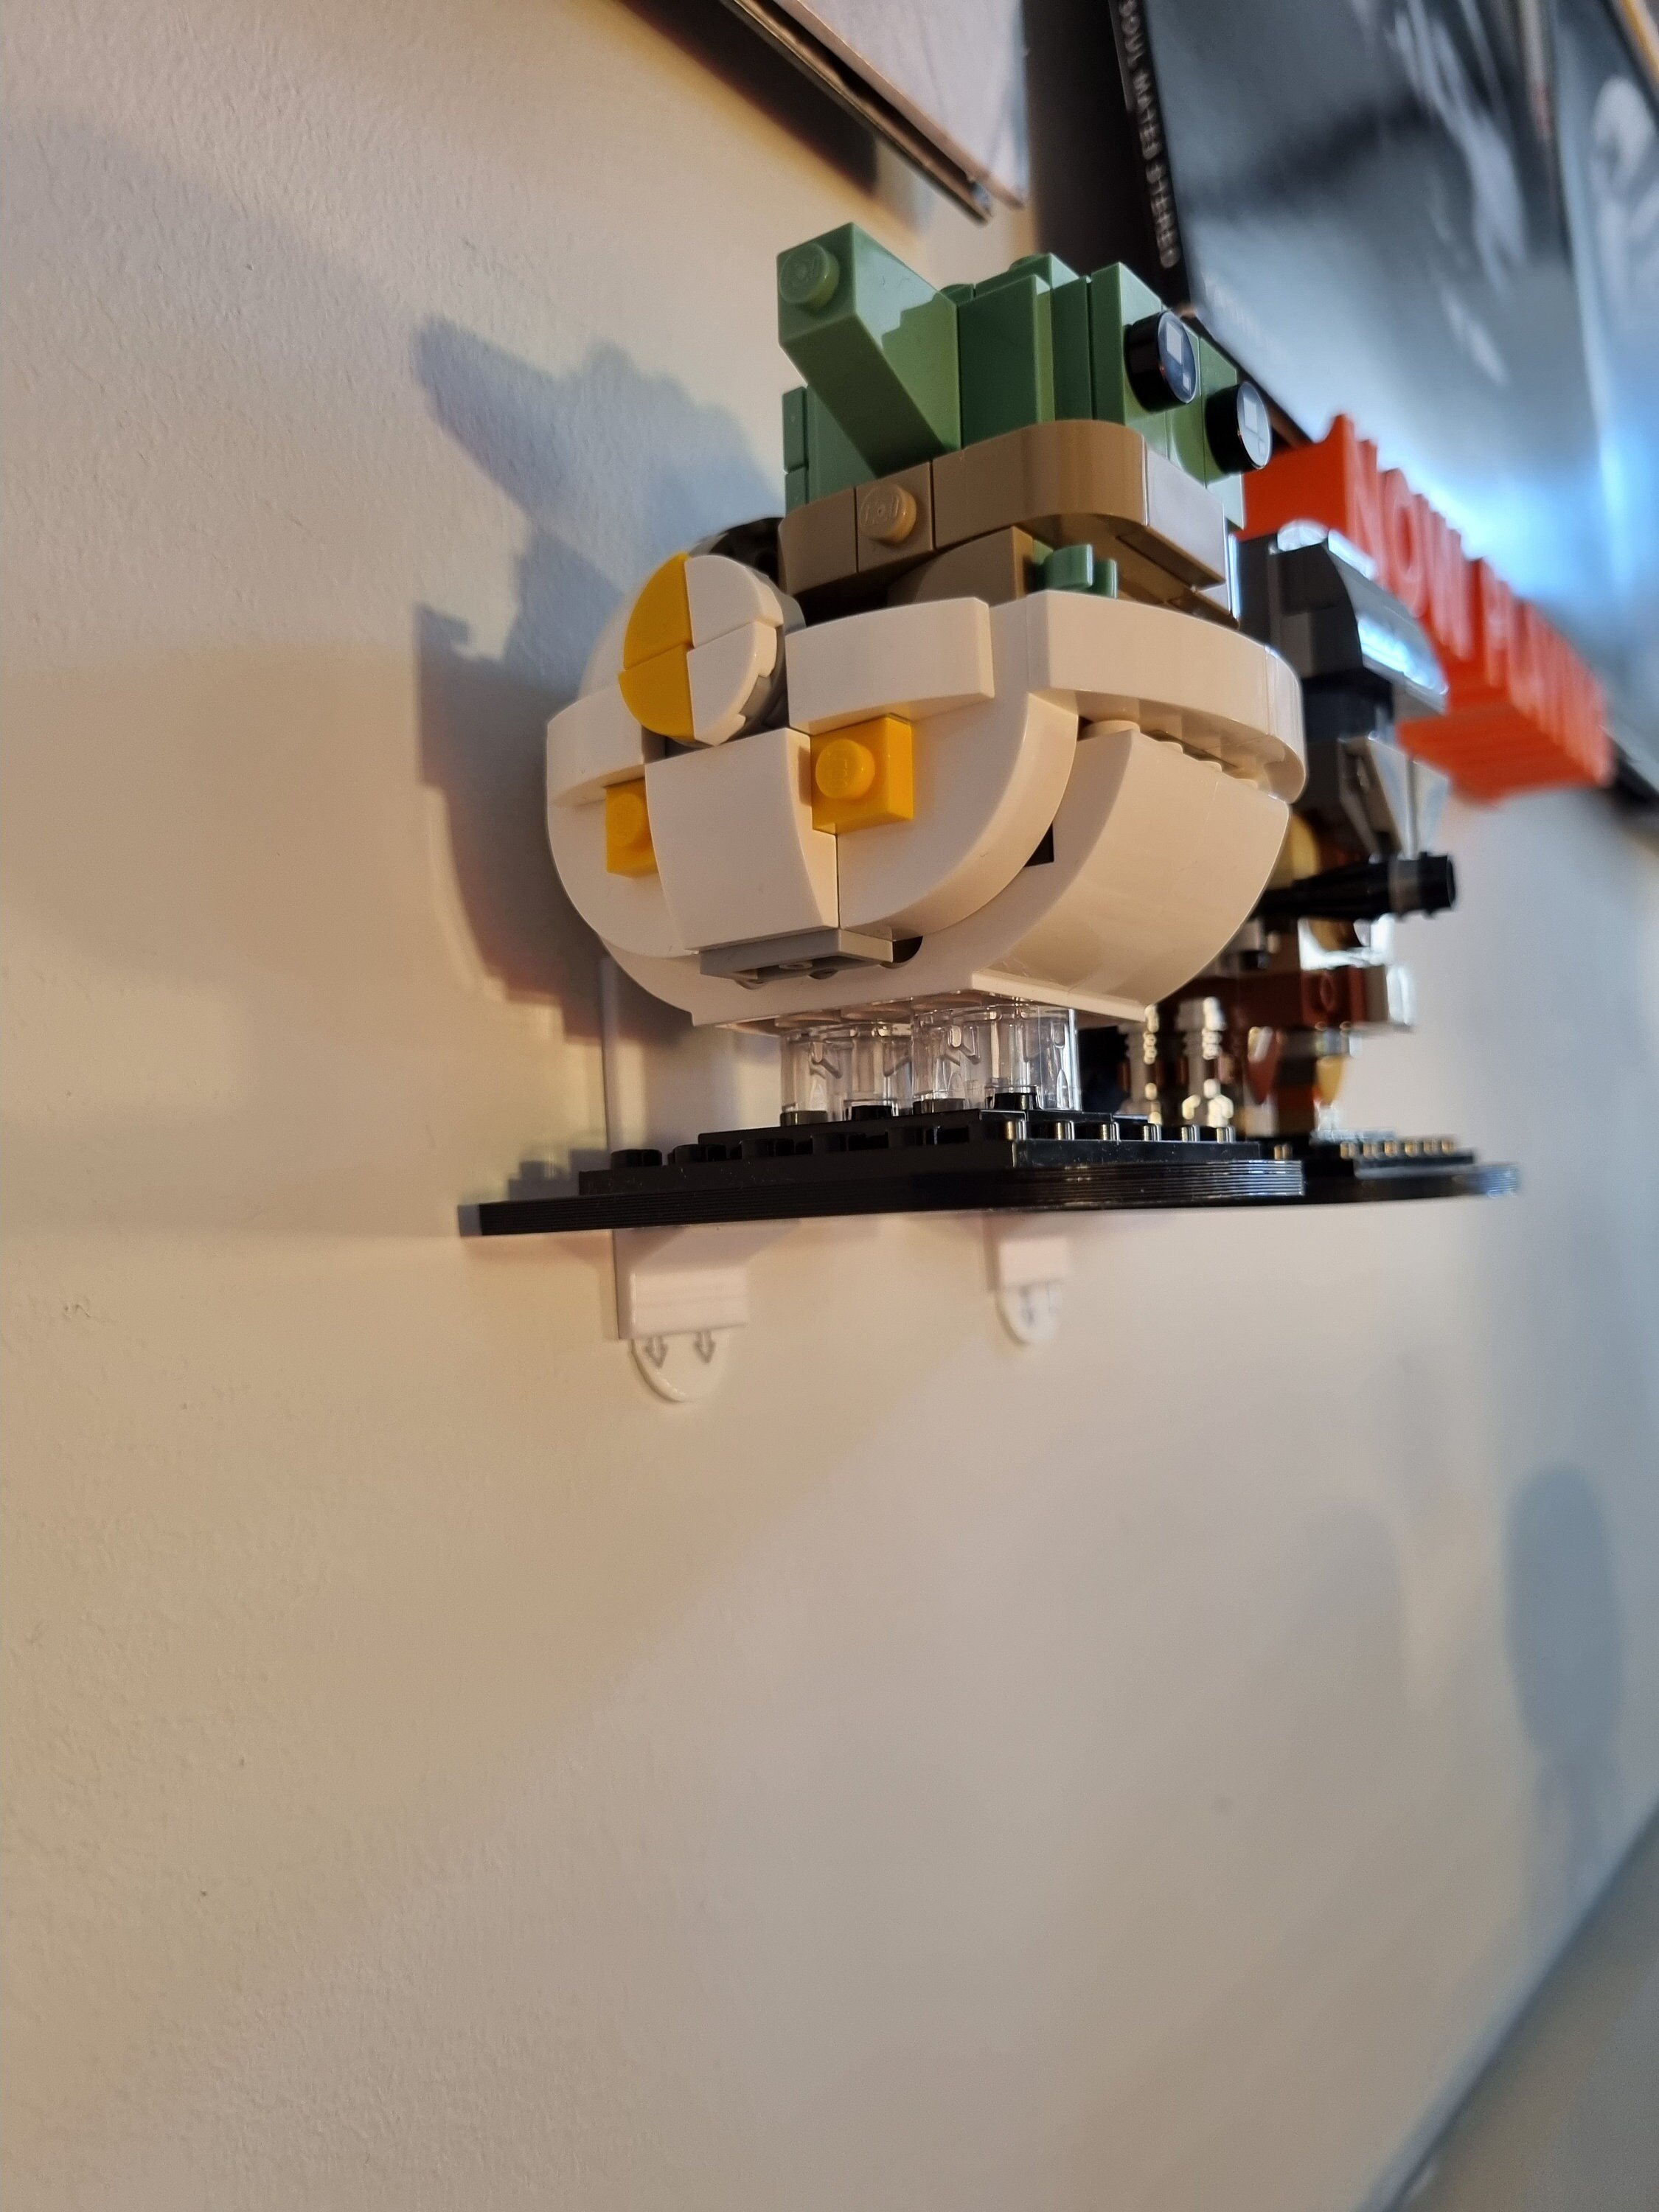 Image 6 of 9
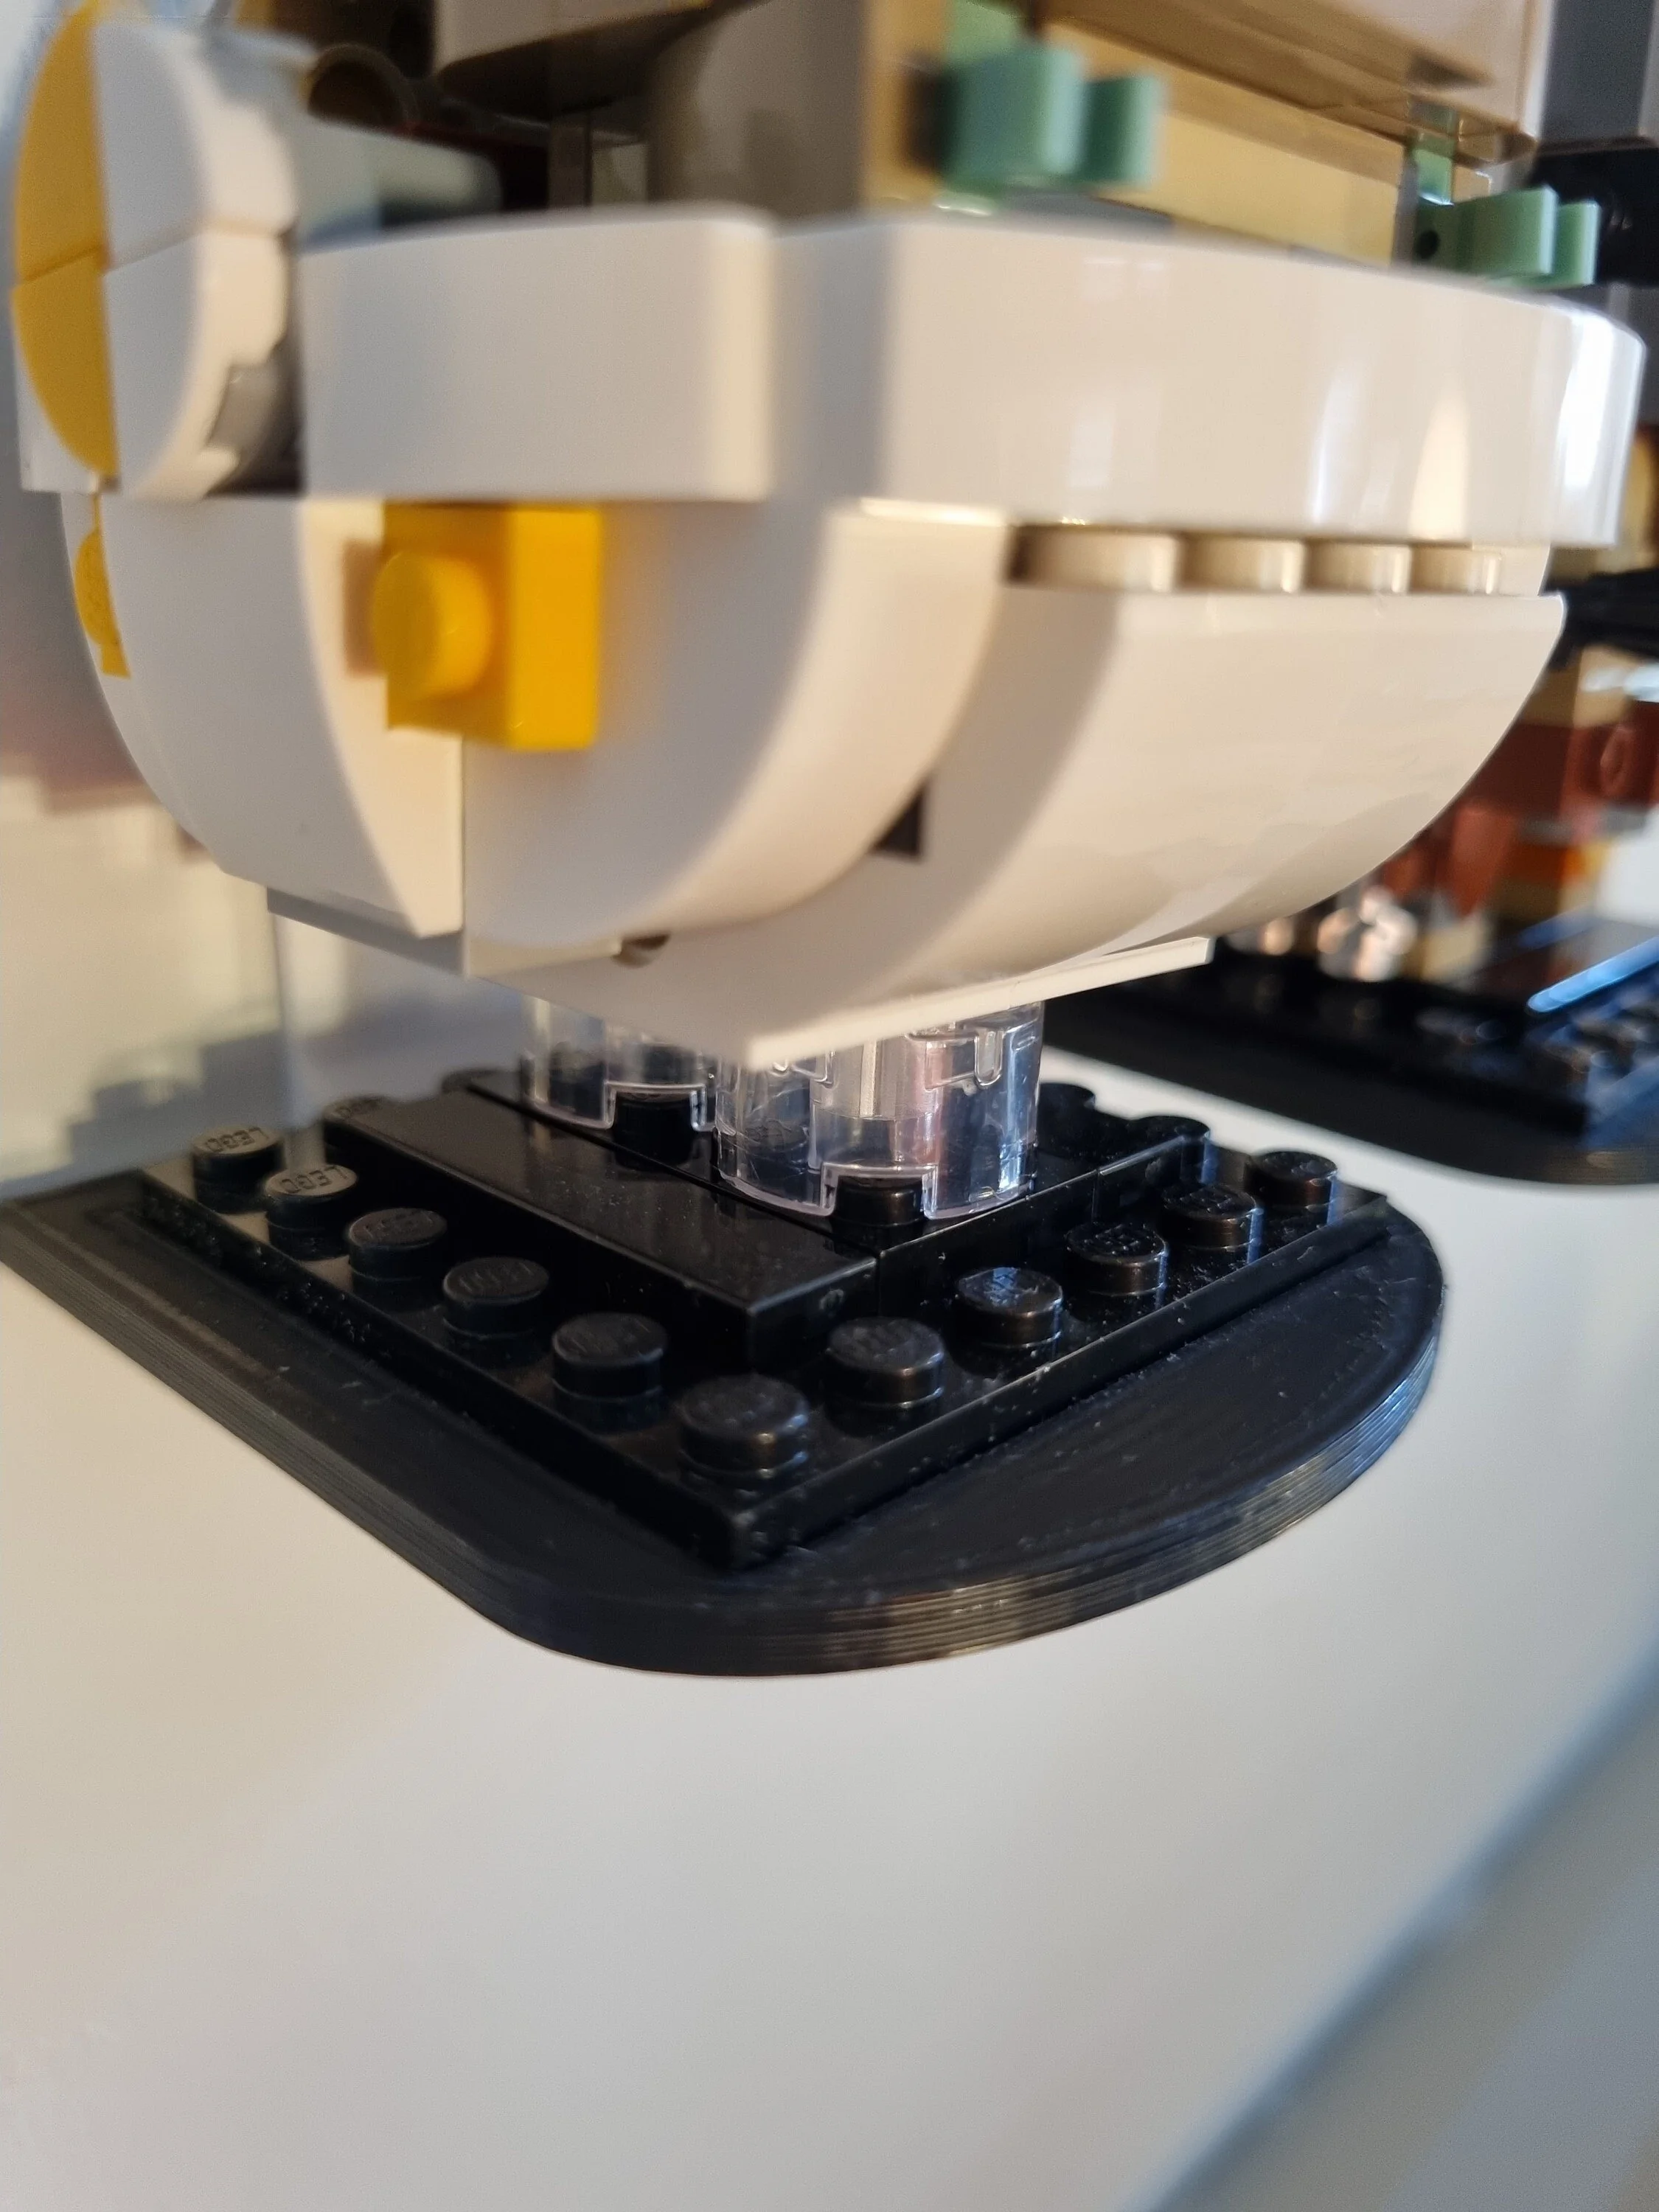 Image 7 of 9
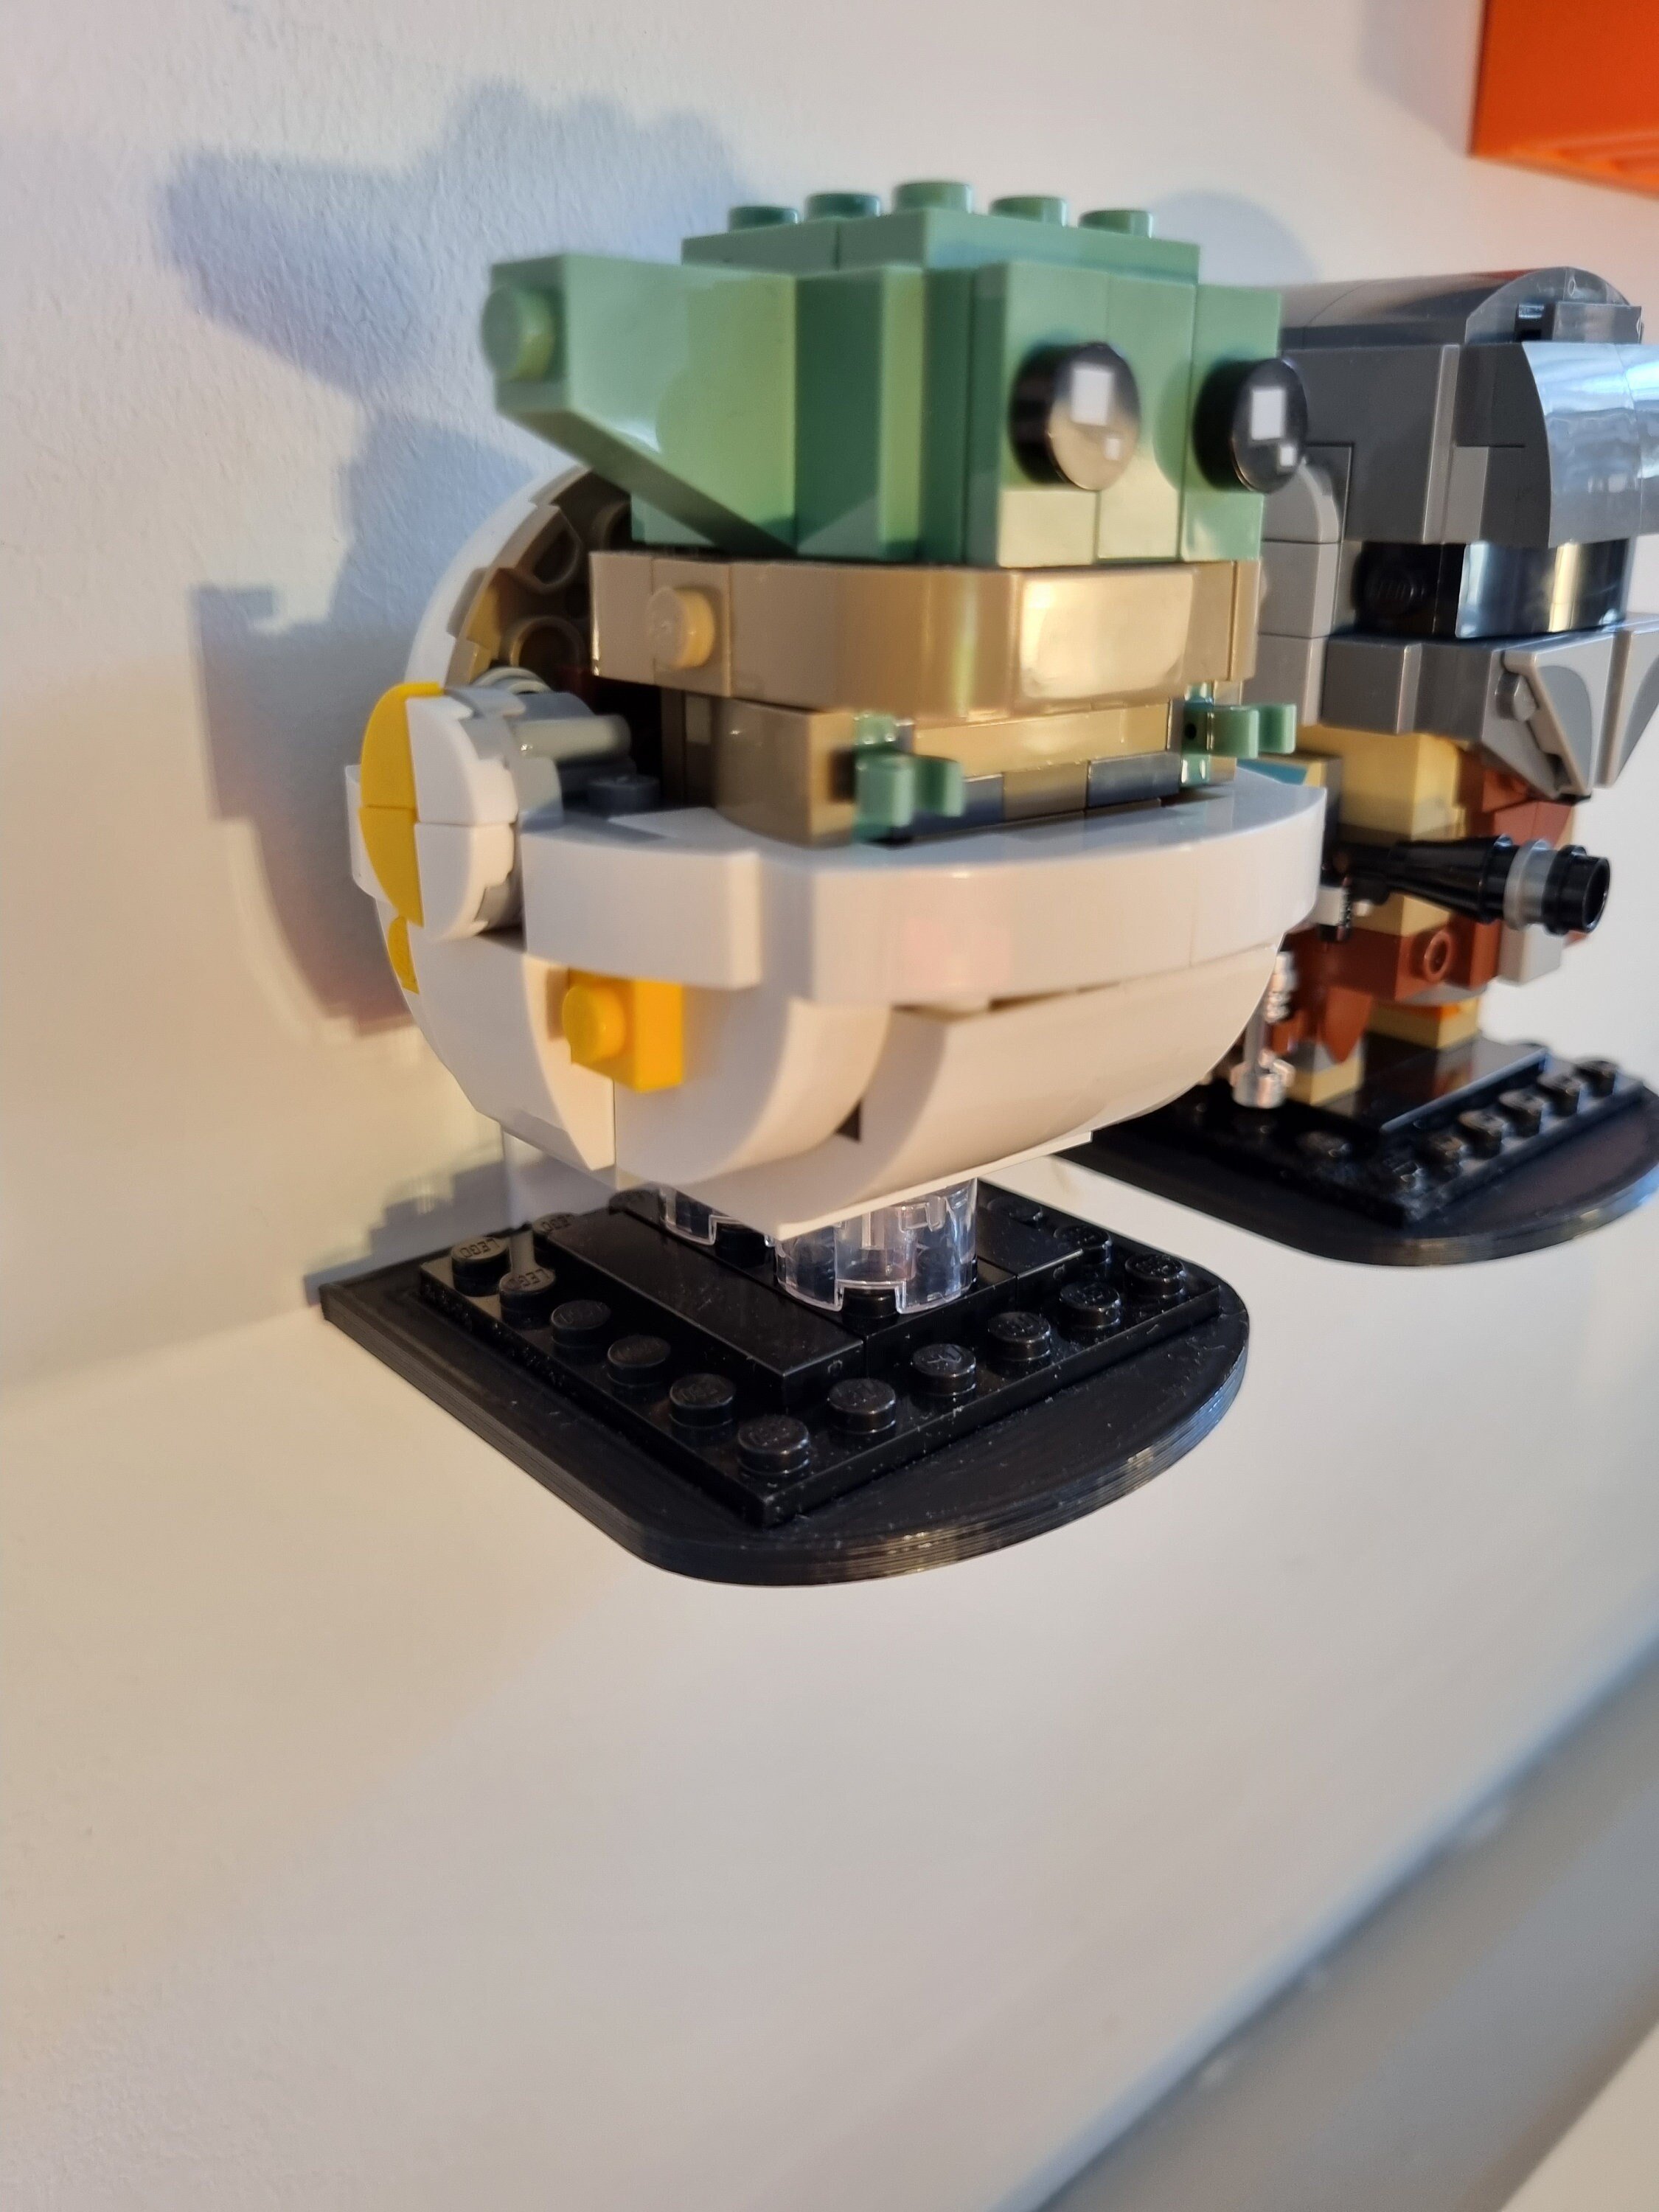 Image 8 of 9
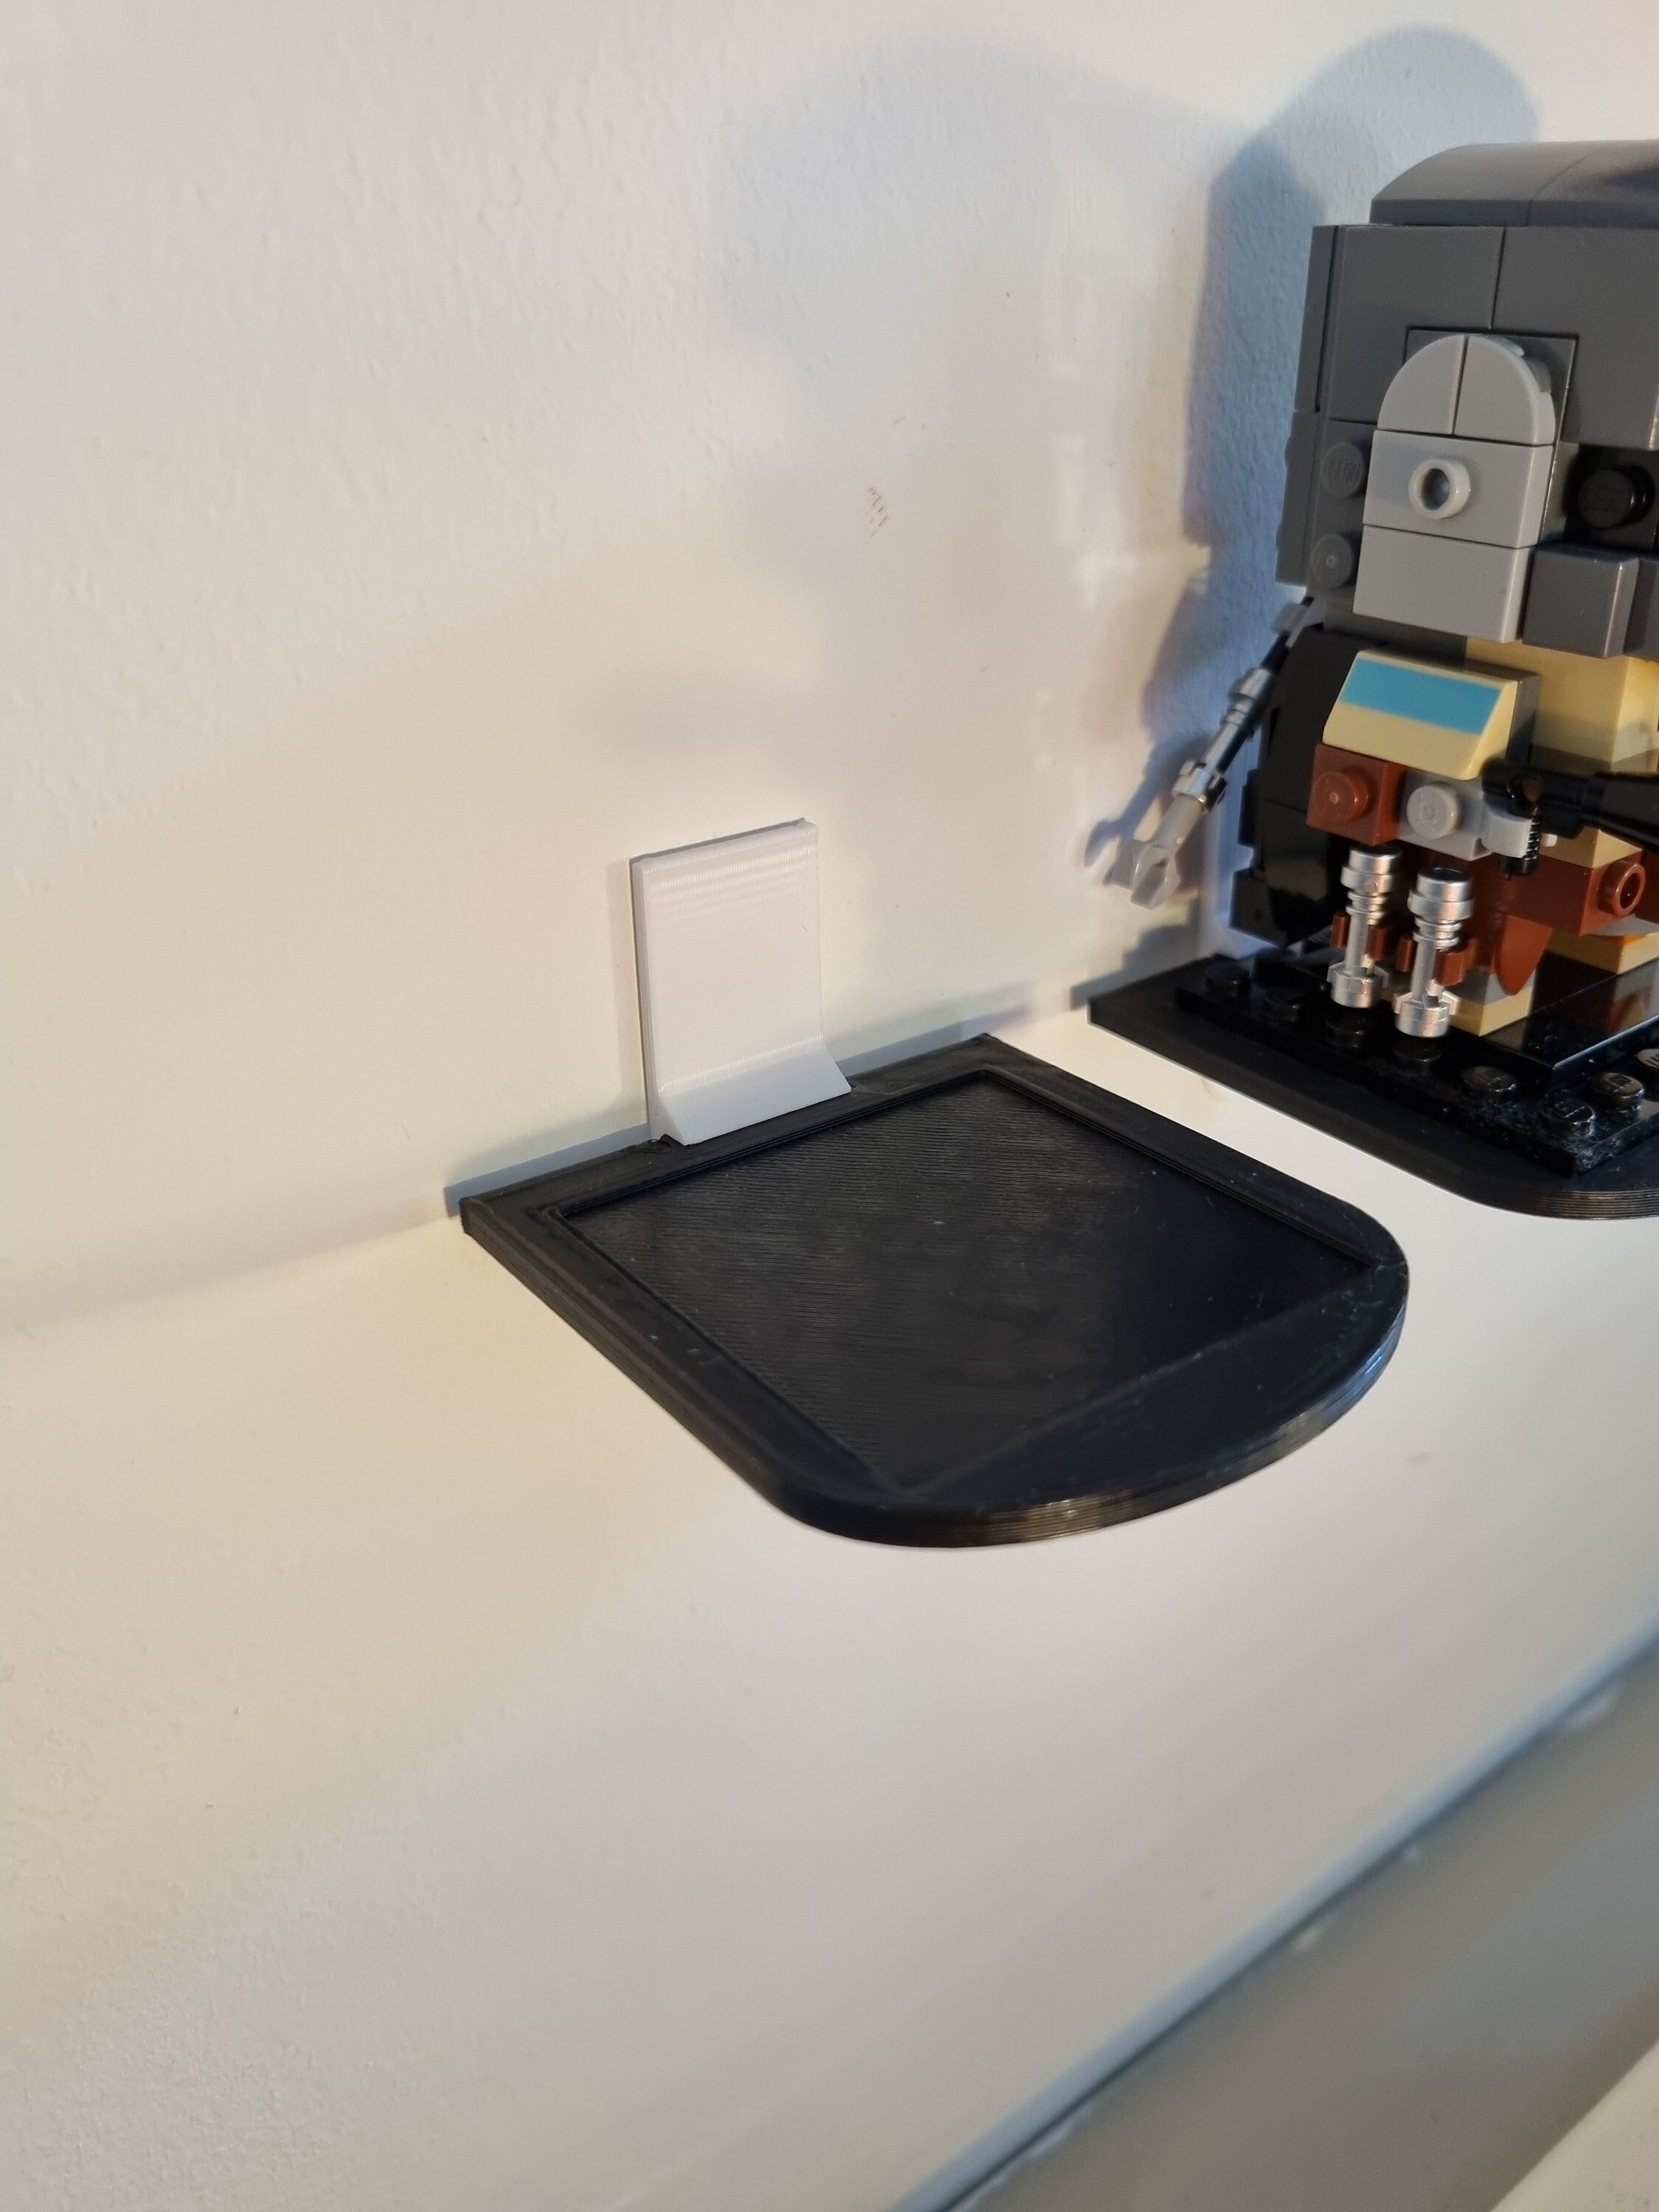 Image 9 of 9