[Details]
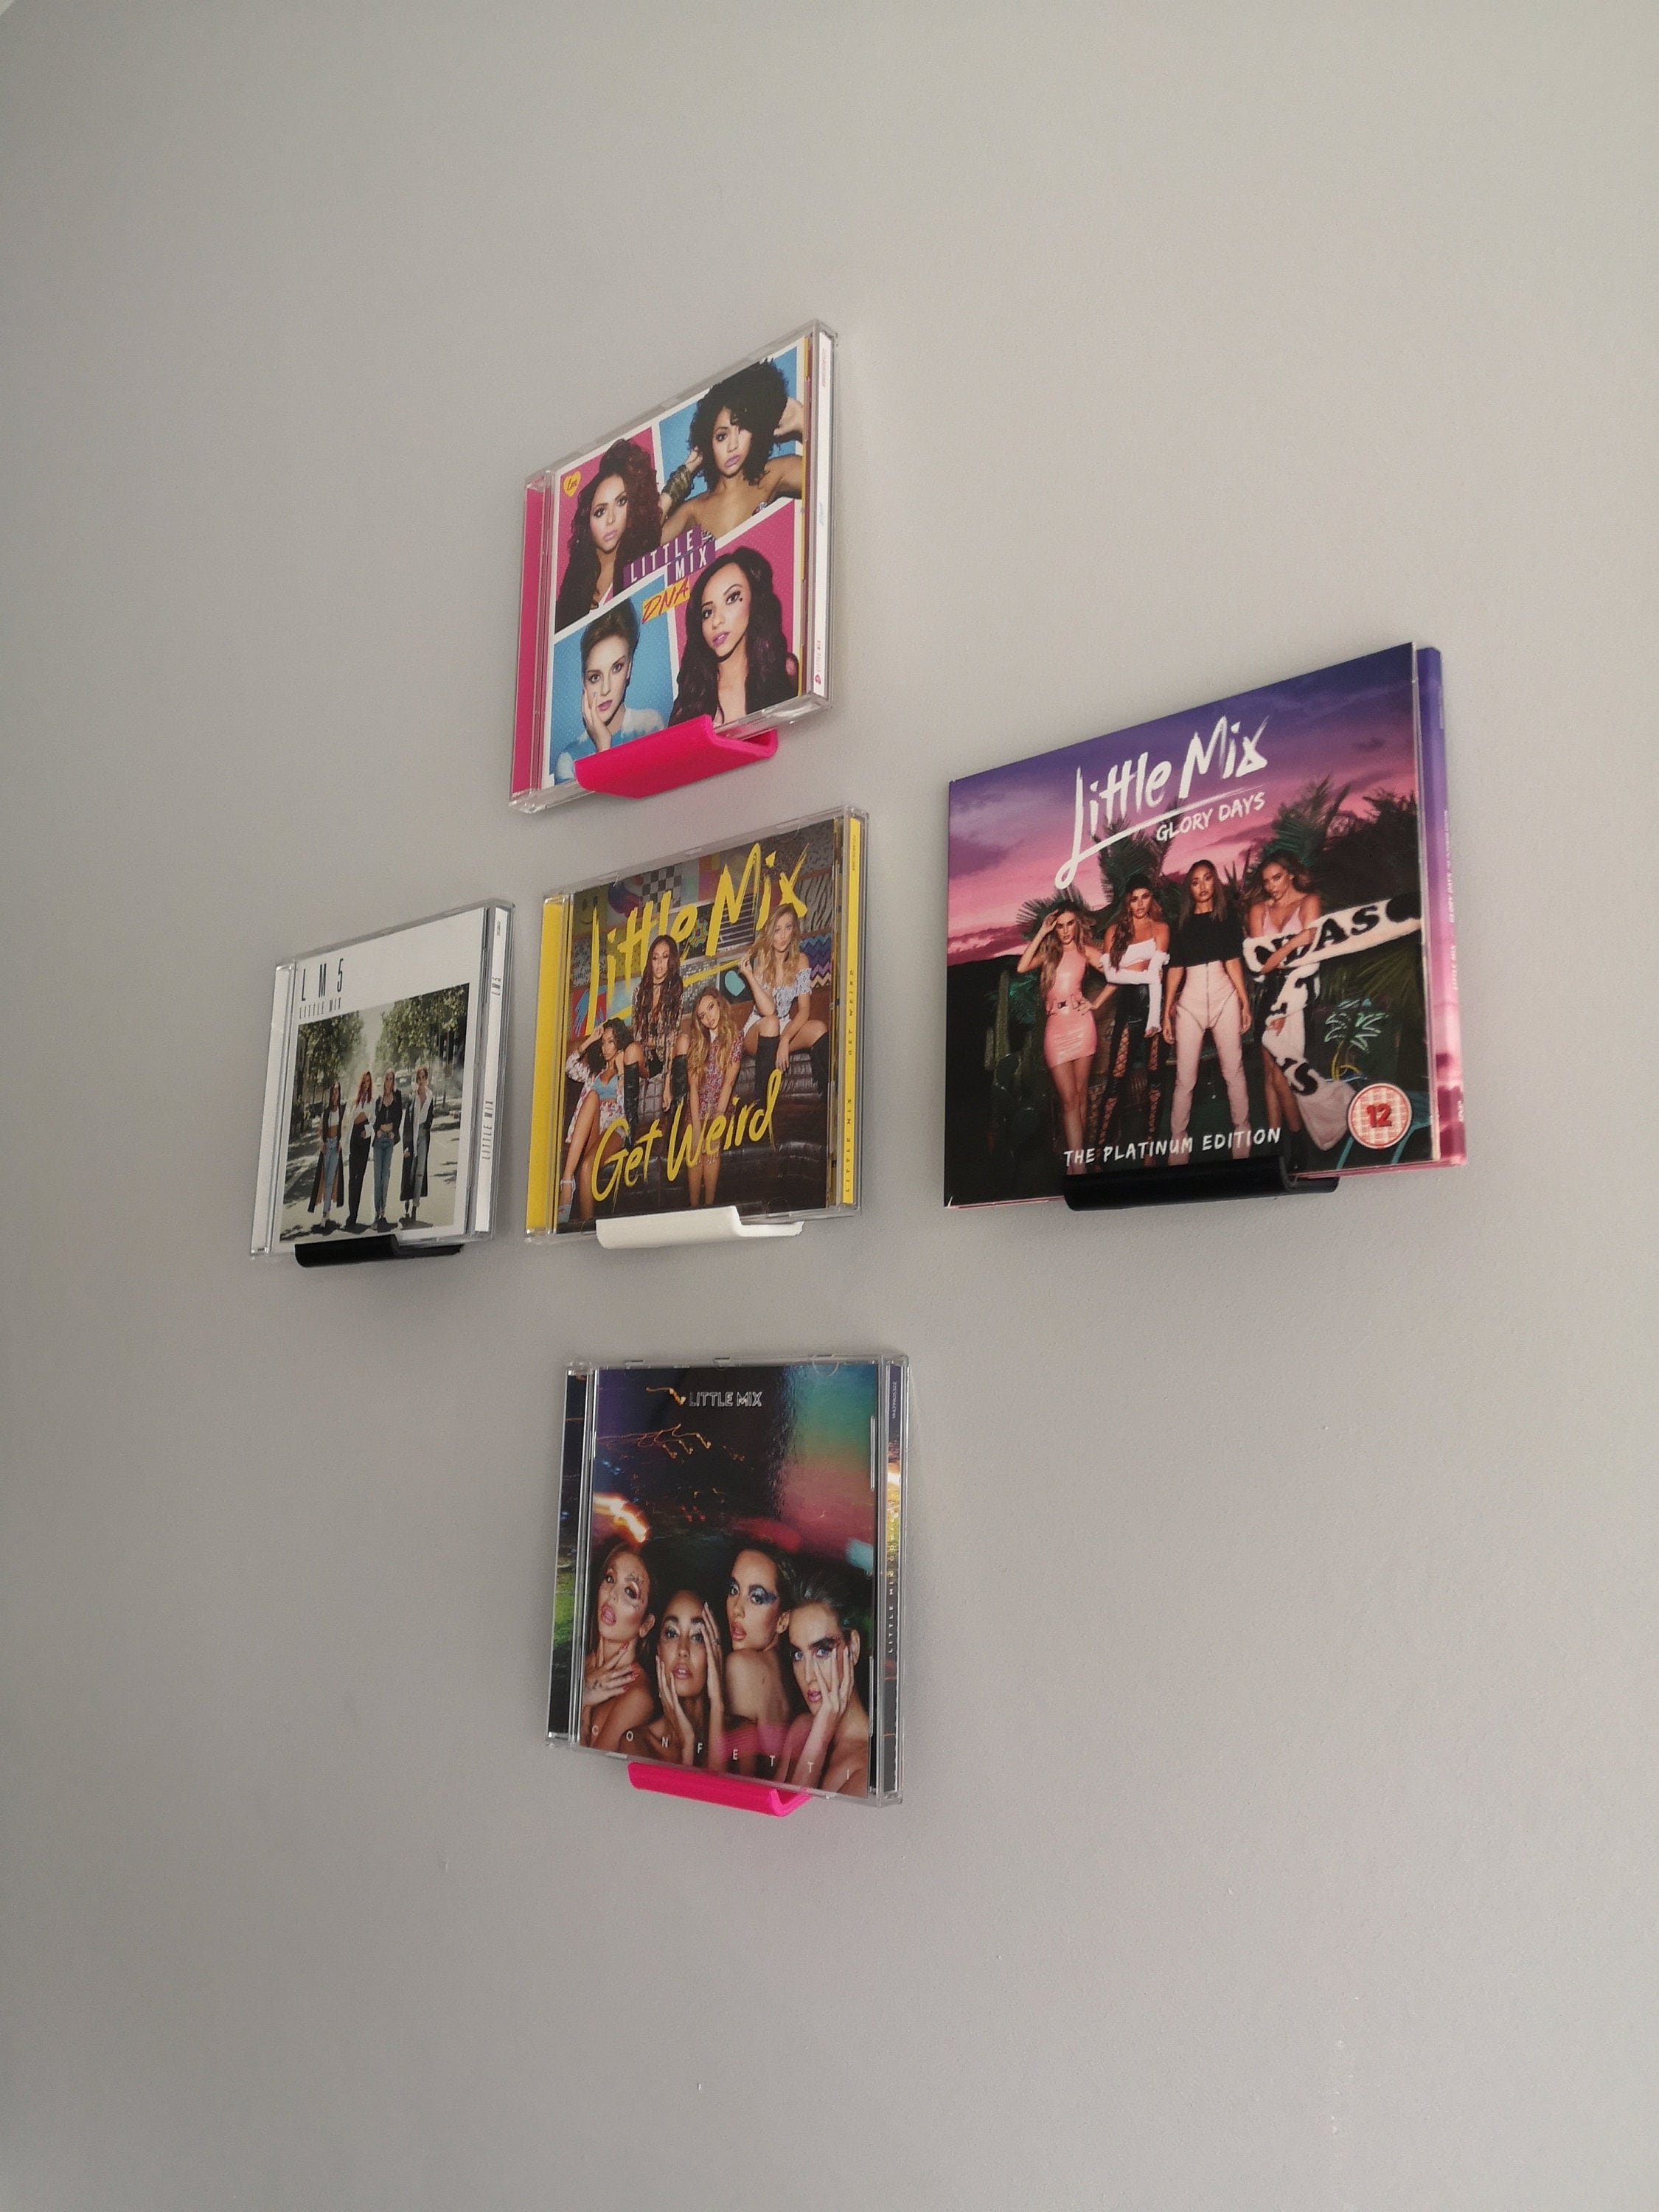
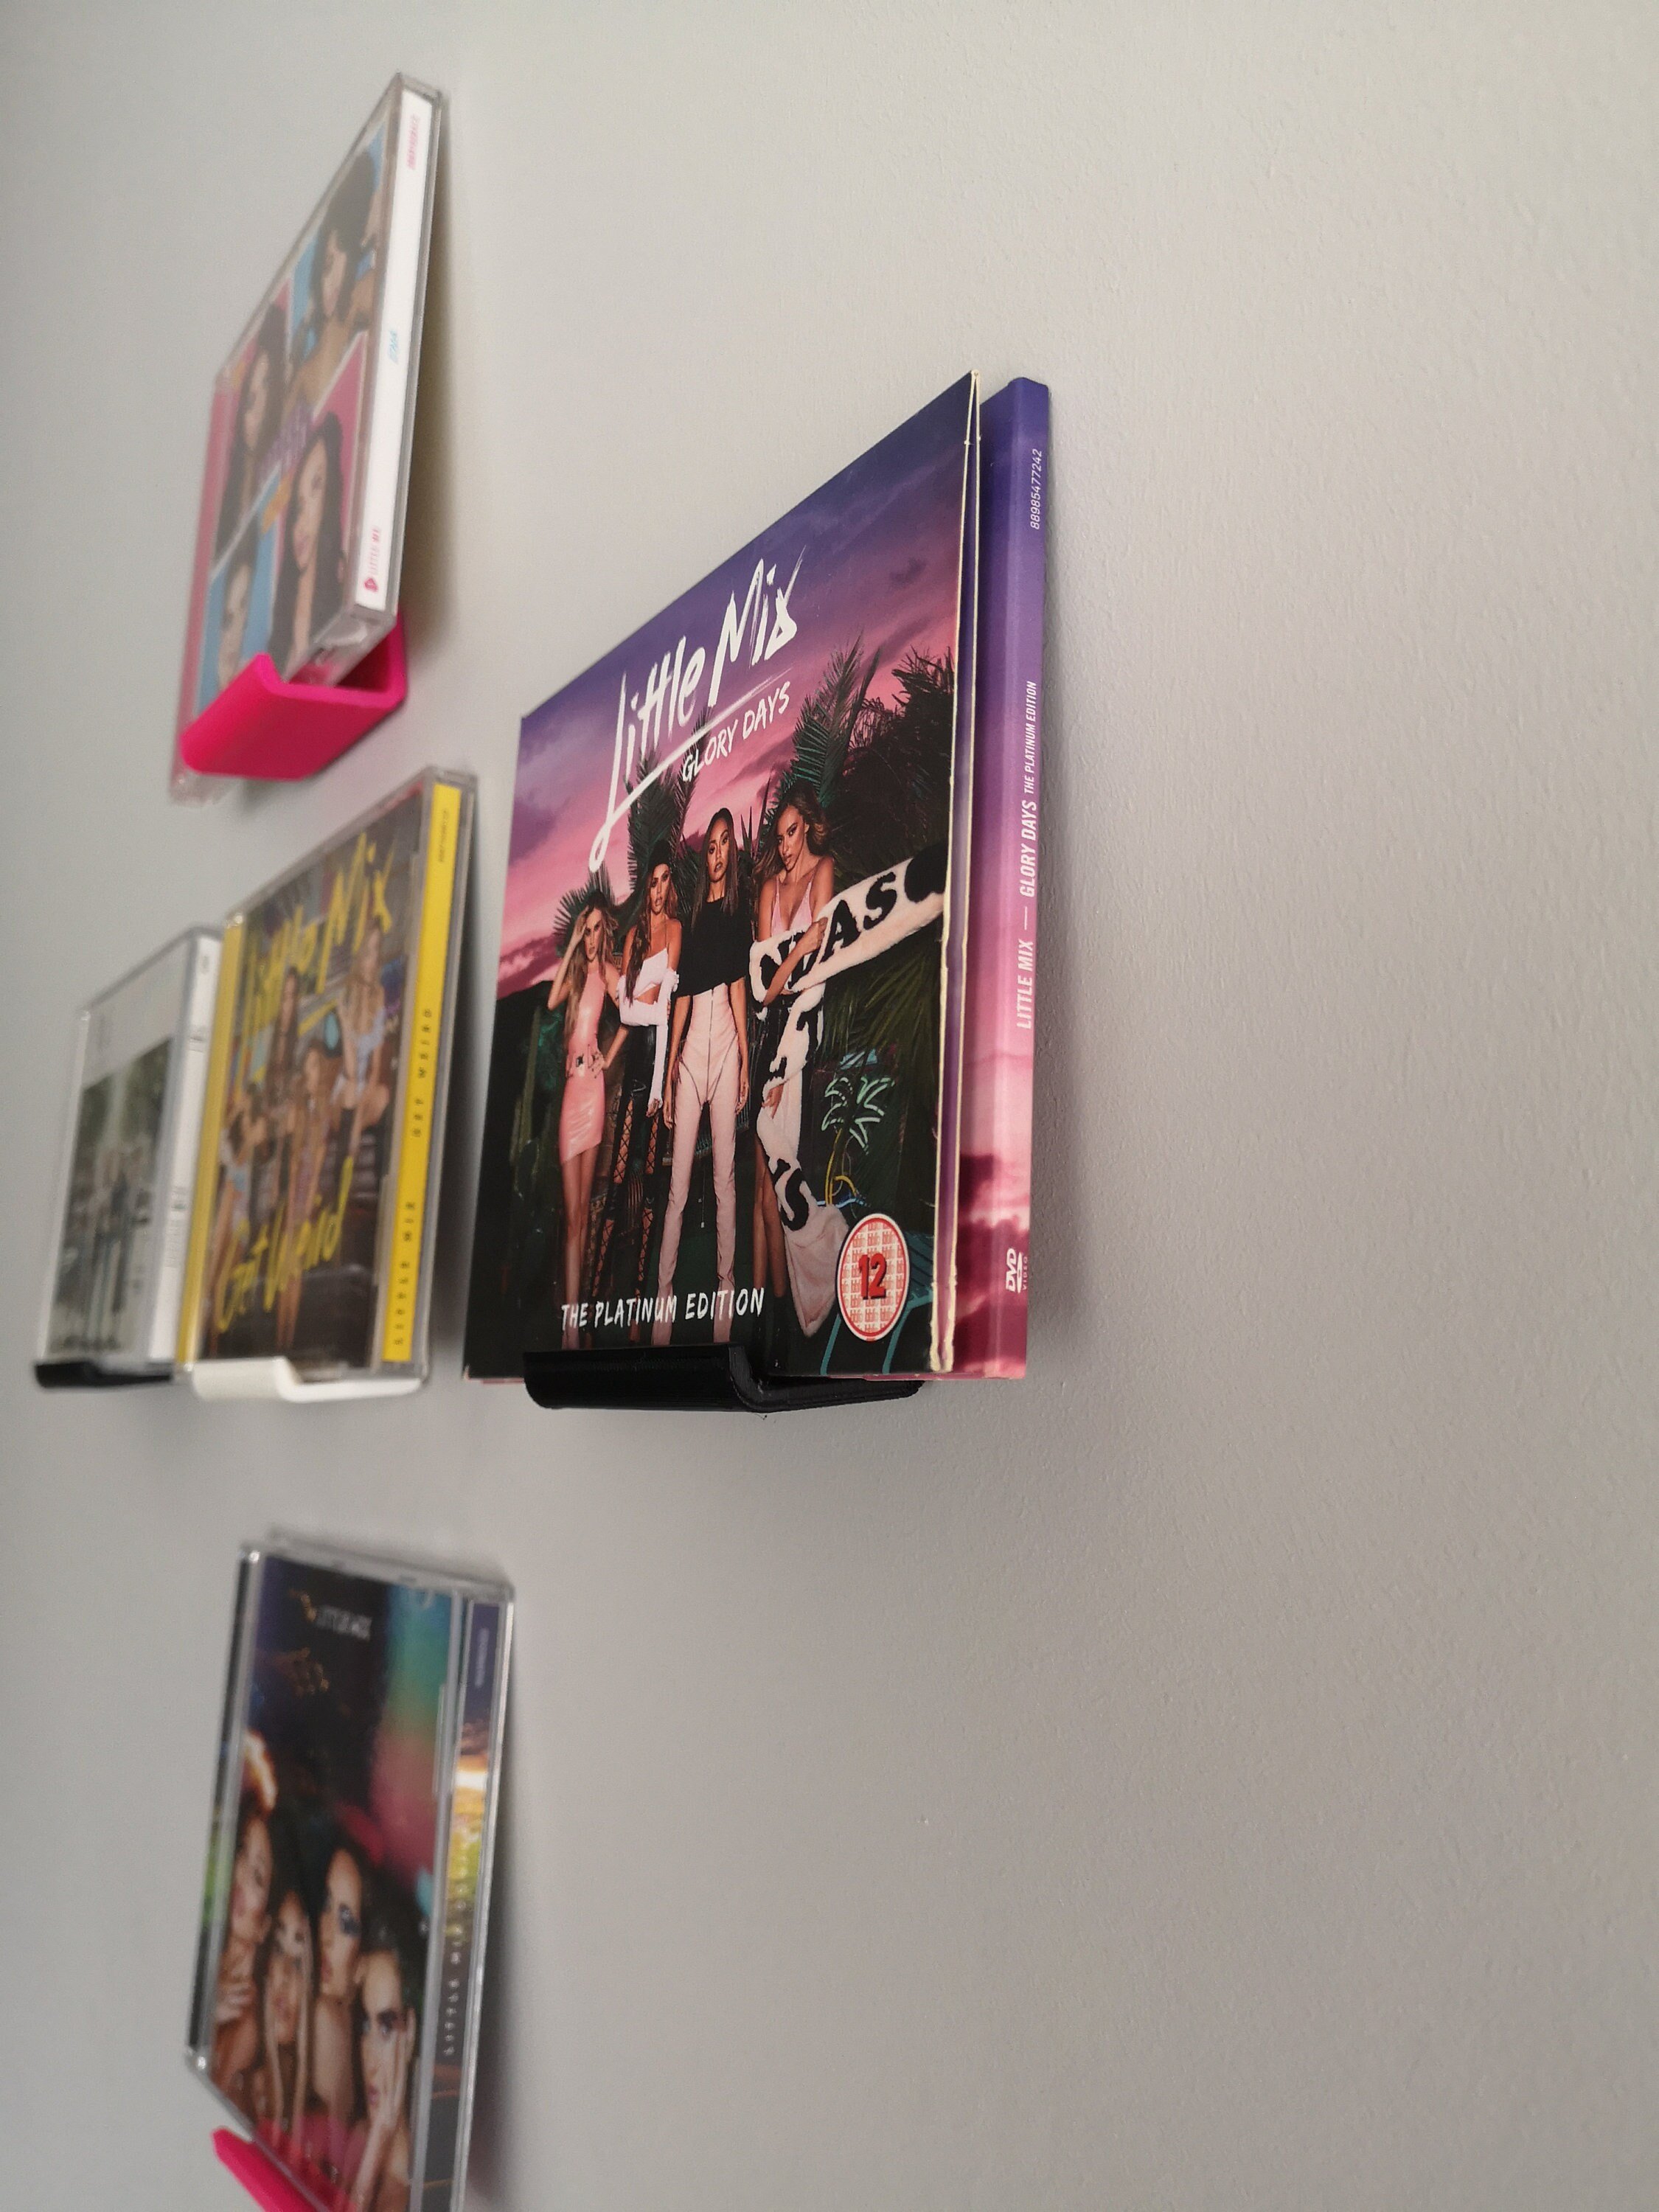
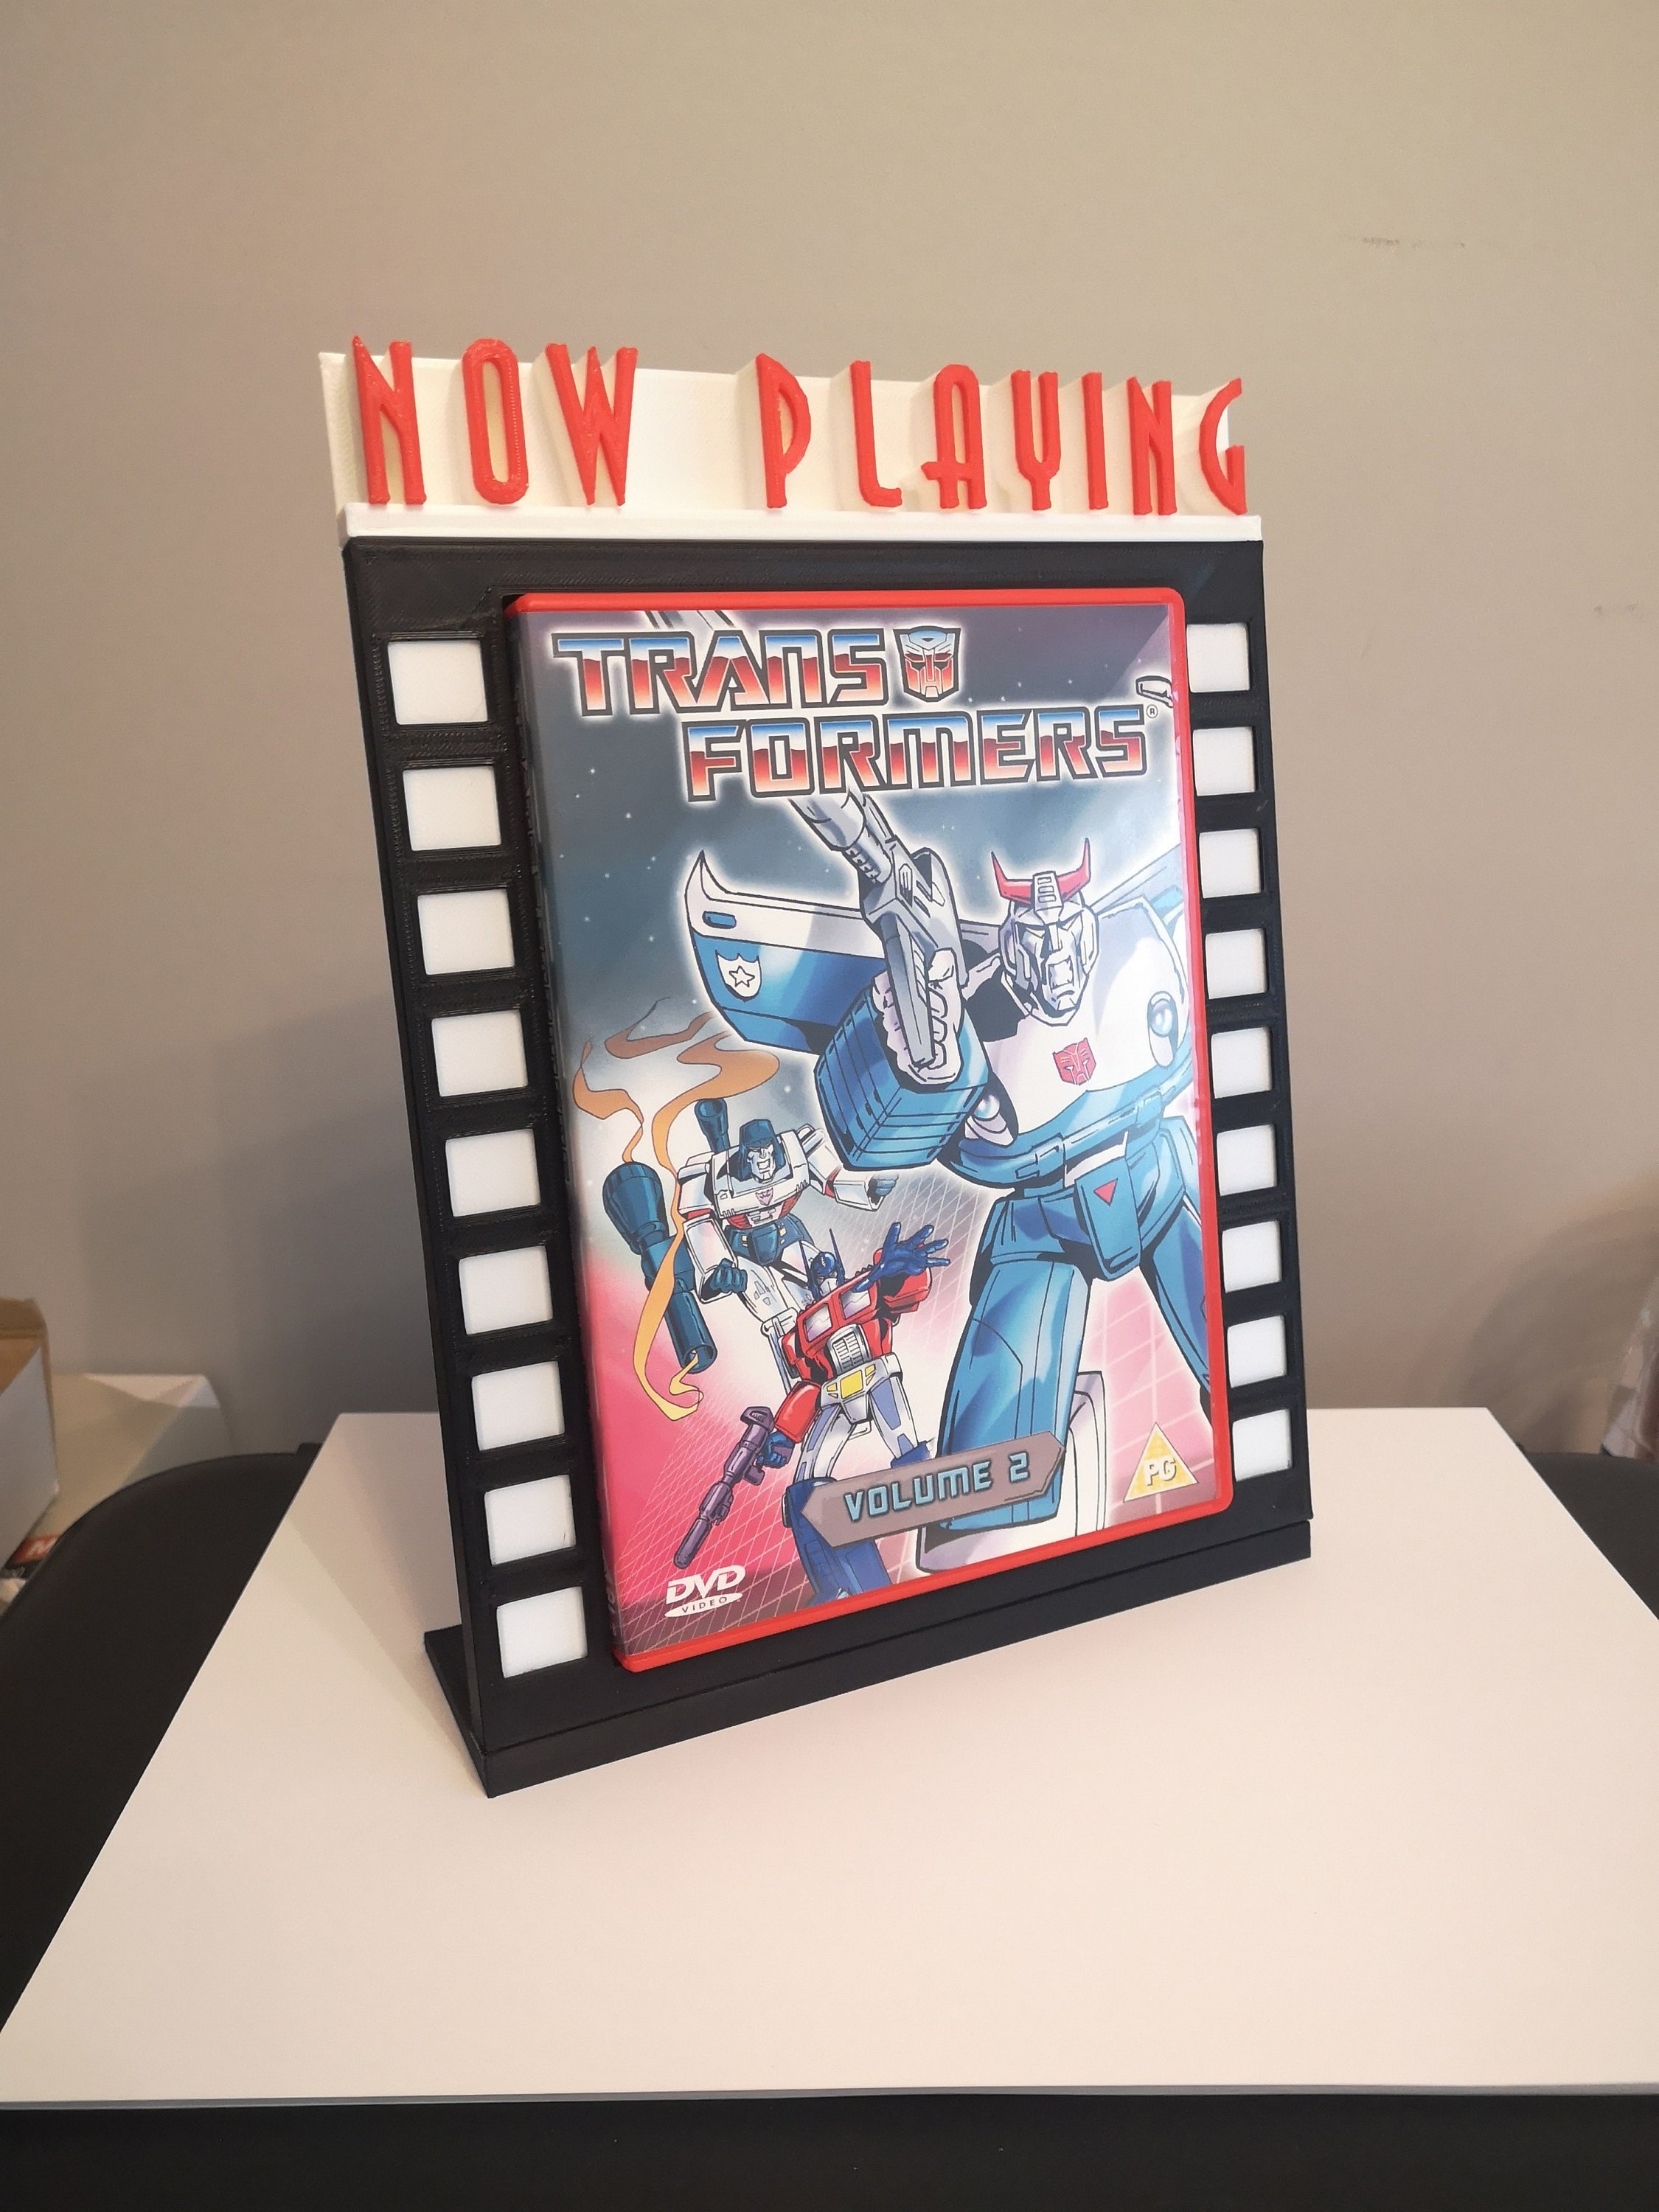
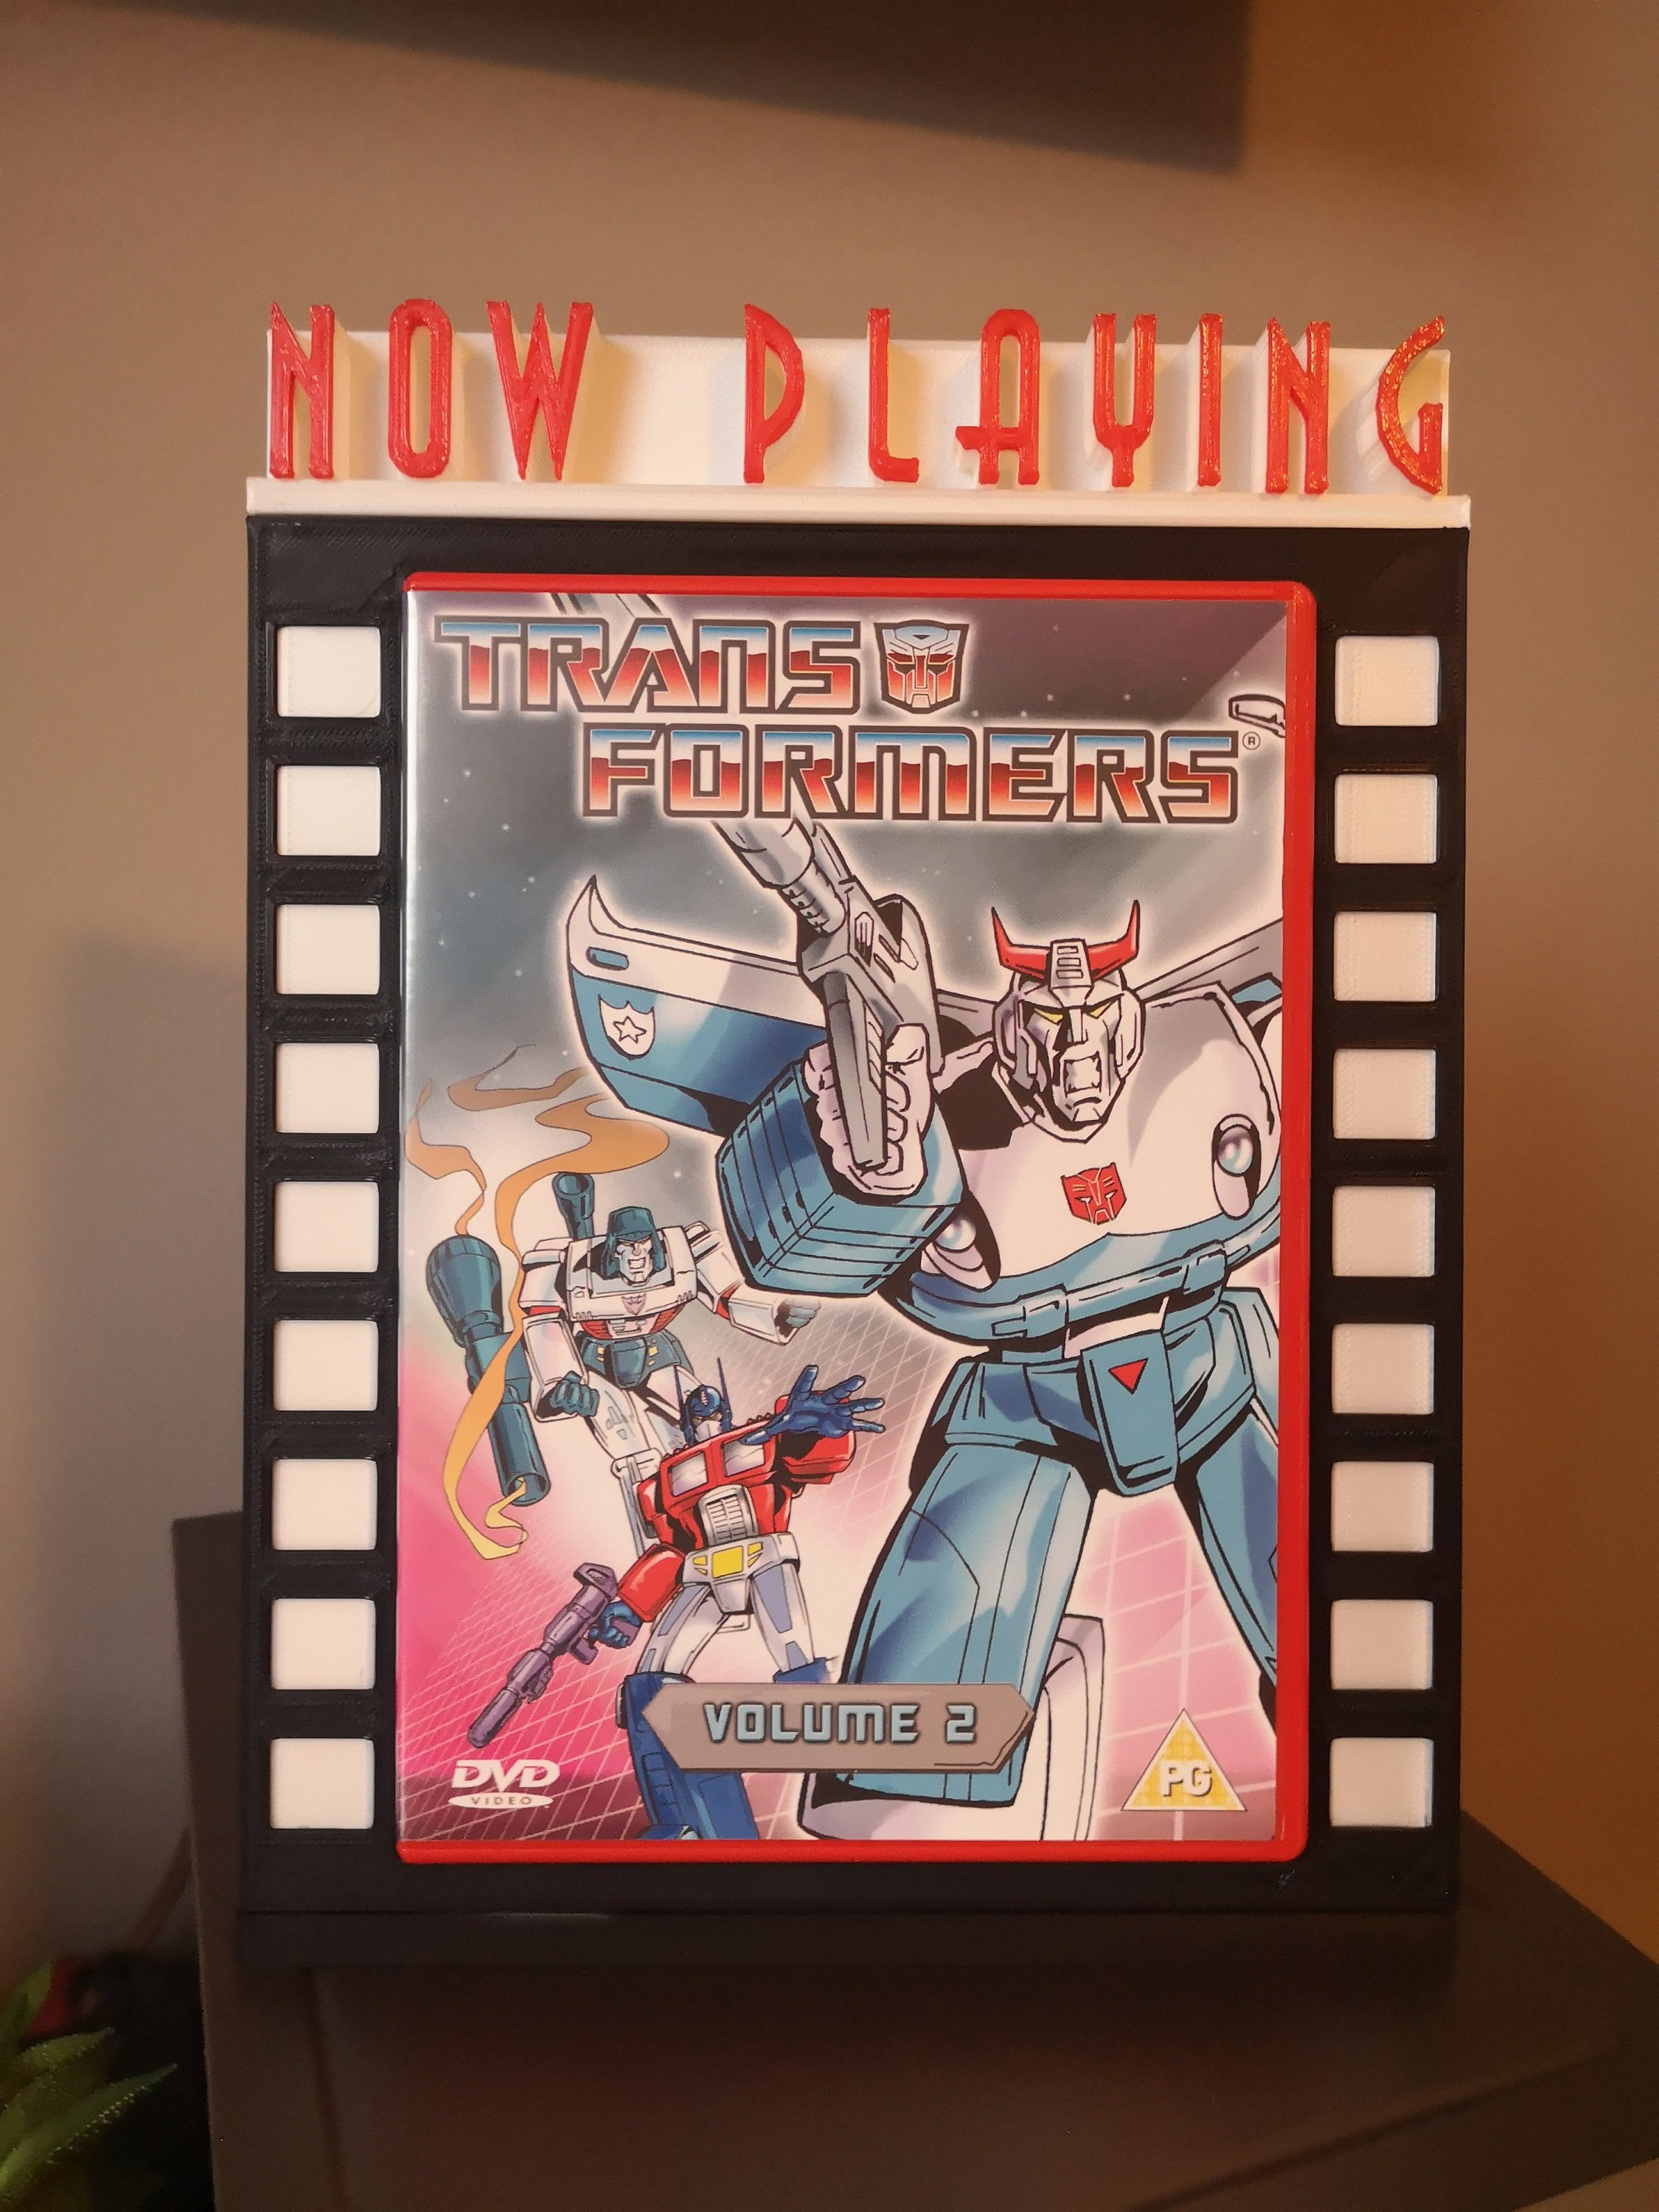
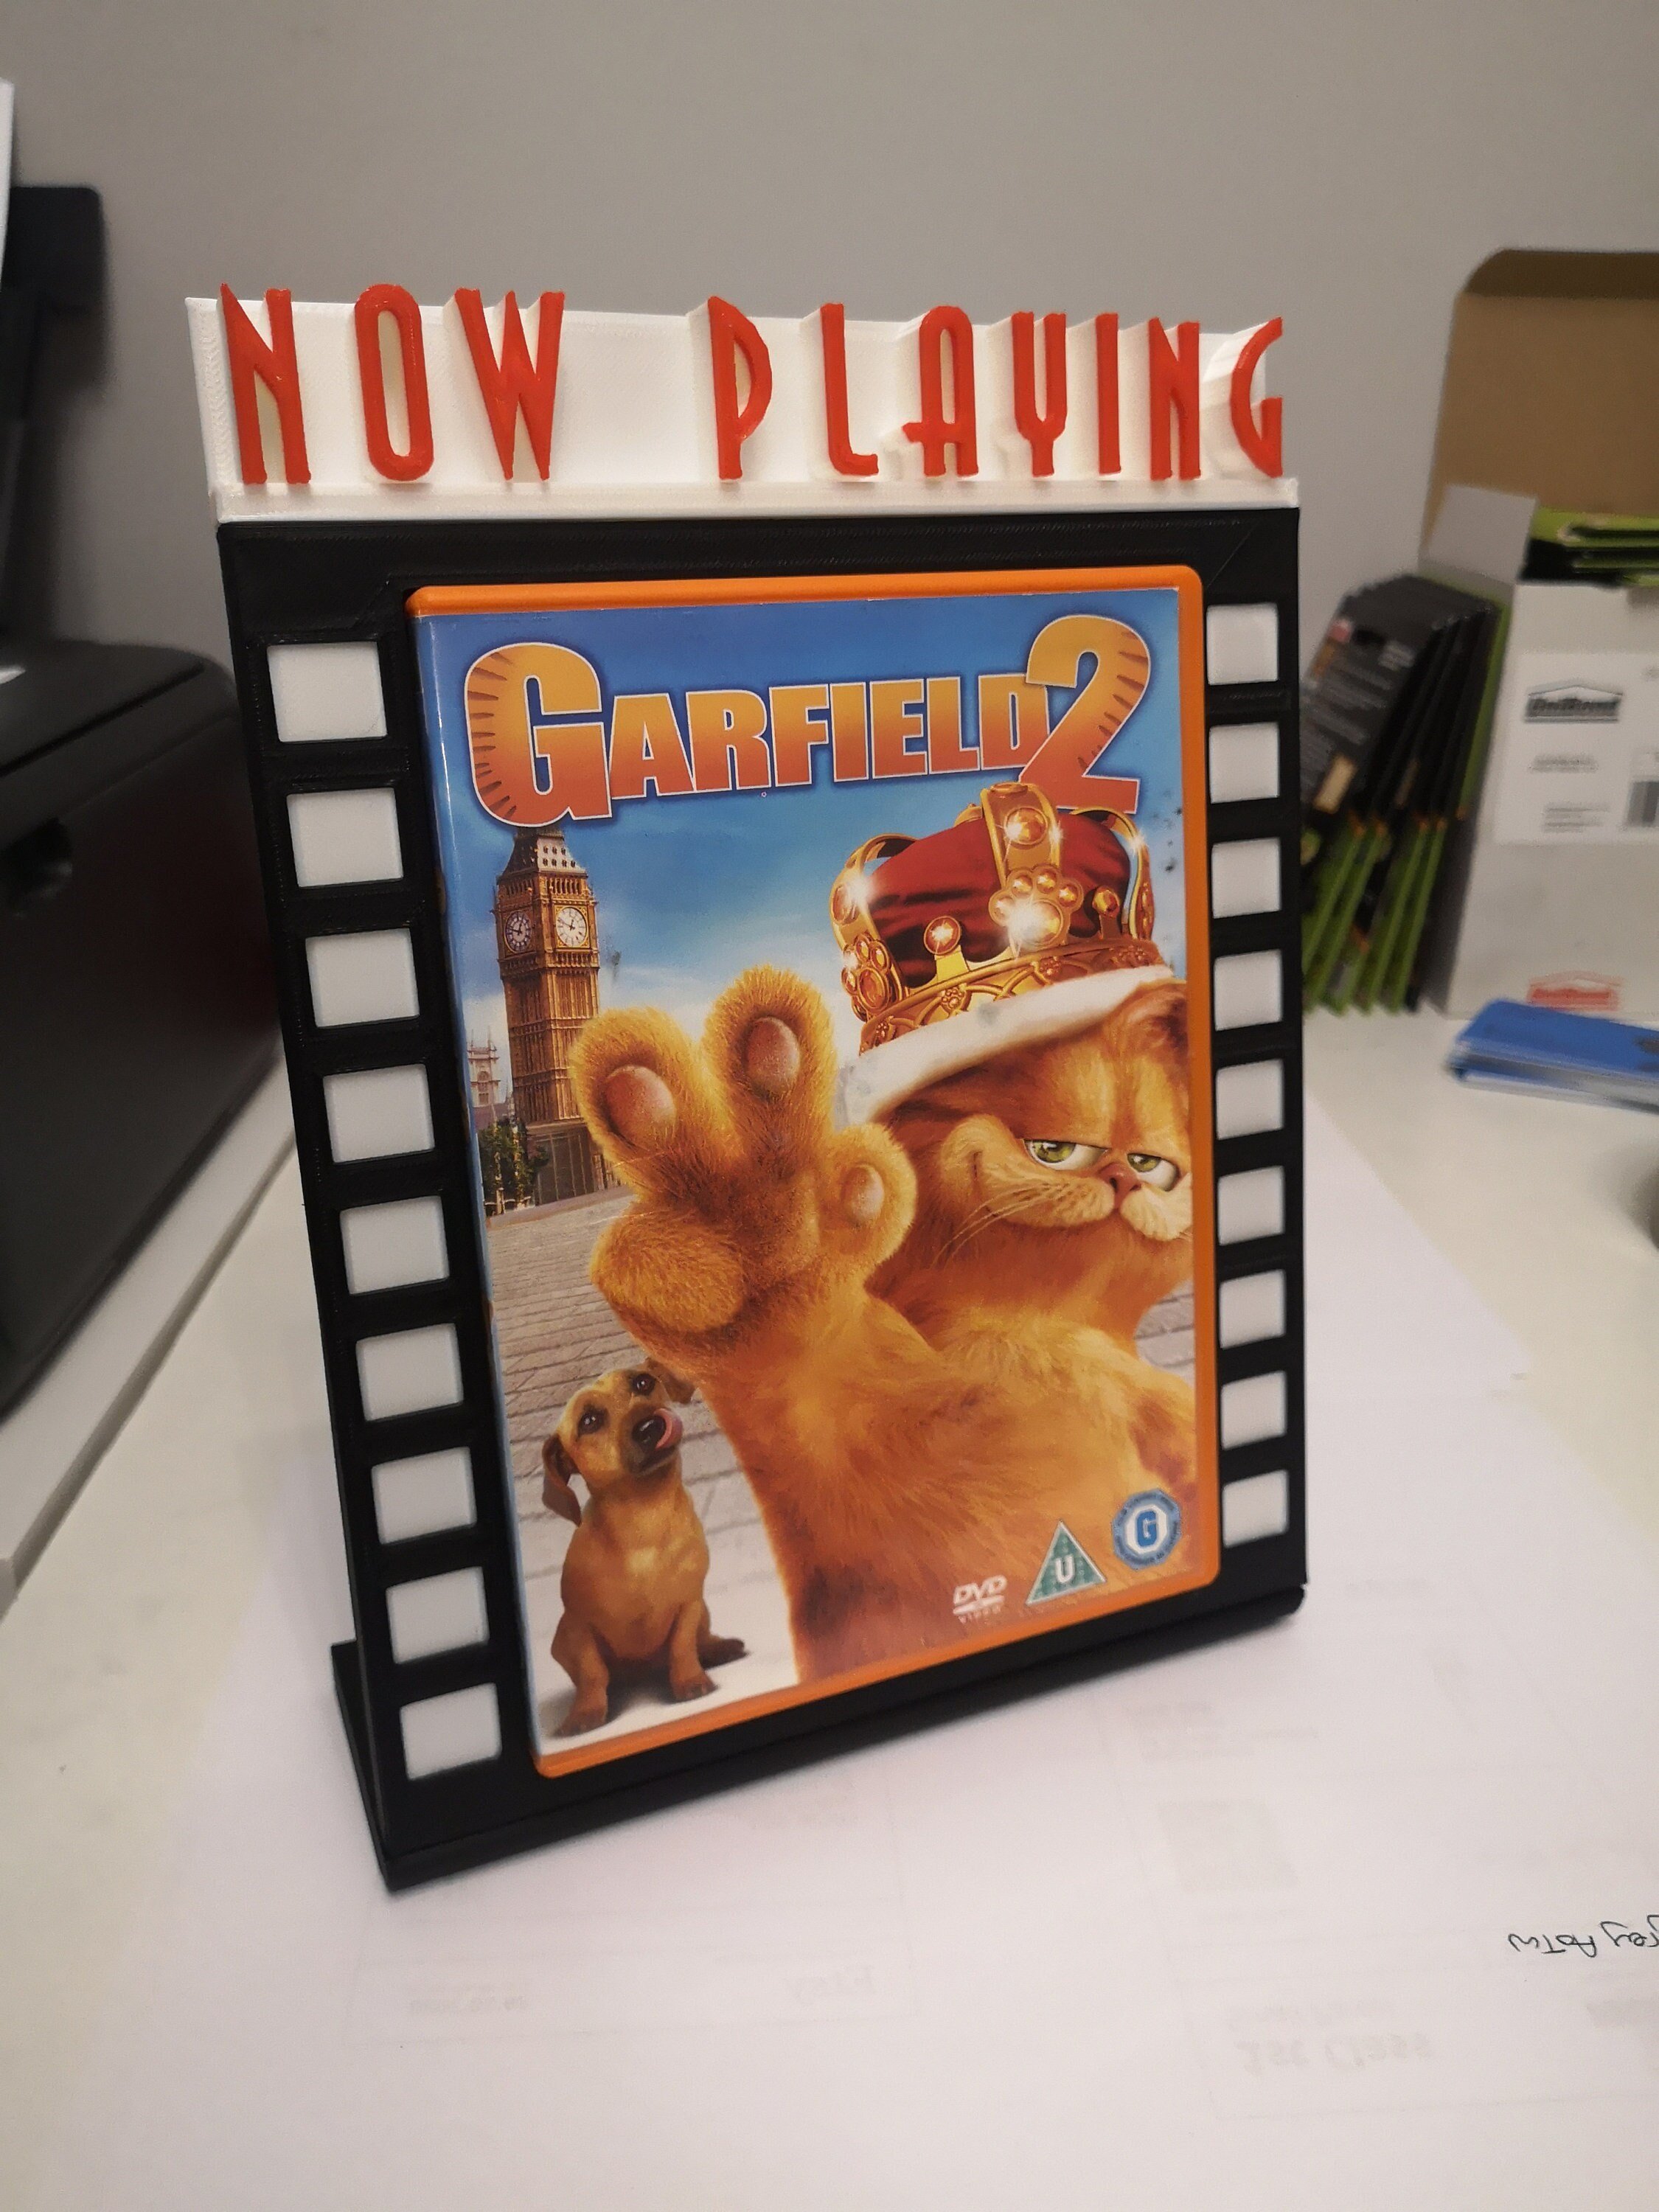
You've got a couple of options here. It's a frame to hold and display your favourite DVDs, or it's a Now Playing frame to hold the case while you're watching something.
All you have to do is find a good place to put it, and enjoy. I'll supply Command Strips and screws and plugs, so you can decide how to hang it.
It'll hold a standard DVD case or a standard Blu-ray case. You won't fit a steel book in it. You won't fit box-sets in it. There's too much variation in those things to be able to make a frame that will accept them all and not look like a dog's dinner doing it.
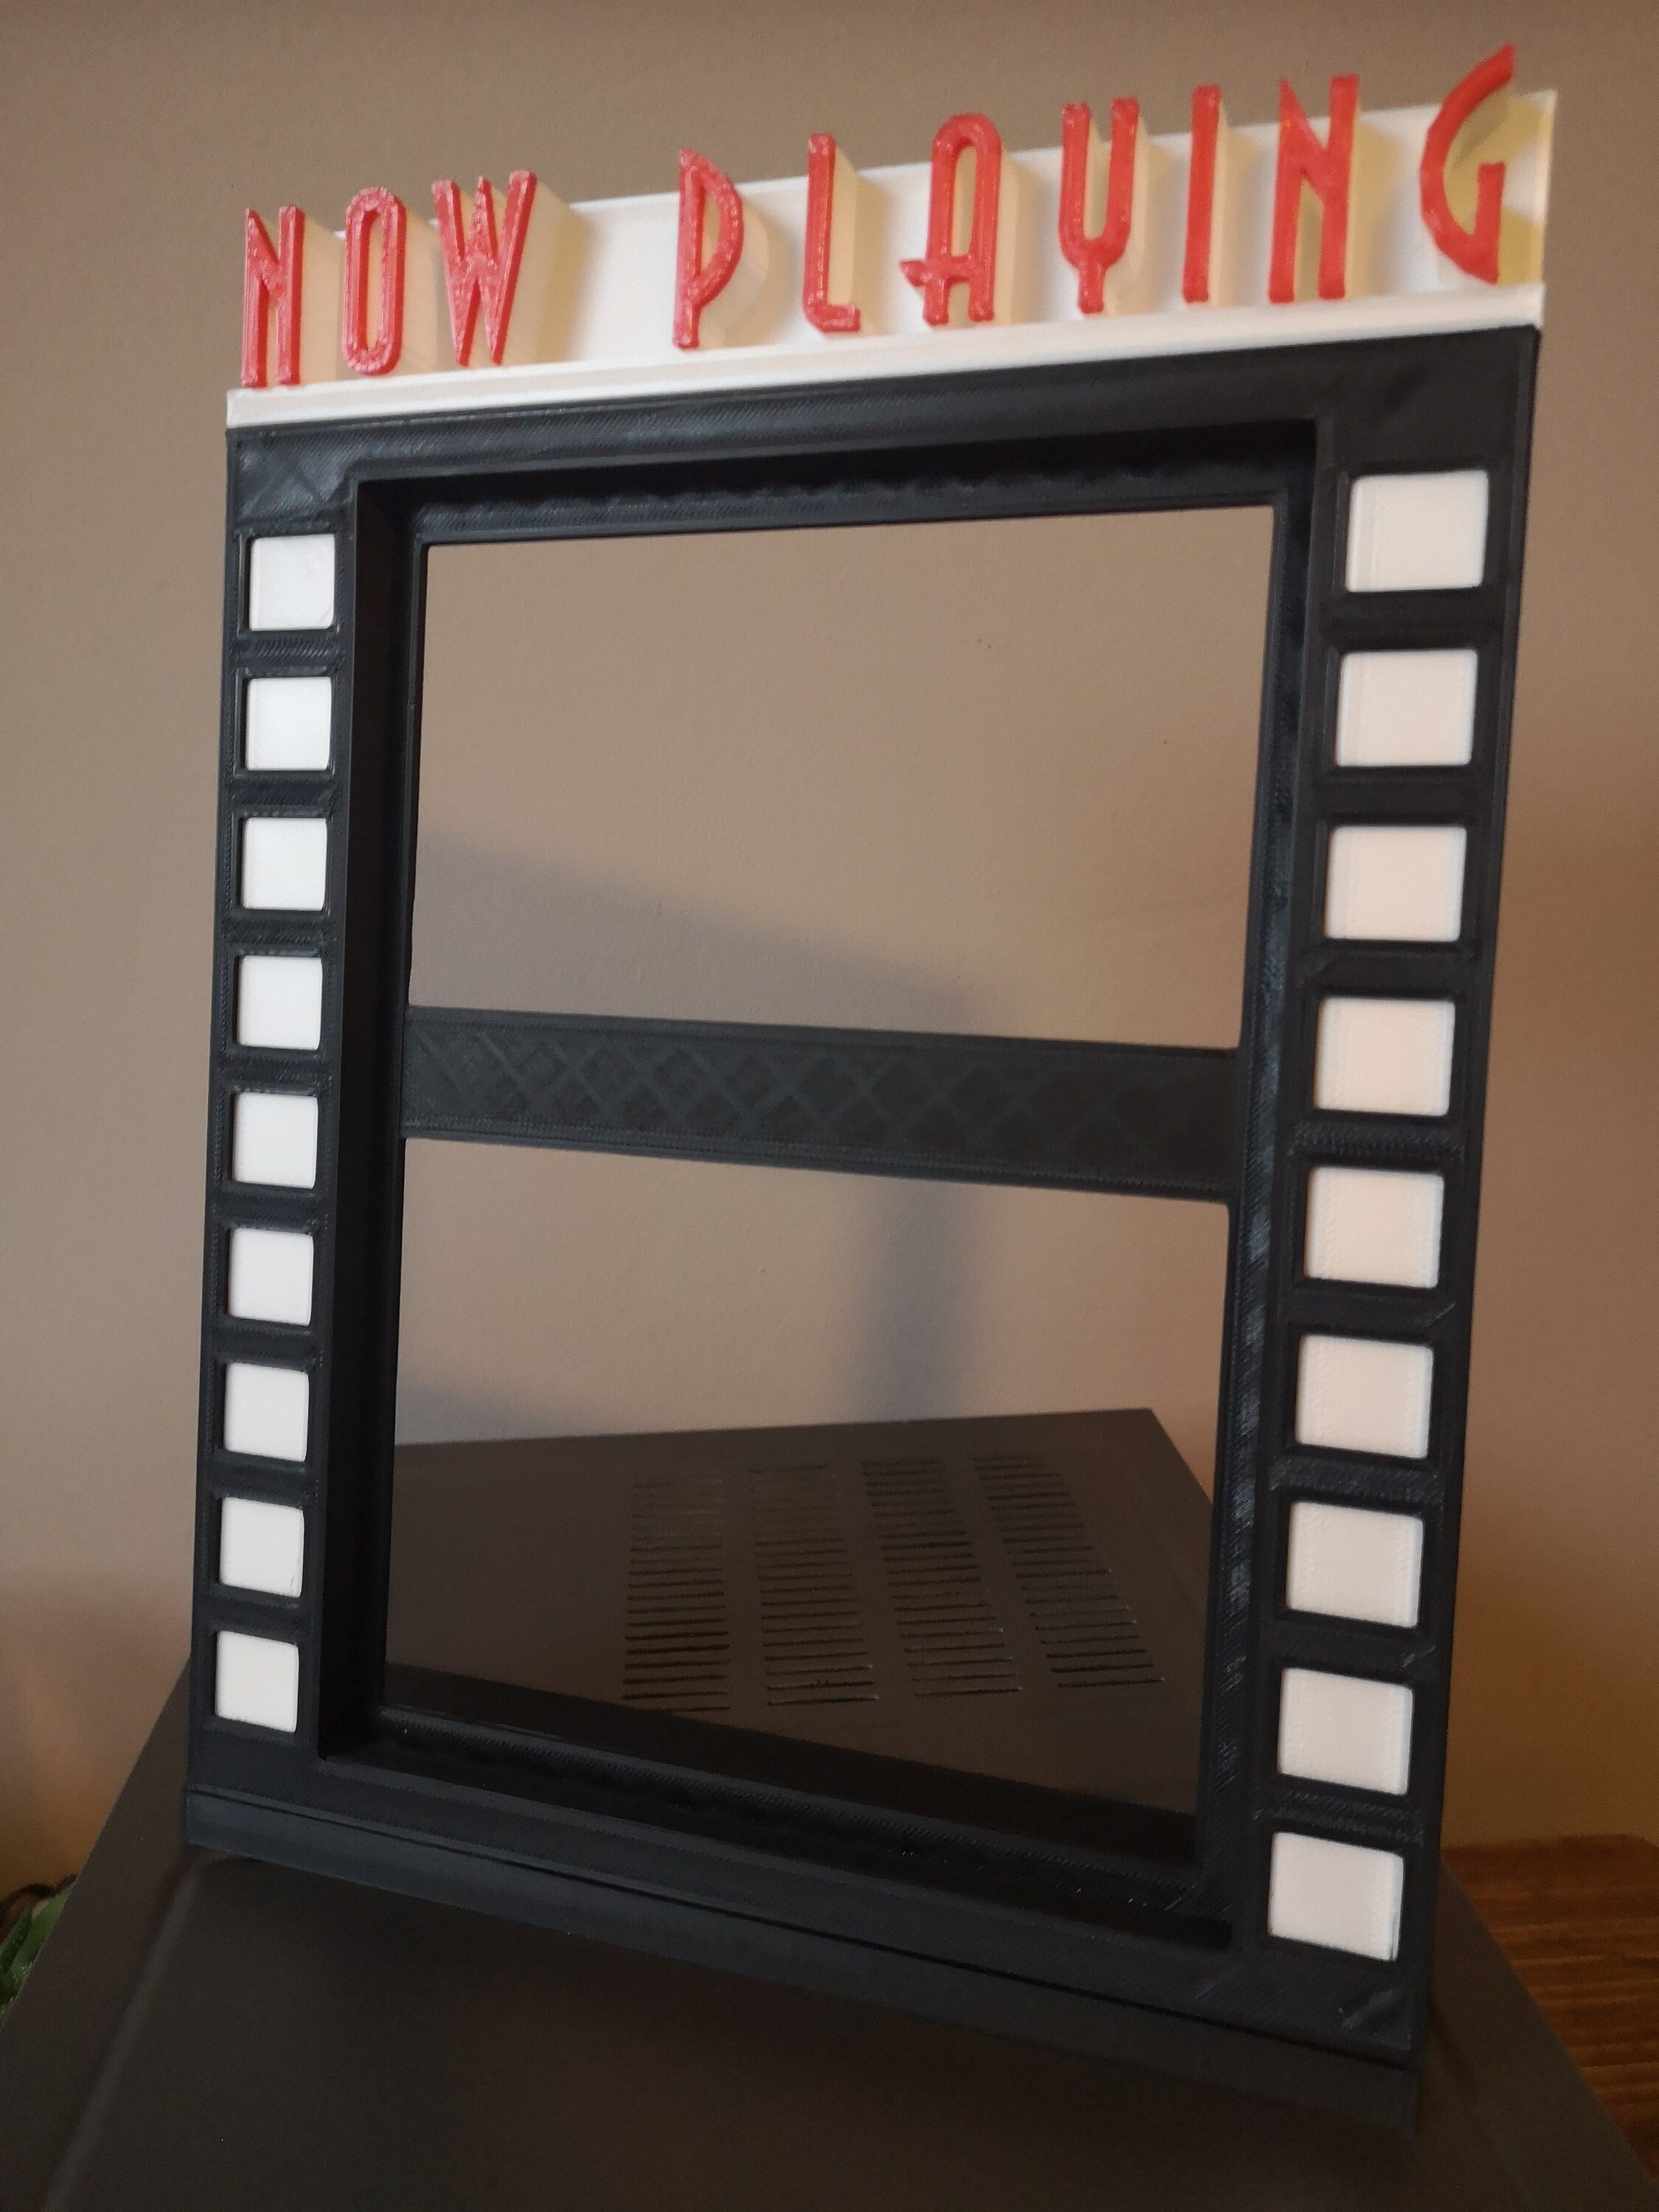
The frame measures 7 1/4" (18.5cm) wide, 9 1/2" (24cm) tall with a header/ 8 1/4" (21cm) tall without a header and is 1/2" (1cm) deep.
I should say, this is 3d printed, so there will be some surface texture. There are ways of printing with smoother surfaces but all they do is replace one fairly uniform surface pattern with other, less uniform ones, and I don't like them. Because it's mostly black you won't see much of the texture unless you're up close looking for it.
So there we go. I hope you like it.
[Instructions]
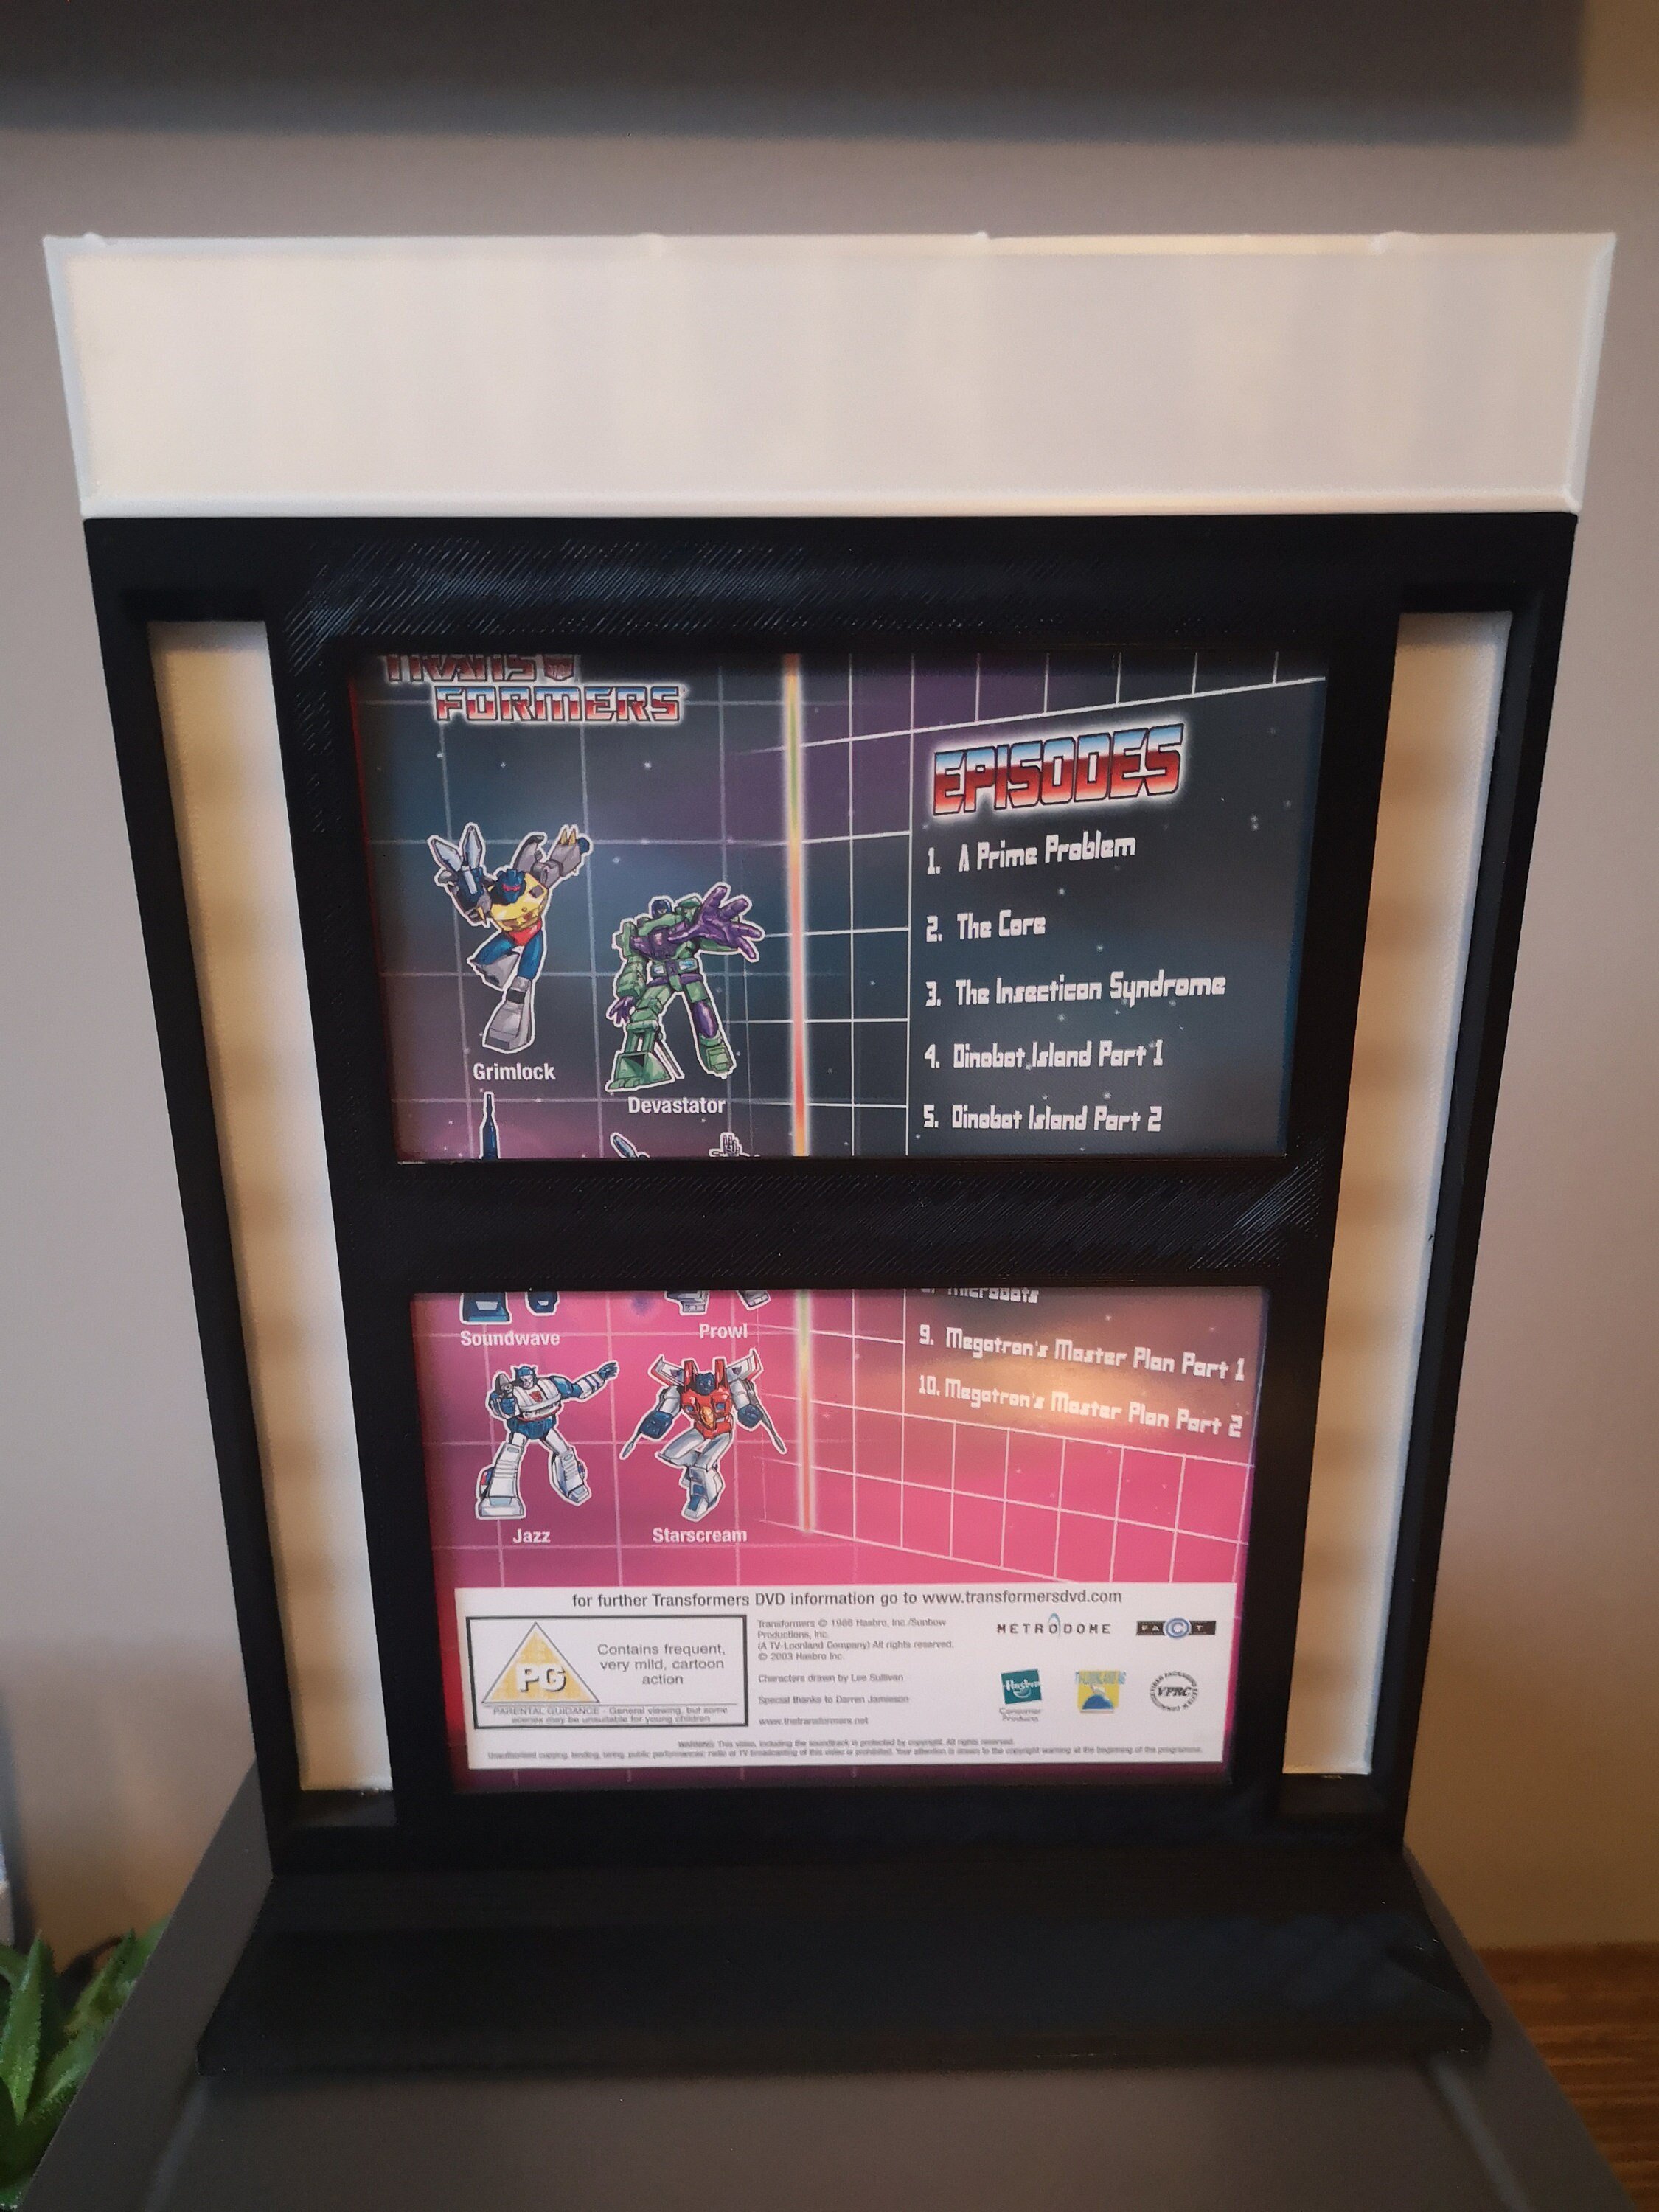
To use Command Strips, place them on the back of the frame with the removal tabs sticking into the middle (so they’ll be hidden by your case) and press firmly onto a hard surface for ten seconds. Then line up on your wall and press firmly for another ten seconds.
To use screws, use the holes in the frame as a template for drilling and drill two 6mm holes, then insert Rawlplugs. Screw the frame into these holes.
To fit your case in, look for the little nub on the right hand side. Put the case in on that side first, then push it in on the left. (Or do it the other way round. It doesn't really matter which side you put in first, as long as you press it in so it's held in place by that nub.)
[Processing]
These will usually take 3 or 4 days to produce.
[Details]
You've got a couple of options here. It's a frame to hold and display your favourite DVDs, or it's a Now Playing frame to hold the case while you're watching something.
All you have to do is find a good place to put it, and enjoy. I'll supply Command Strips and screws and plugs, so you can decide how to hang it.
It'll hold a standard DVD case or a standard Blu-ray case. You won't fit a steel book in it. You won't fit box-sets in it. There's too much variation in those things to be able to make a frame that will accept them all and not look like a dog's dinner doing it.
The frame measures 7 1/4" (18.5cm) wide, 9 1/2" (24cm) tall with a header/ 8 1/4" (21cm) tall without a header and is 1/2" (1cm) deep.
I should say, this is 3d printed, so there will be some surface texture. There are ways of printing with smoother surfaces but all they do is replace one fairly uniform surface pattern with other, less uniform ones, and I don't like them. Because it's mostly black you won't see much of the texture unless you're up close looking for it.
So there we go. I hope you like it.
[Instructions]
To use Command Strips, place them on the back of the frame with the removal tabs sticking into the middle (so they’ll be hidden by your case) and press firmly onto a hard surface for ten seconds. Then line up on your wall and press firmly for another ten seconds.
To use screws, use the holes in the frame as a template for drilling and drill two 6mm holes, then insert Rawlplugs. Screw the frame into these holes.
To fit your case in, look for the little nub on the right hand side. Put the case in on that side first, then push it in on the left. (Or do it the other way round. It doesn't really matter which side you put in first, as long as you press it in so it's held in place by that nub.)
[Processing]
These will usually take 3 or 4 days to produce.

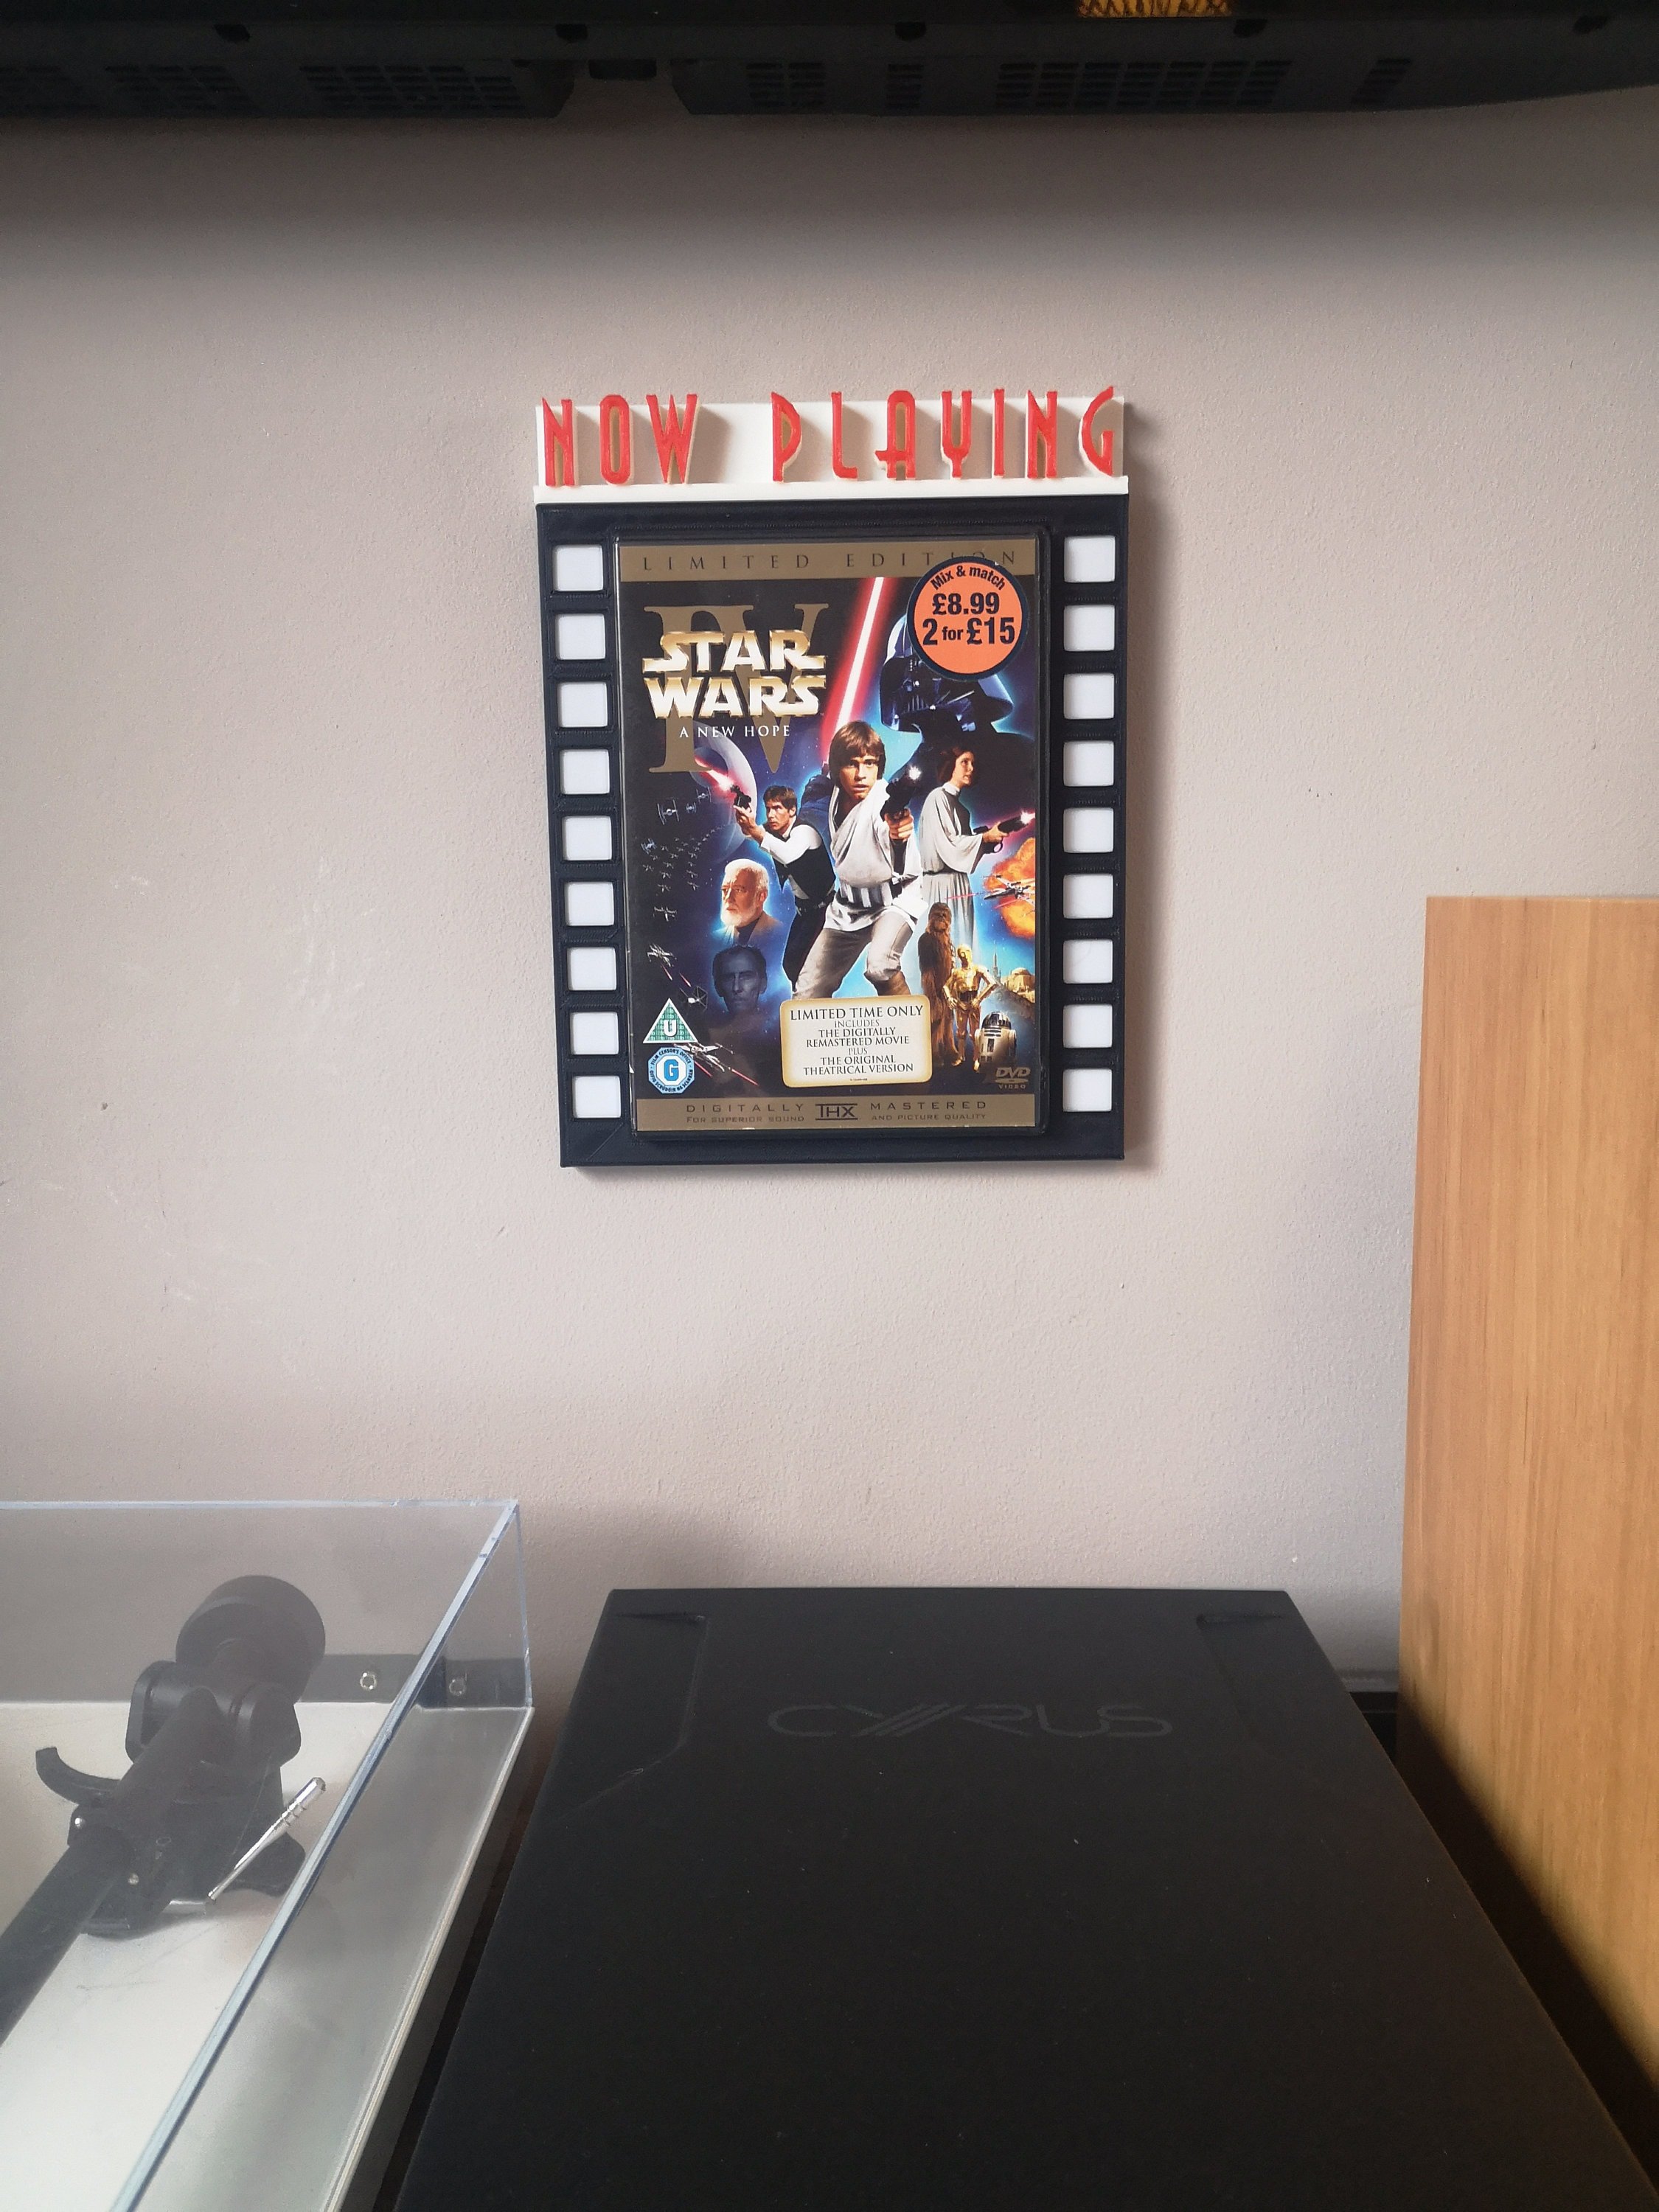 Image 1 of 7
 Image 2 of 7
 Image 3 of 7
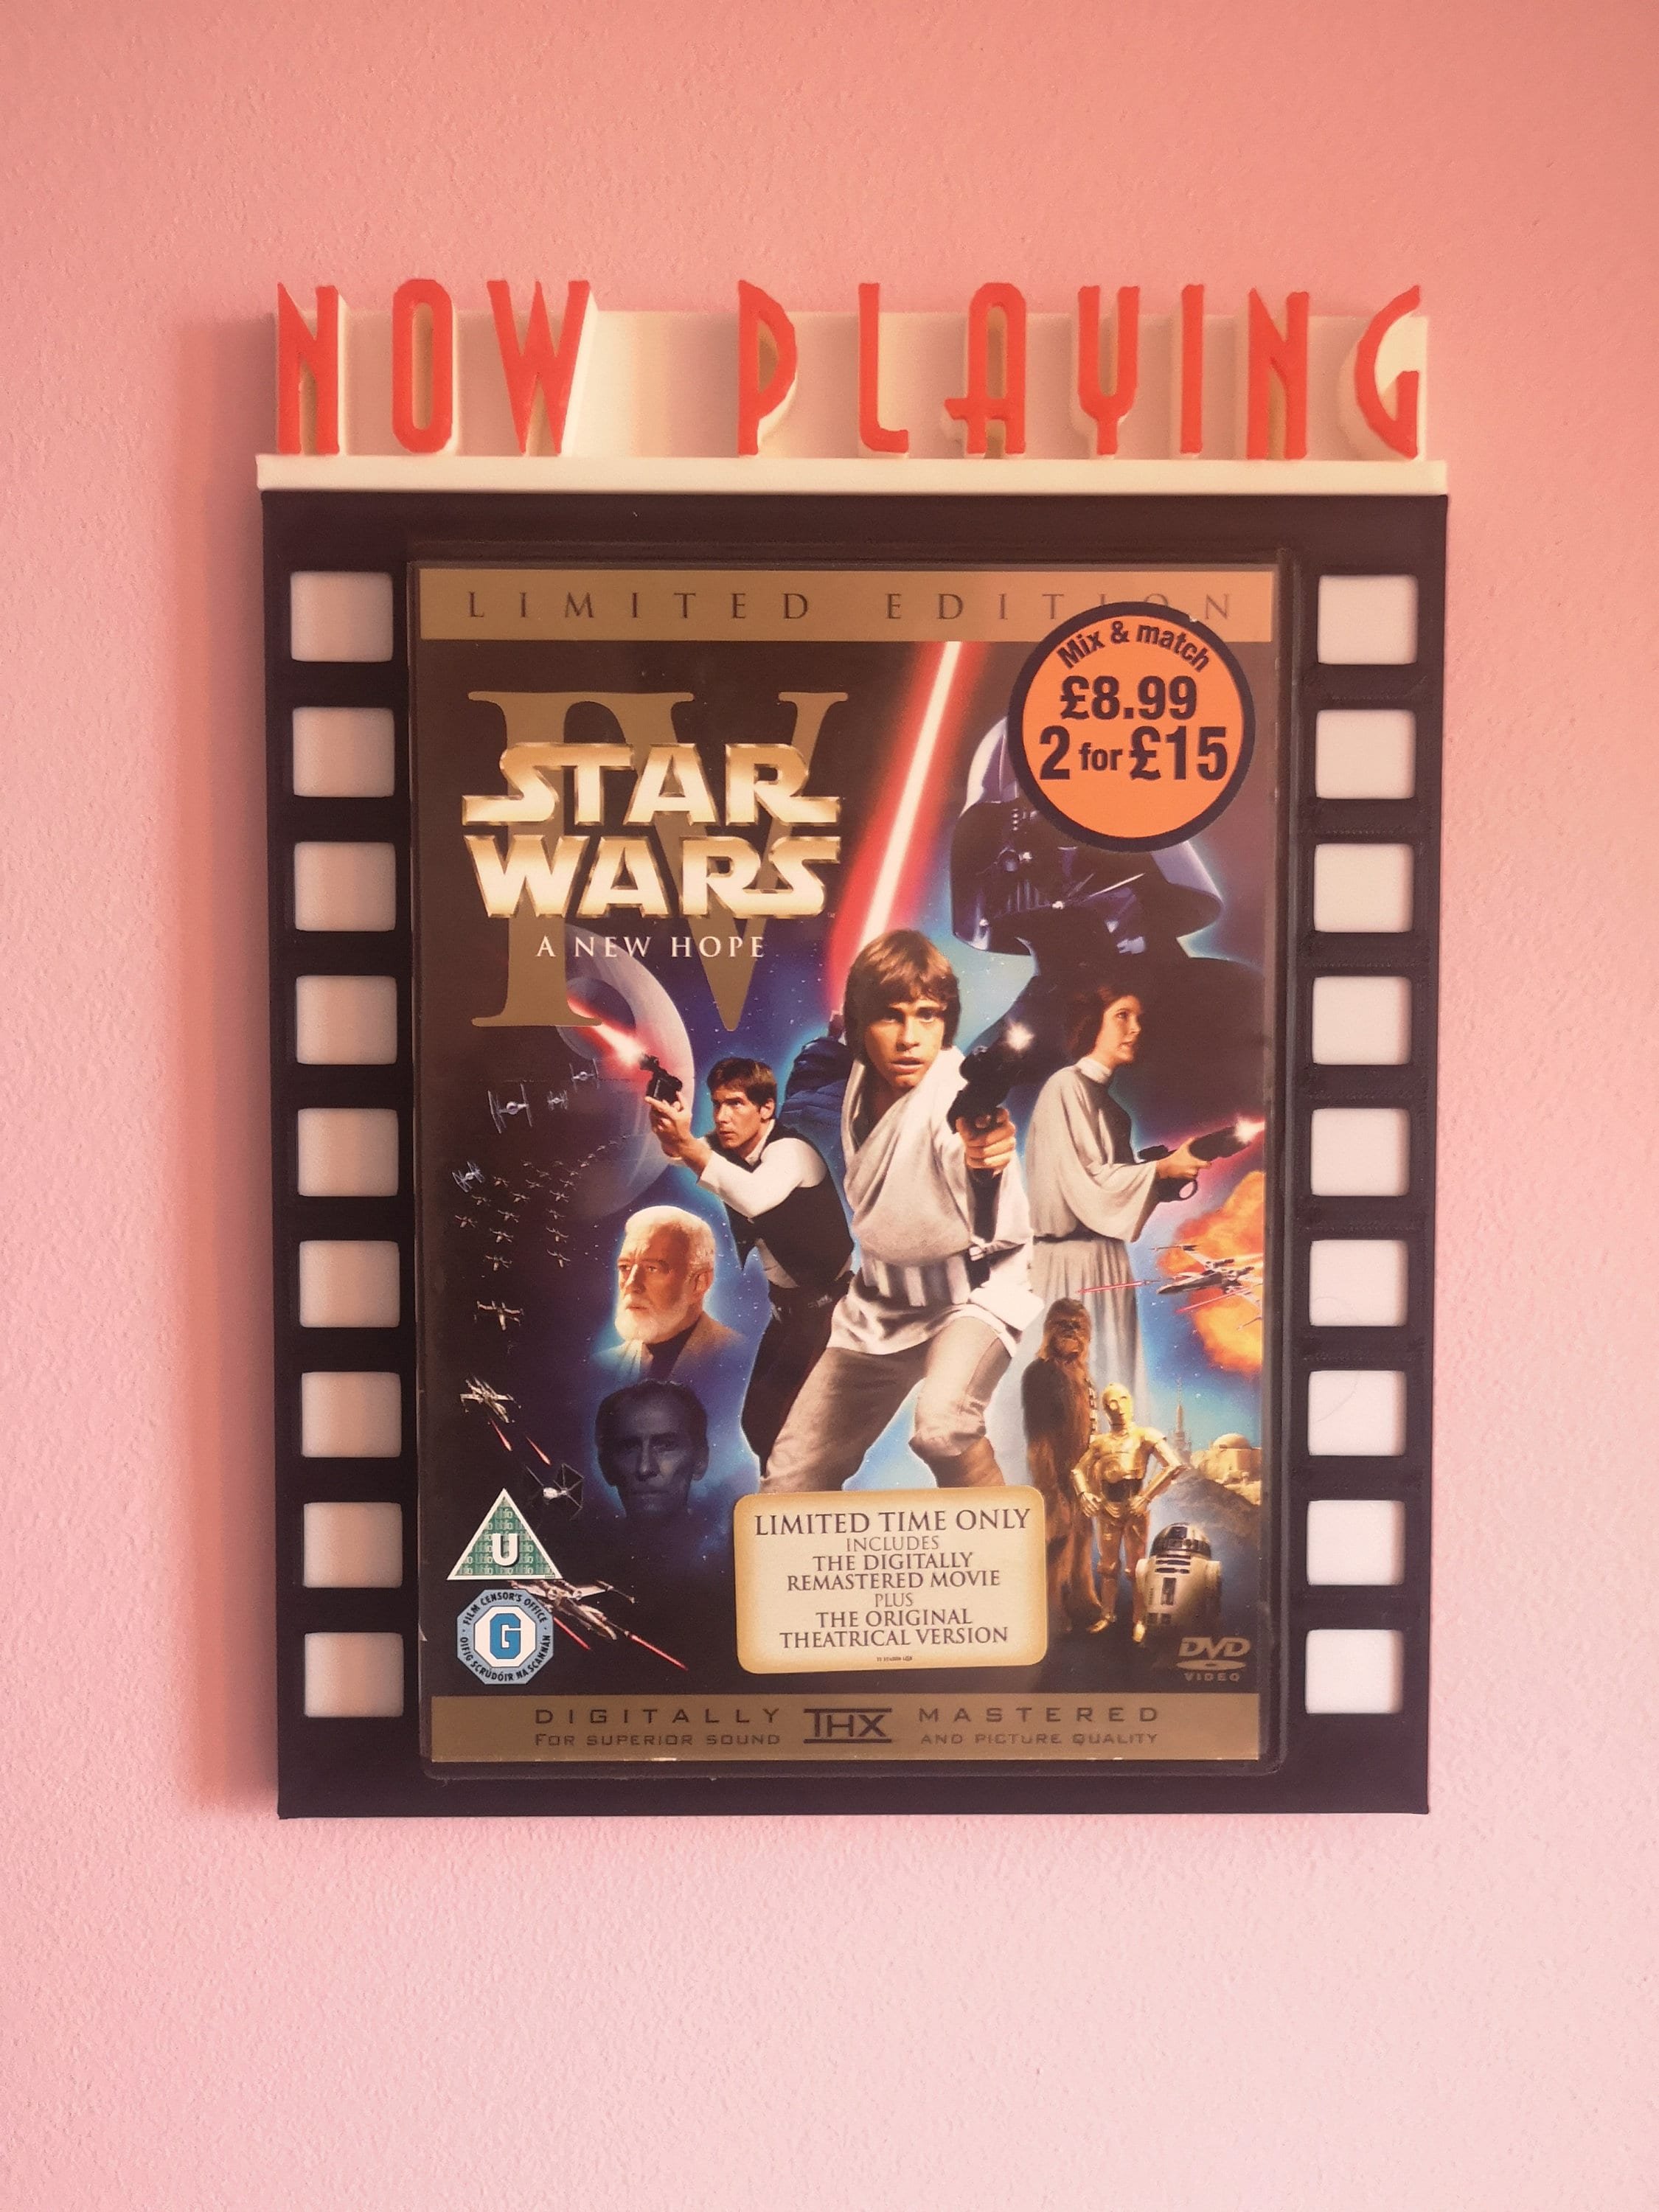 Image 4 of 7
 Image 5 of 7
 Image 6 of 7
 Image 7 of 7