 Image 1 of 5
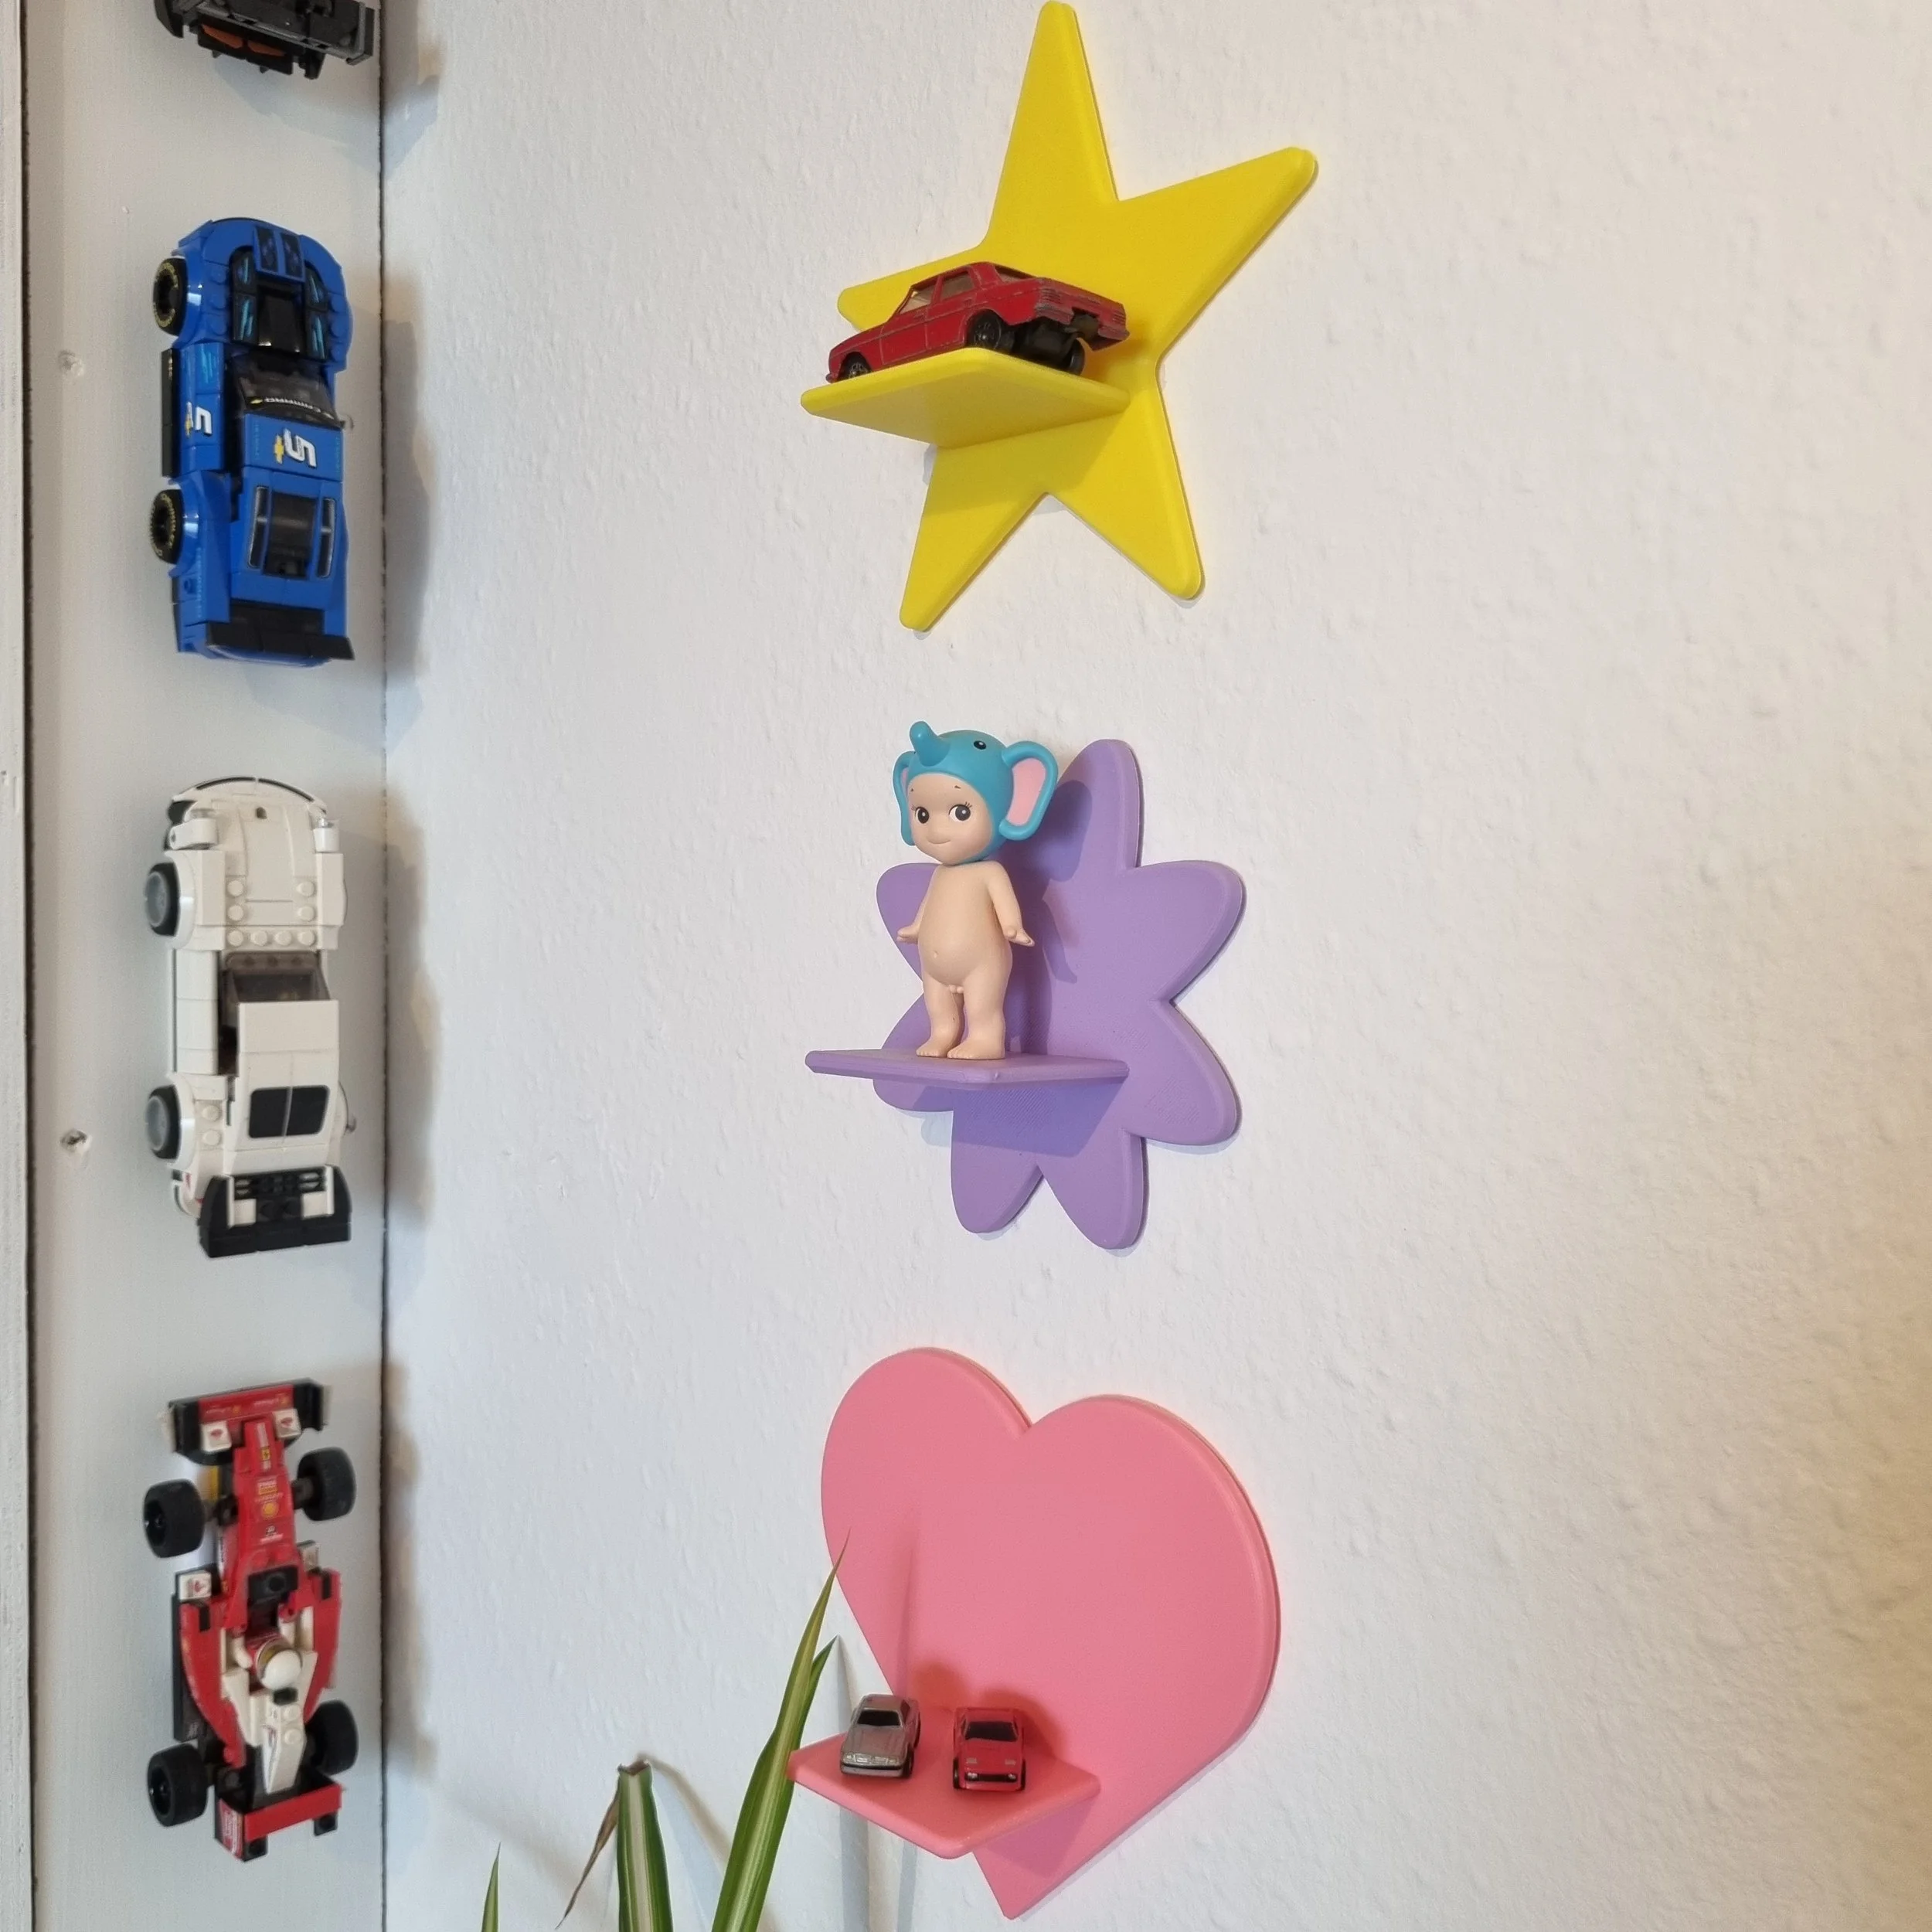 Image 2 of 5
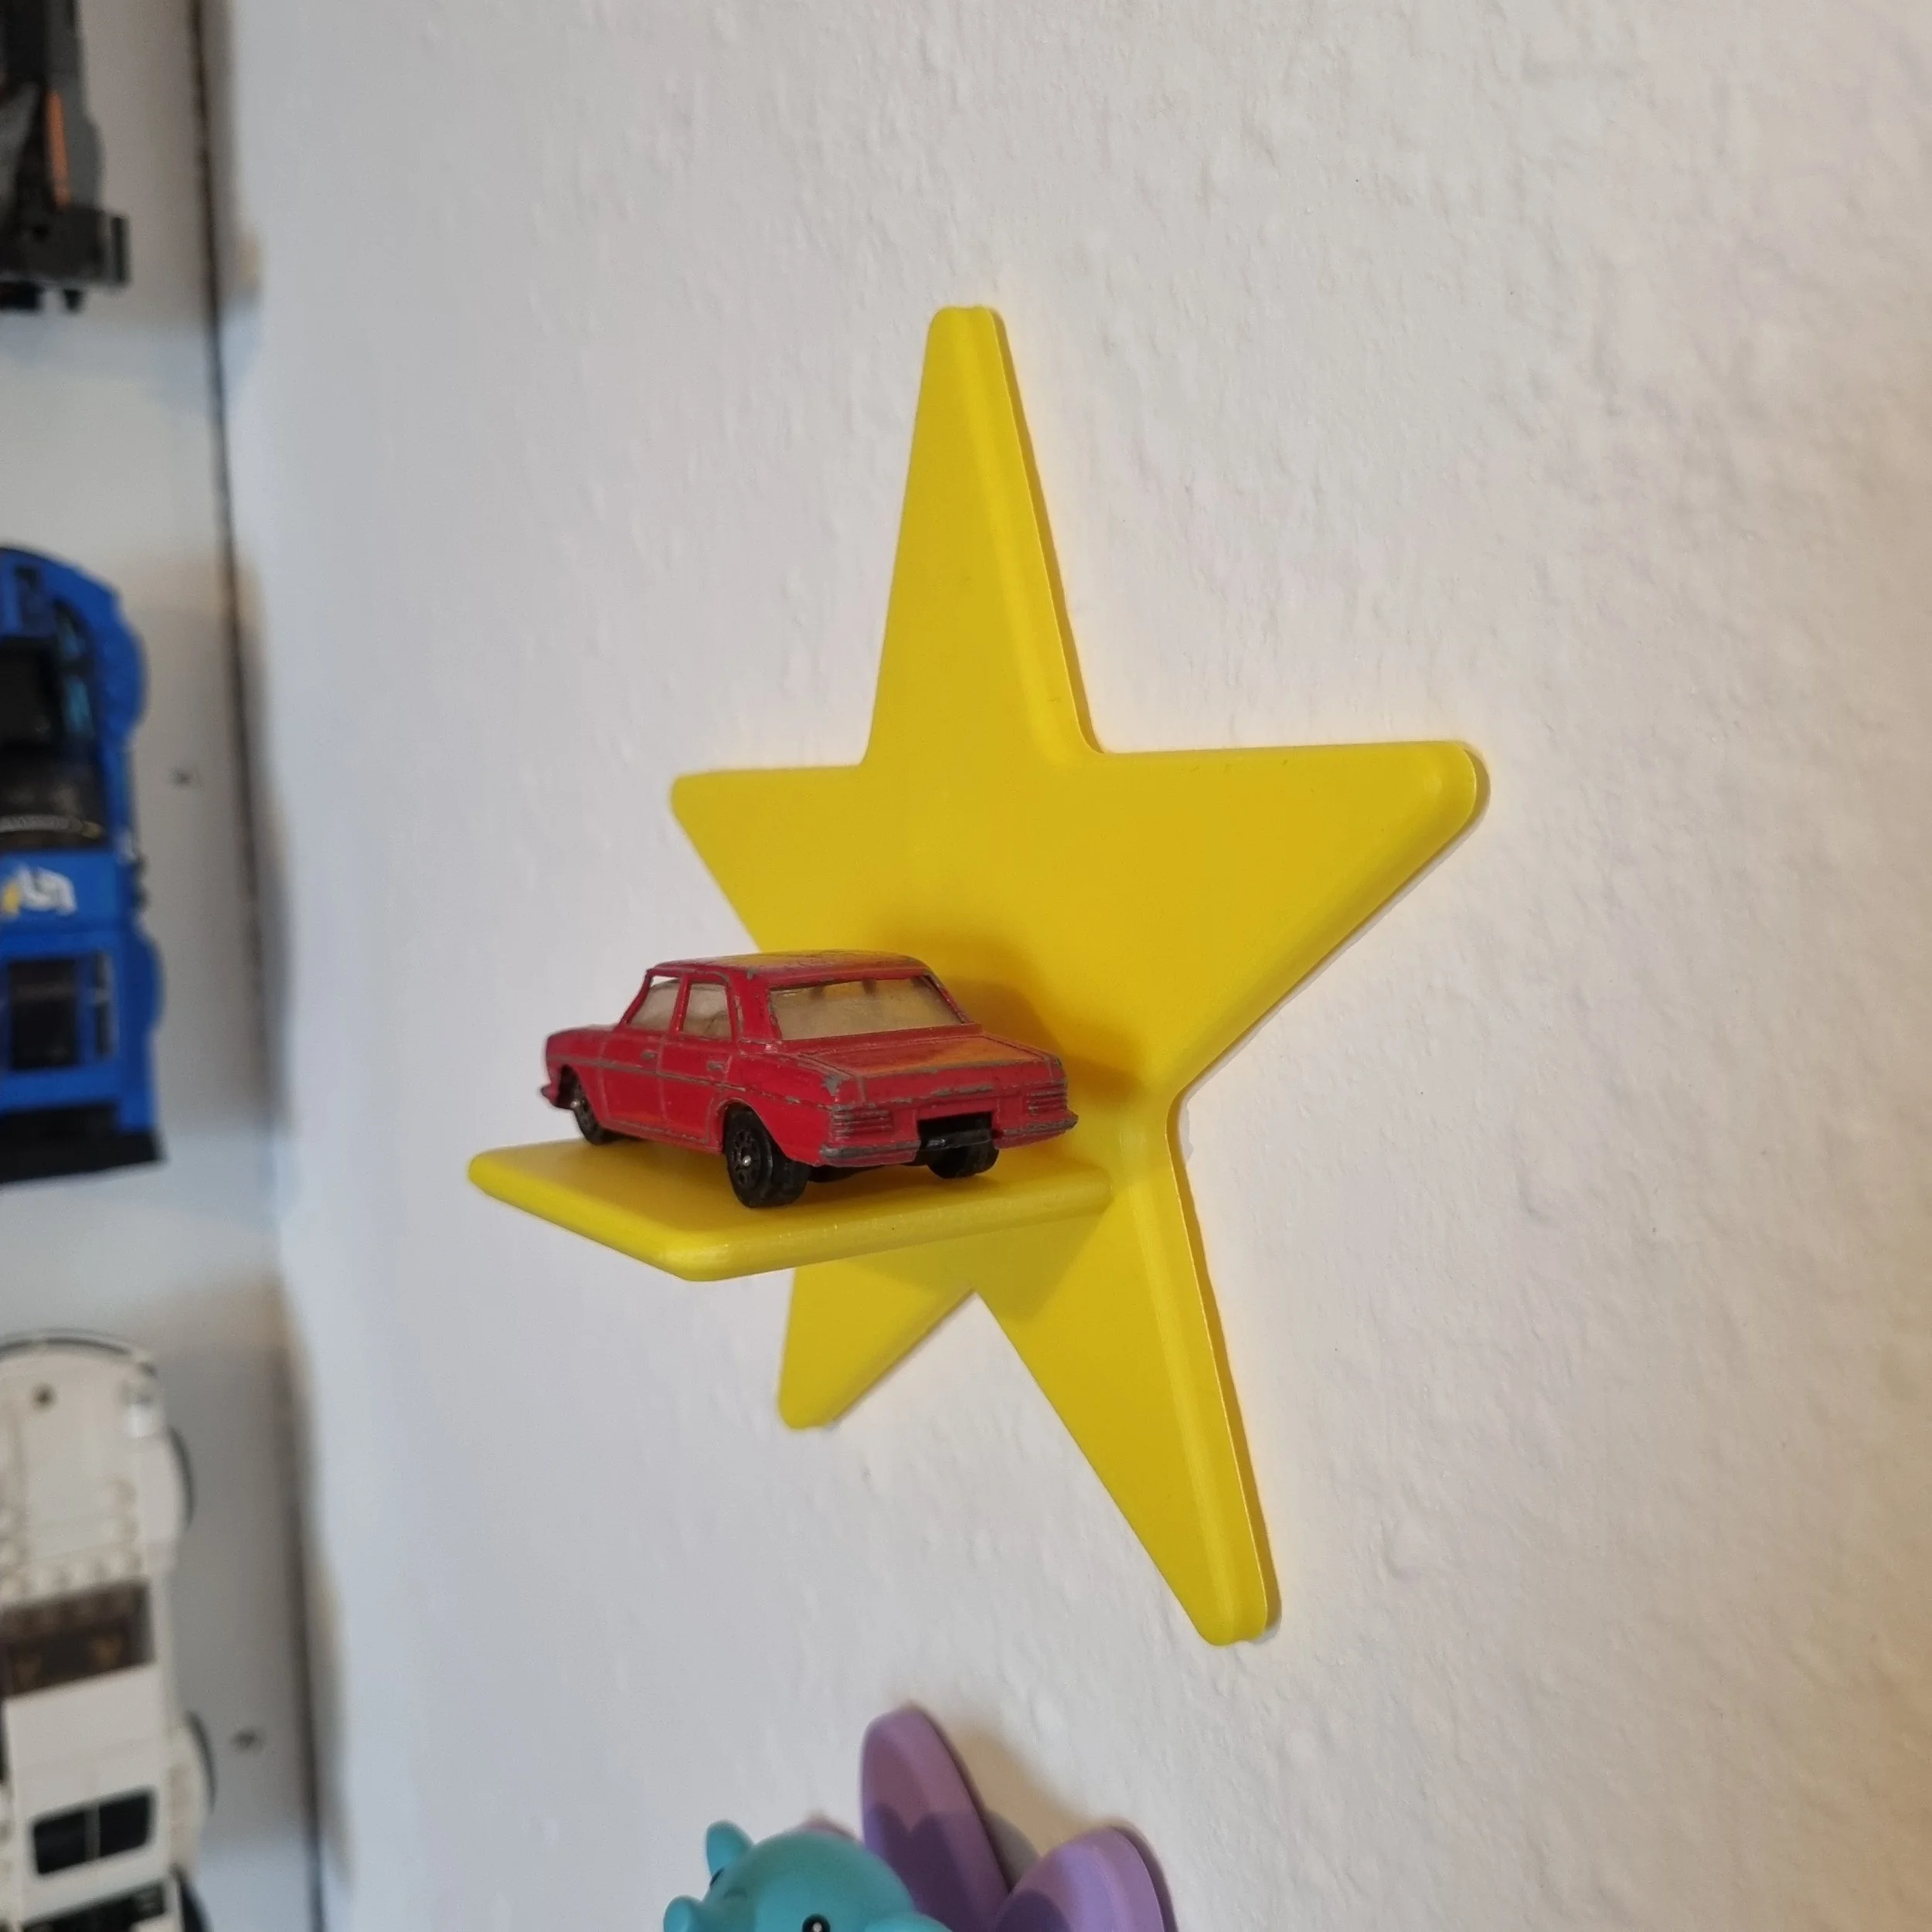 Image 3 of 5
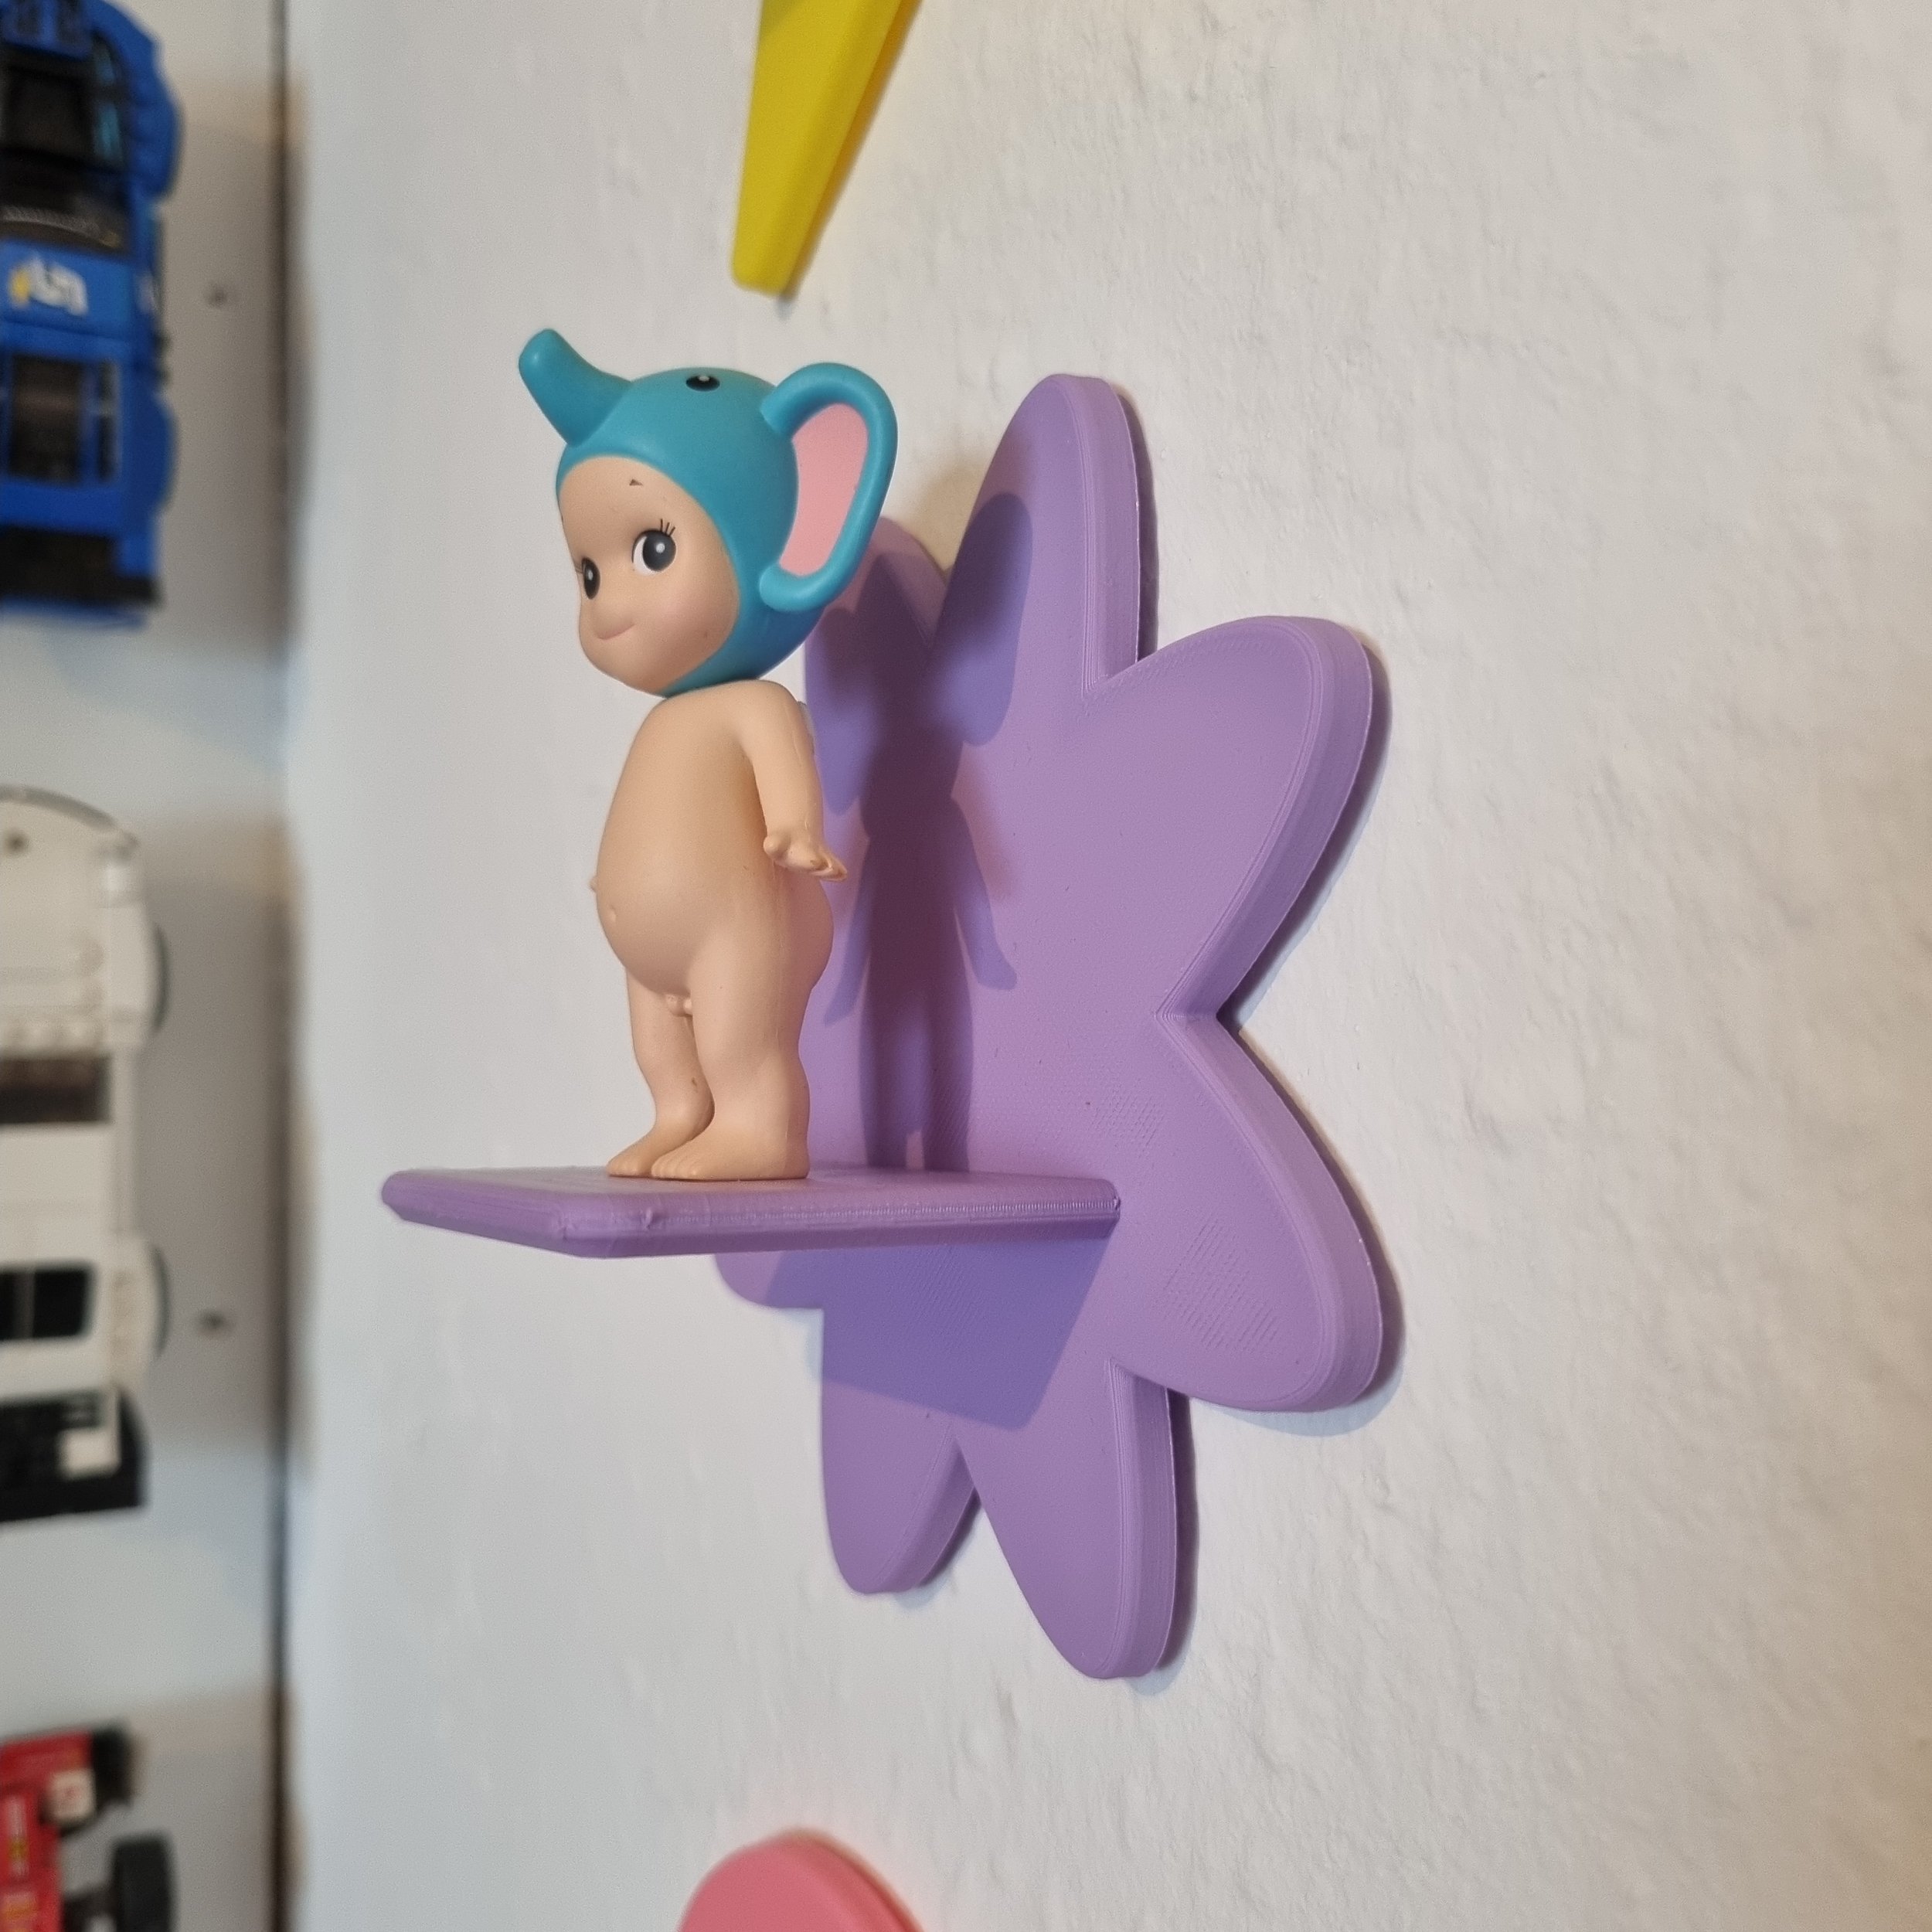 Image 4 of 5
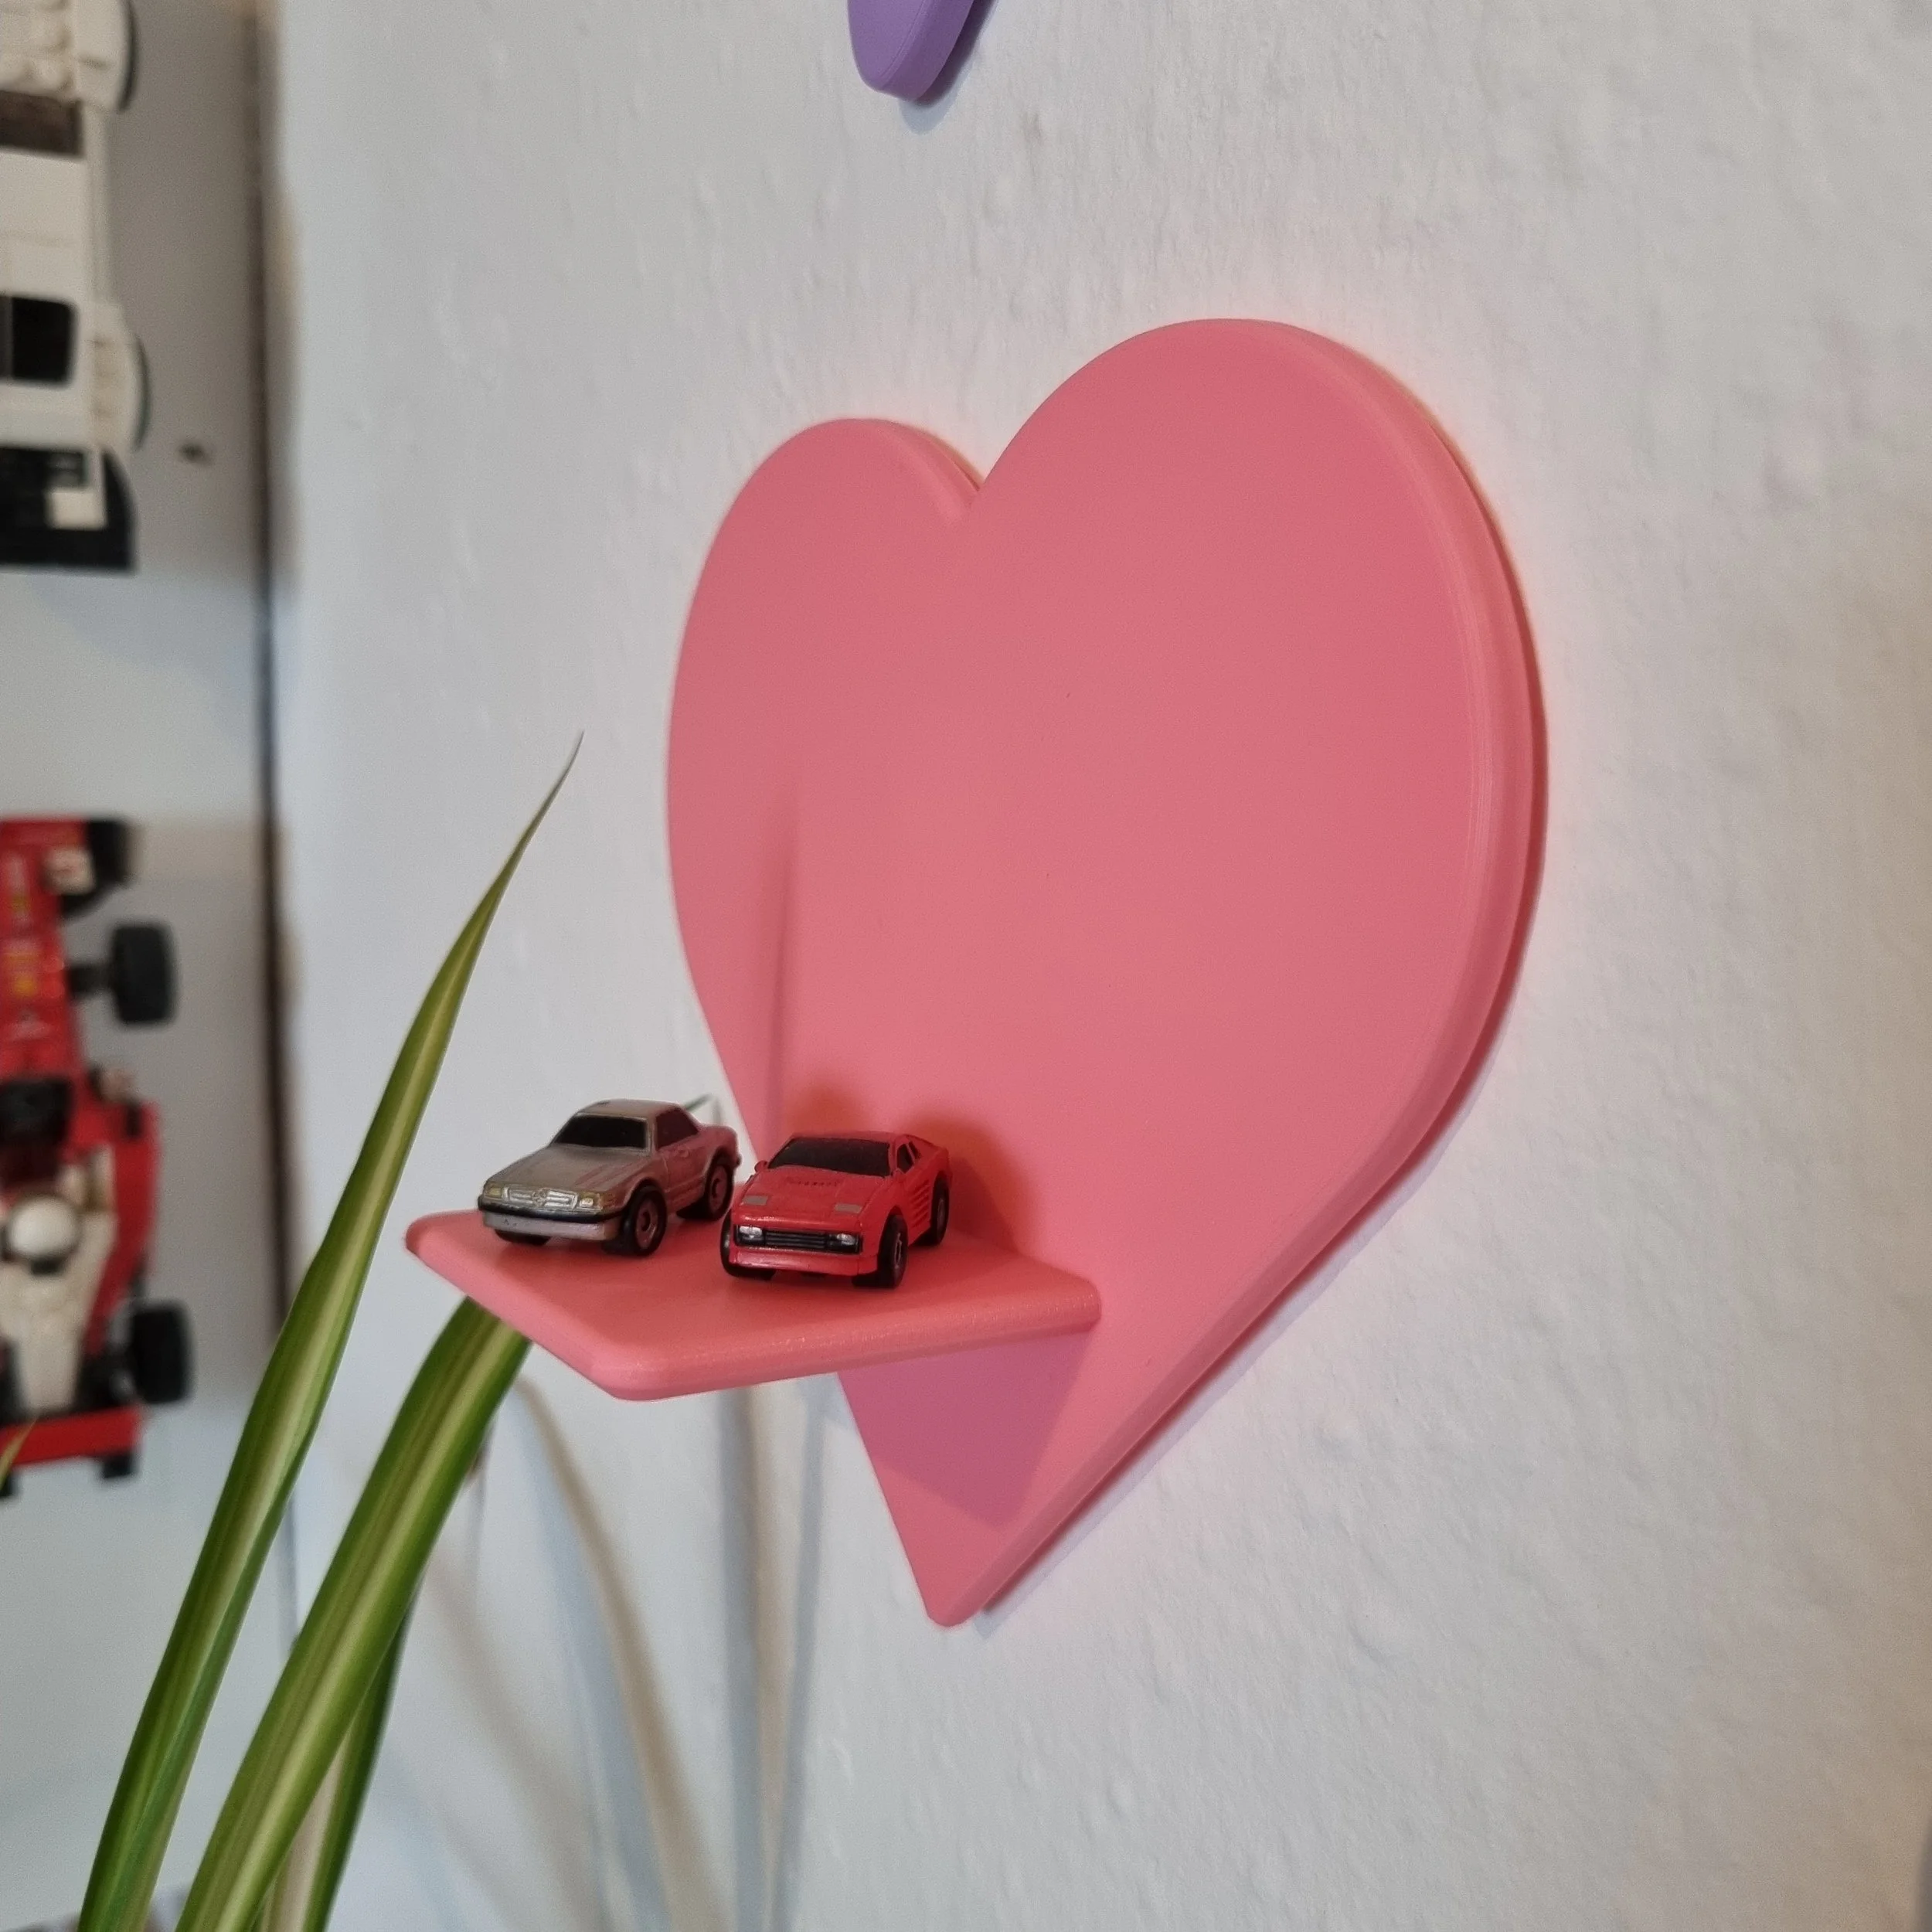 Image 5 of 5
[Details]
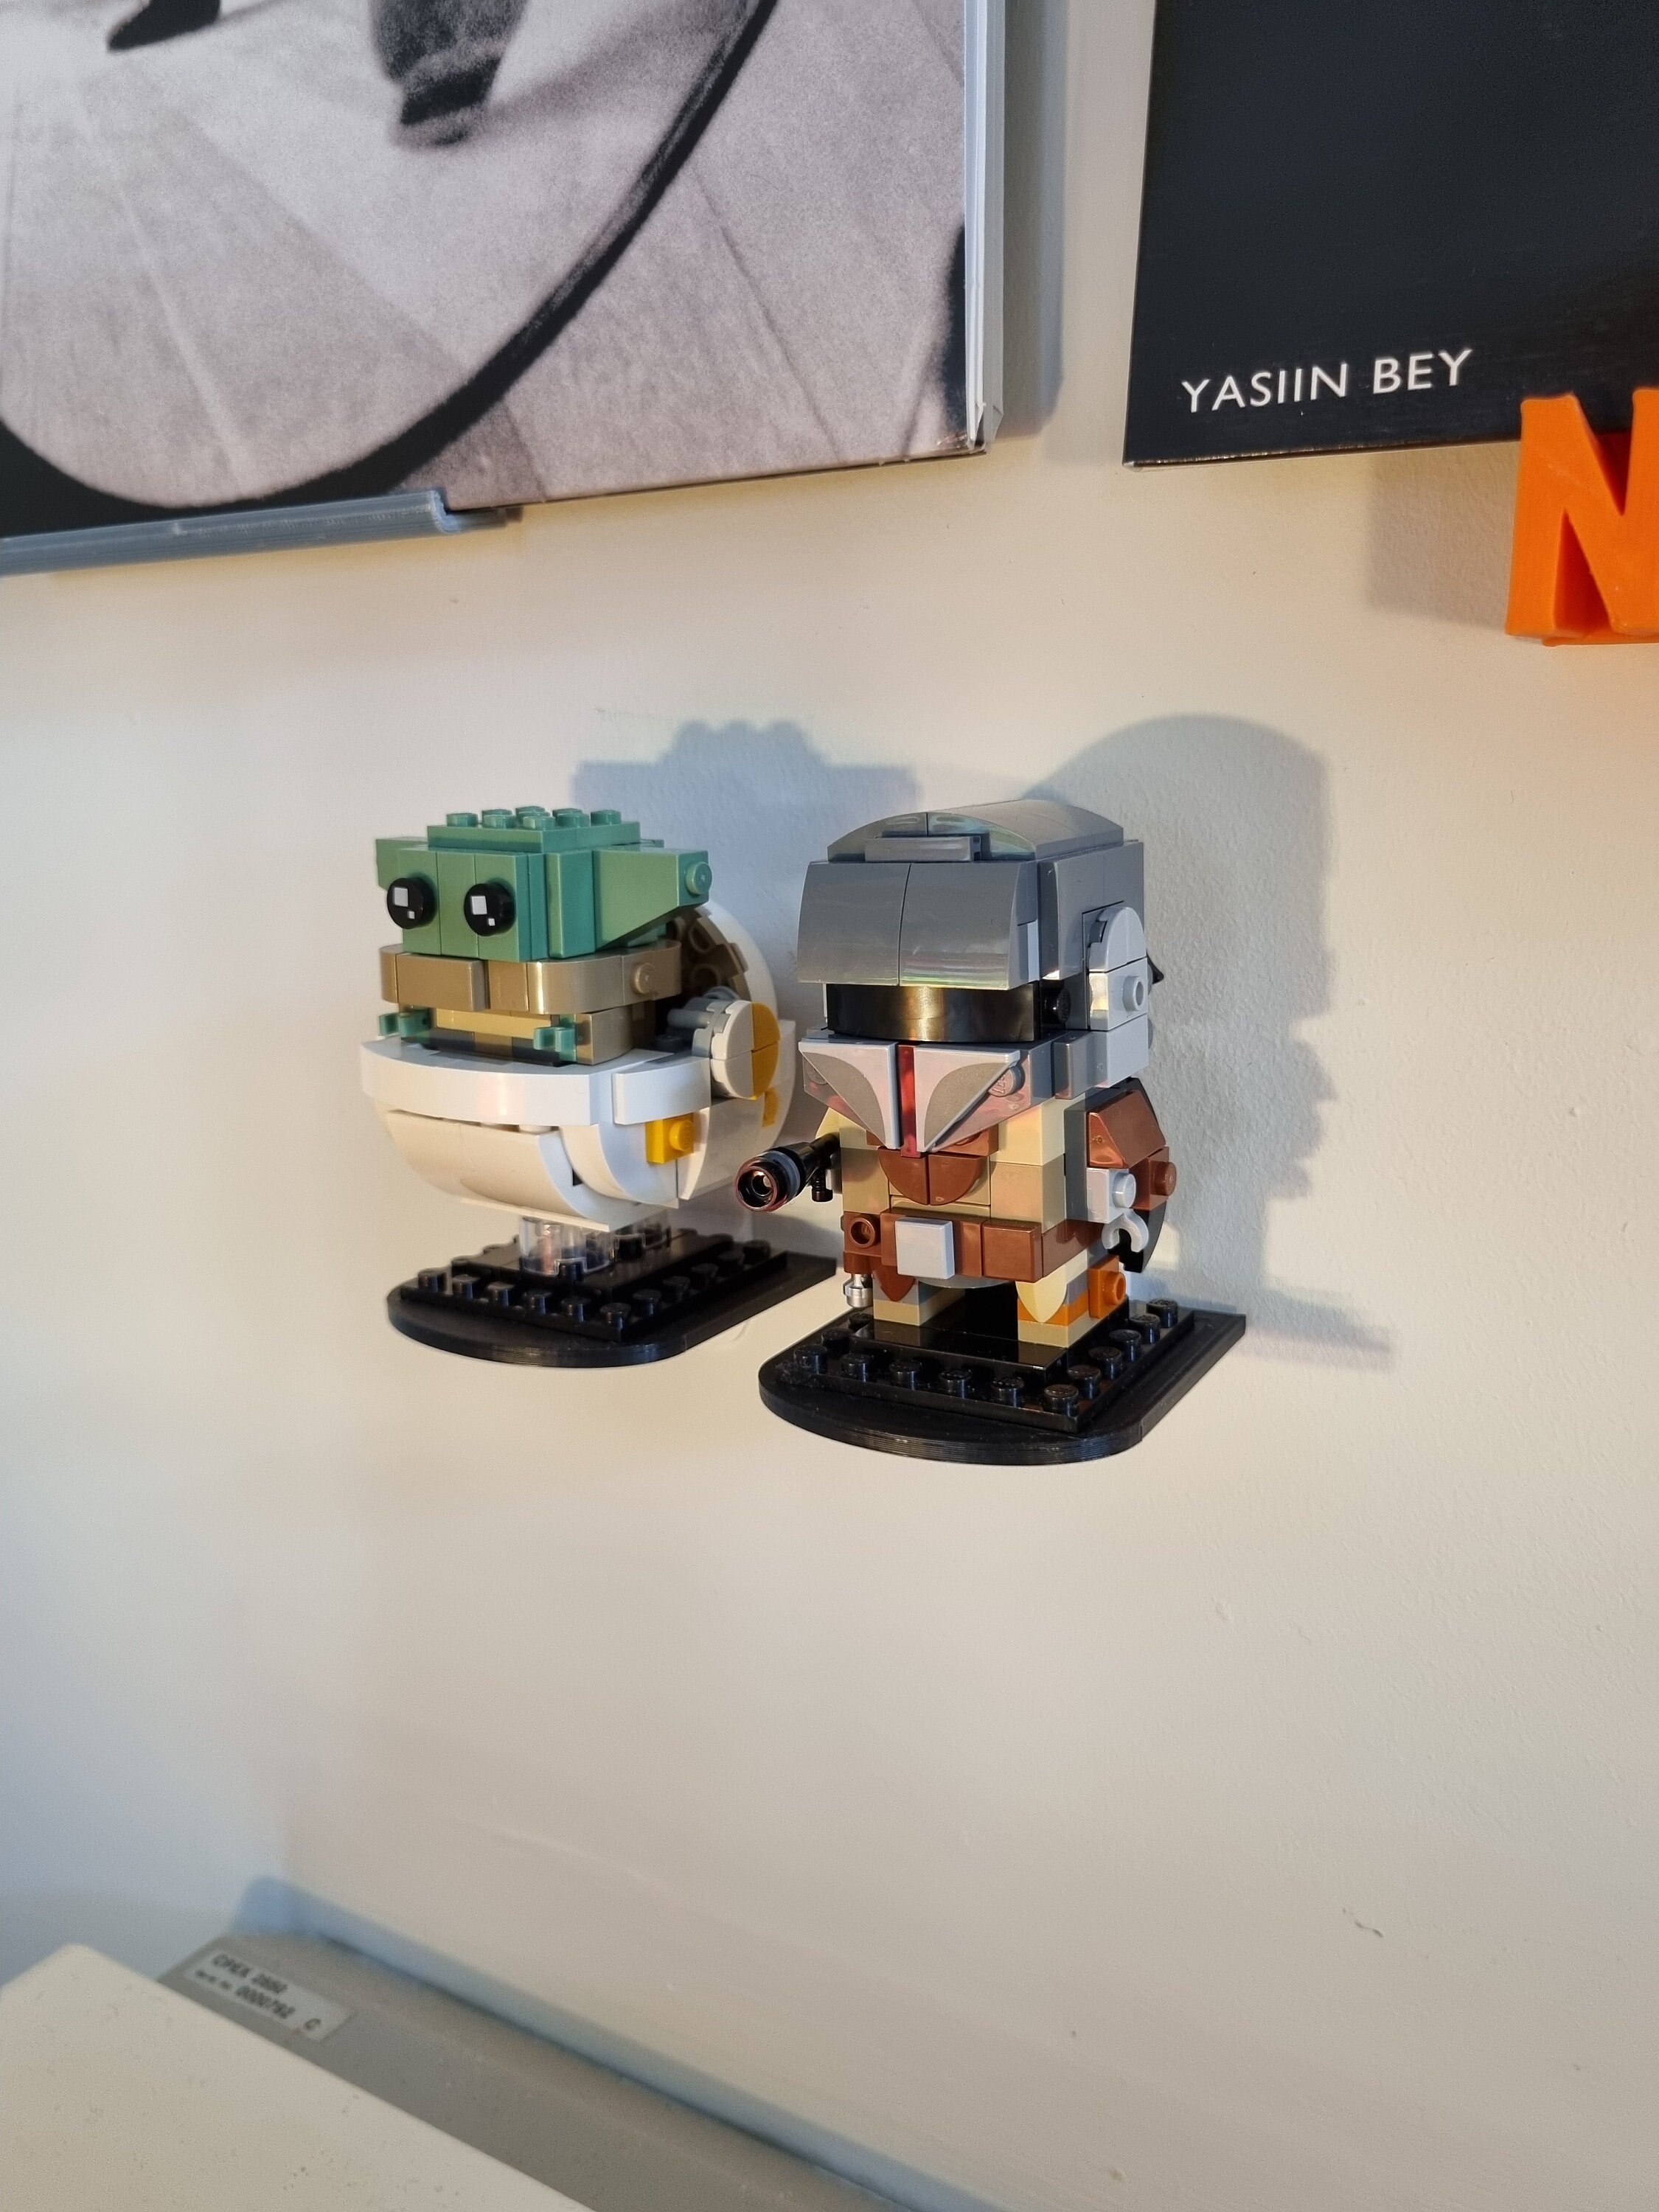
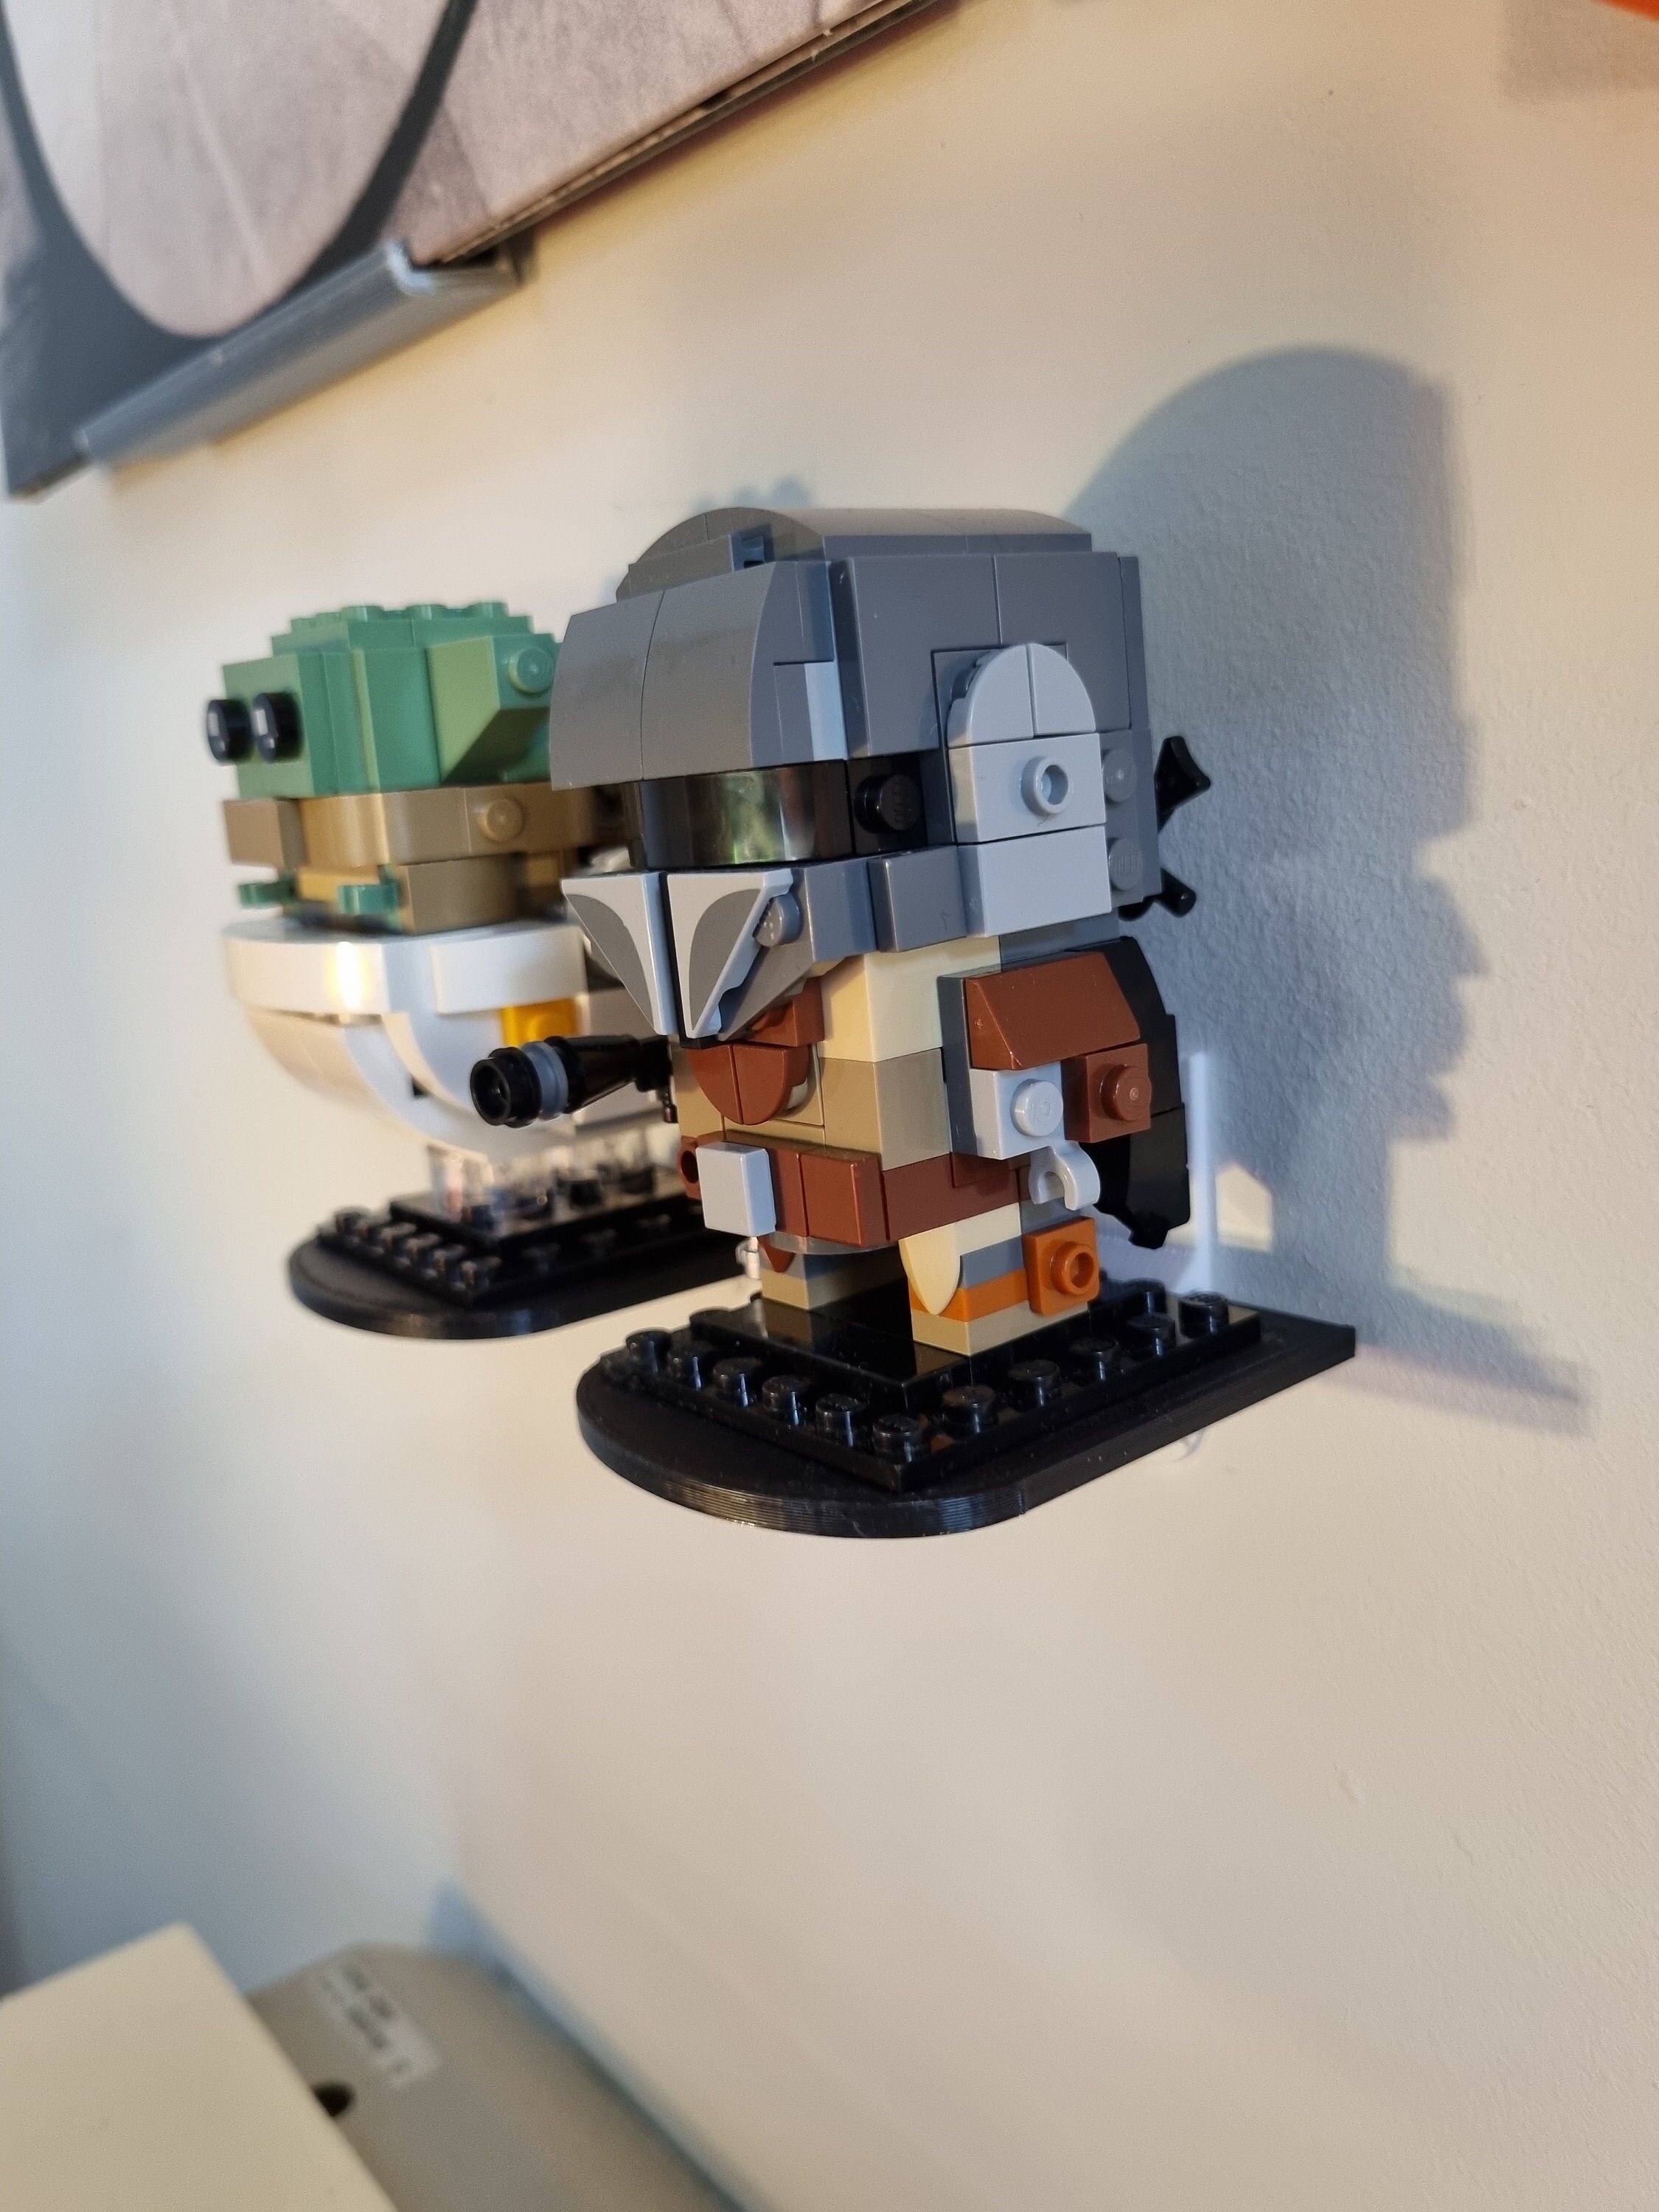
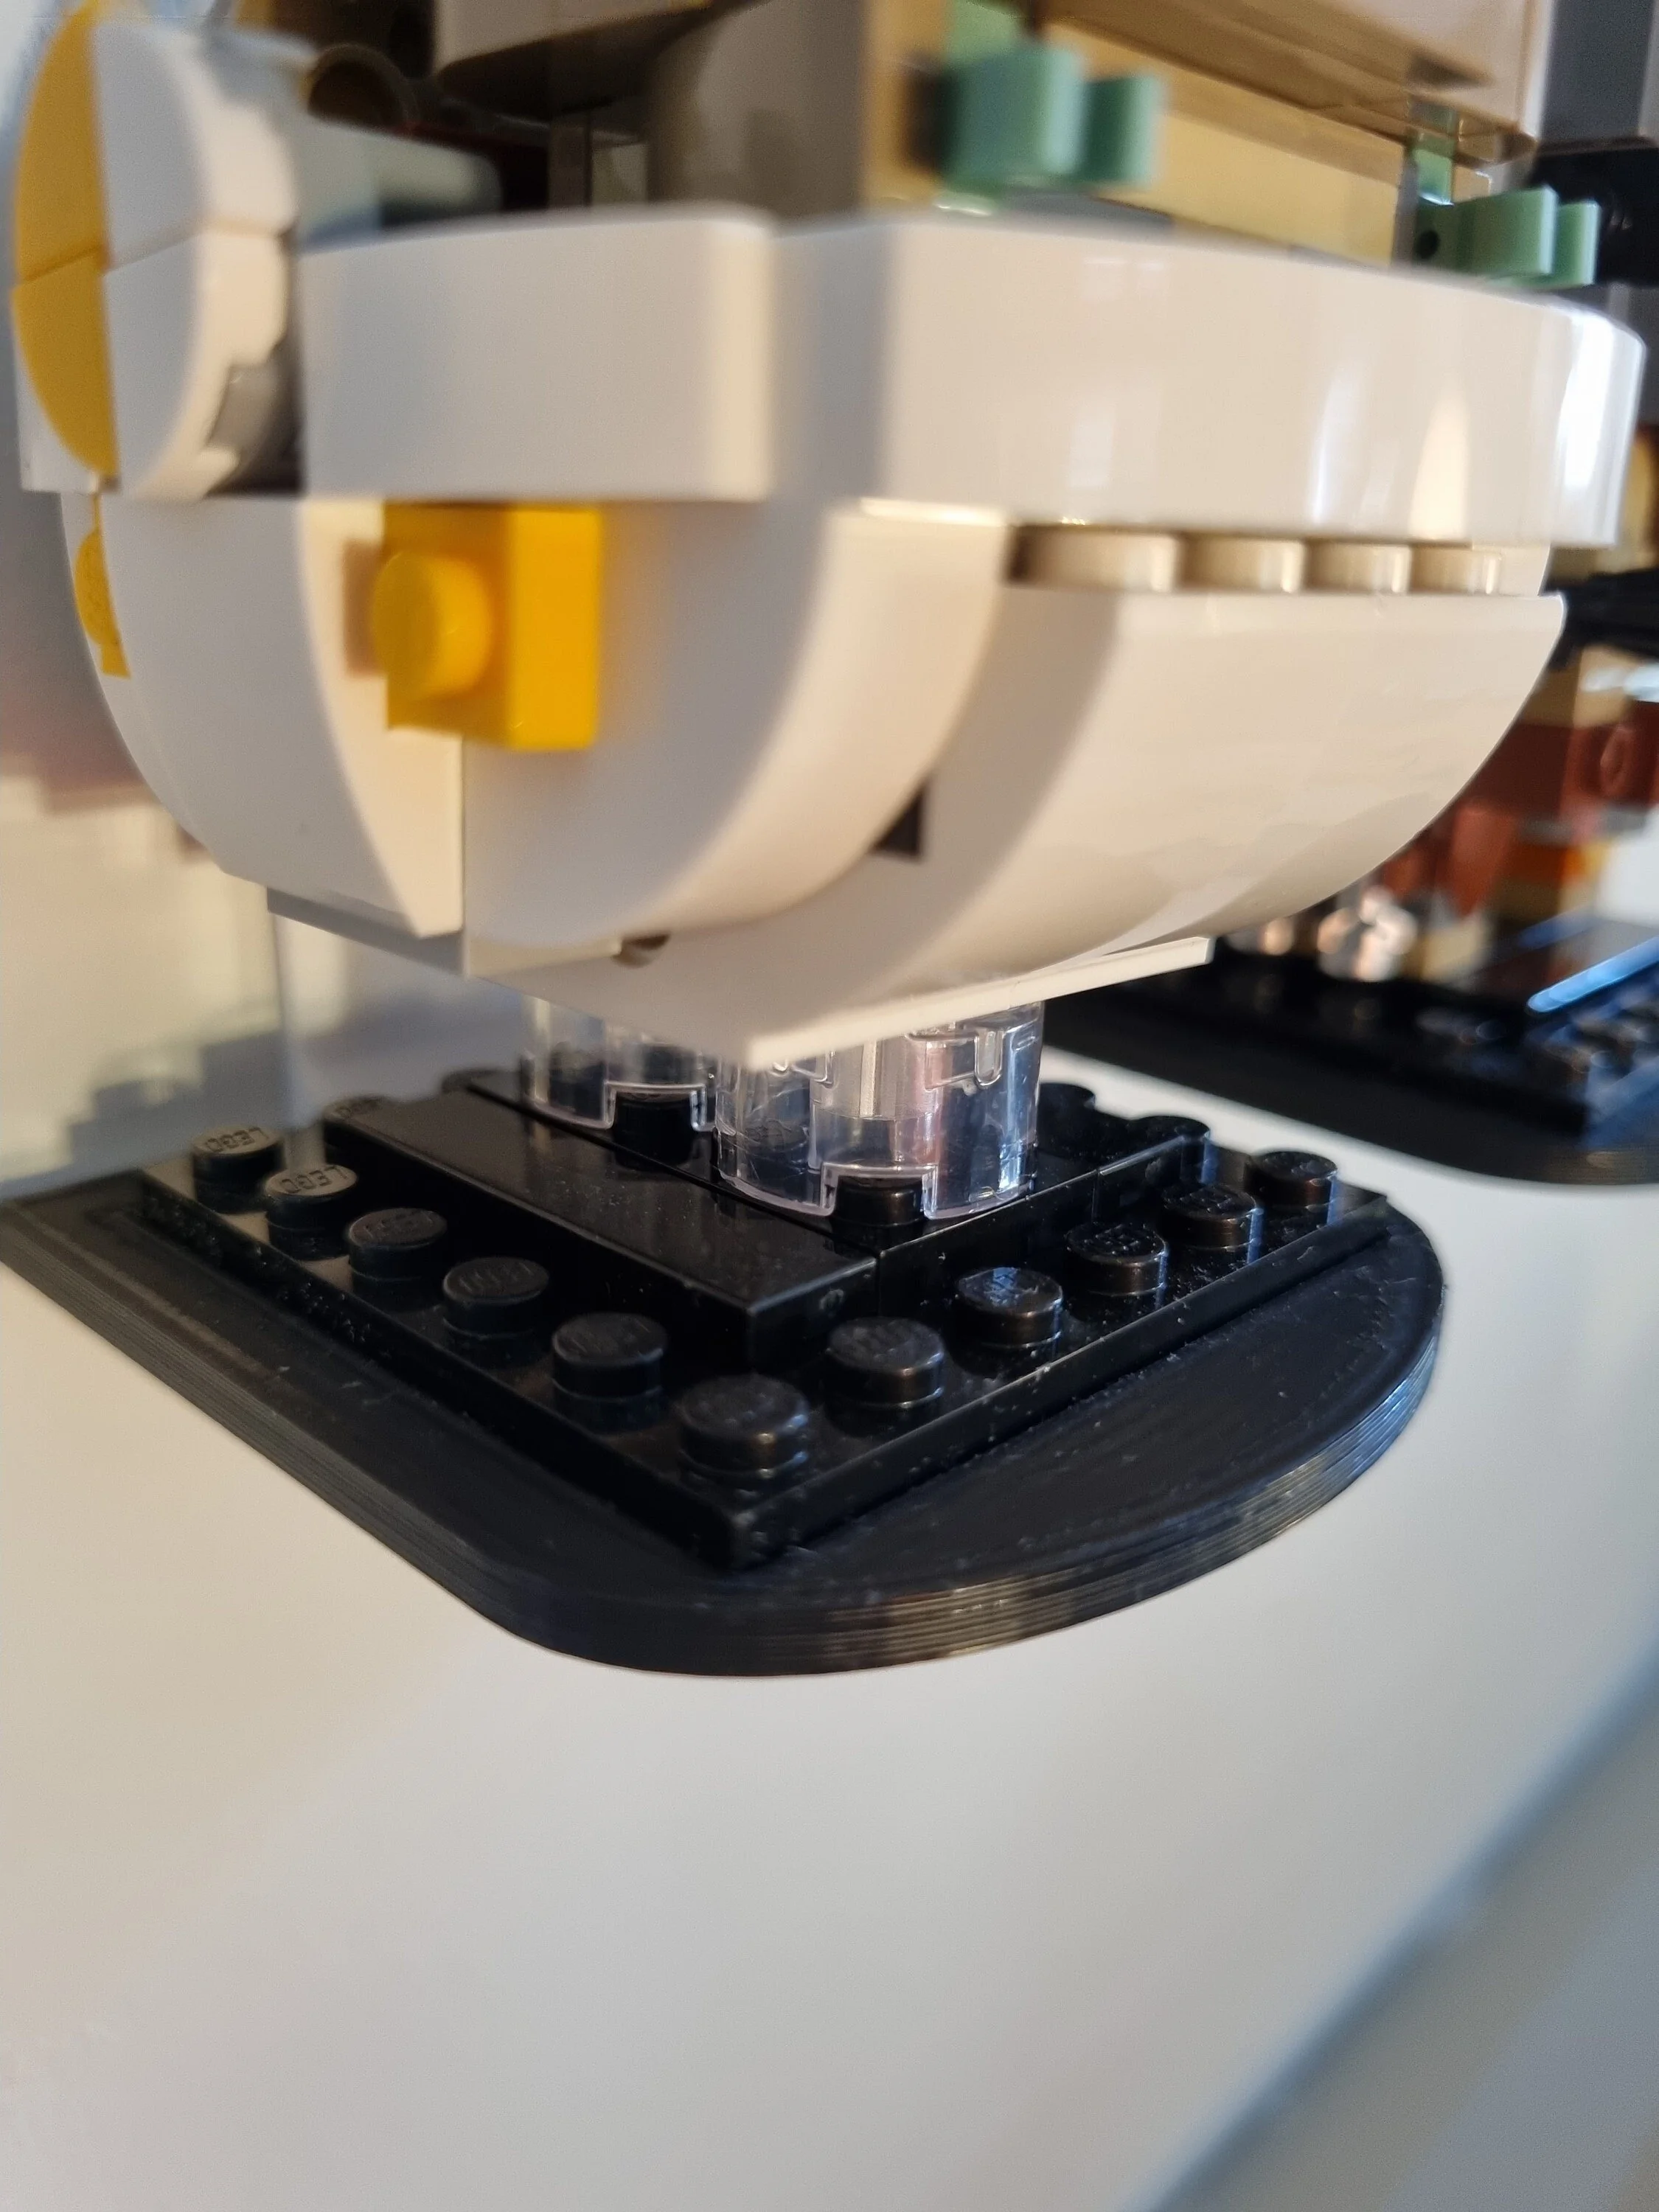
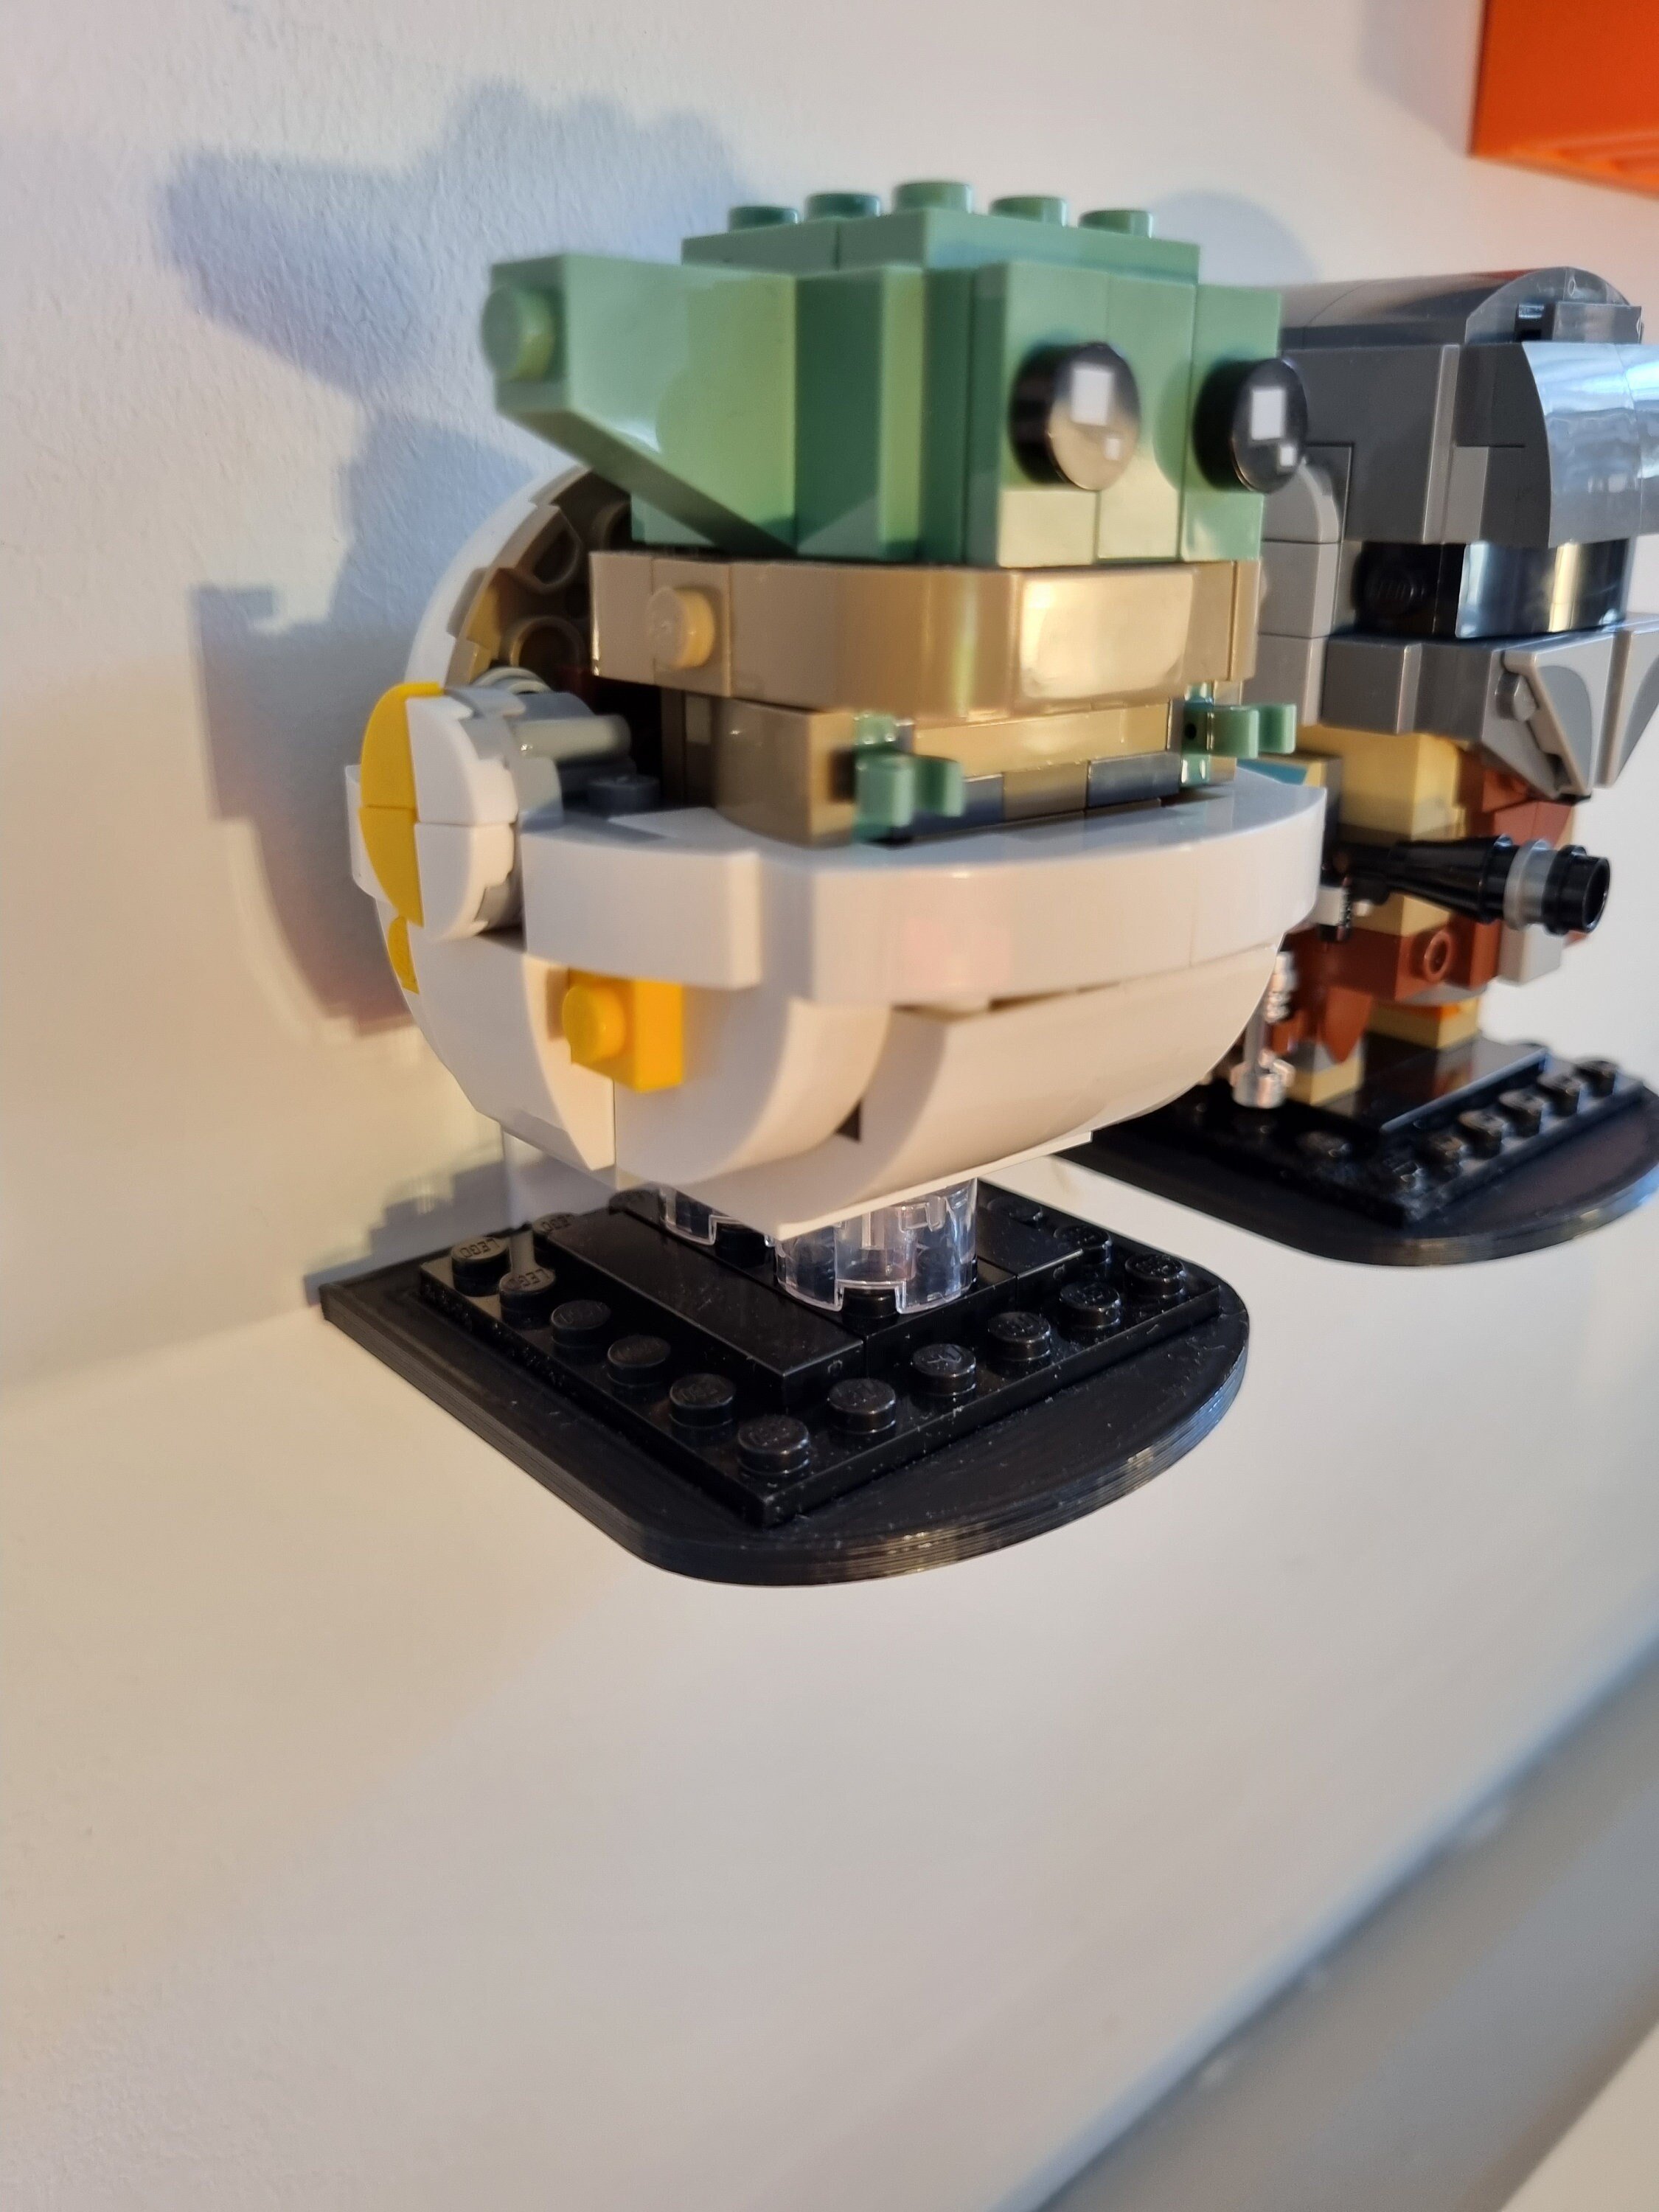
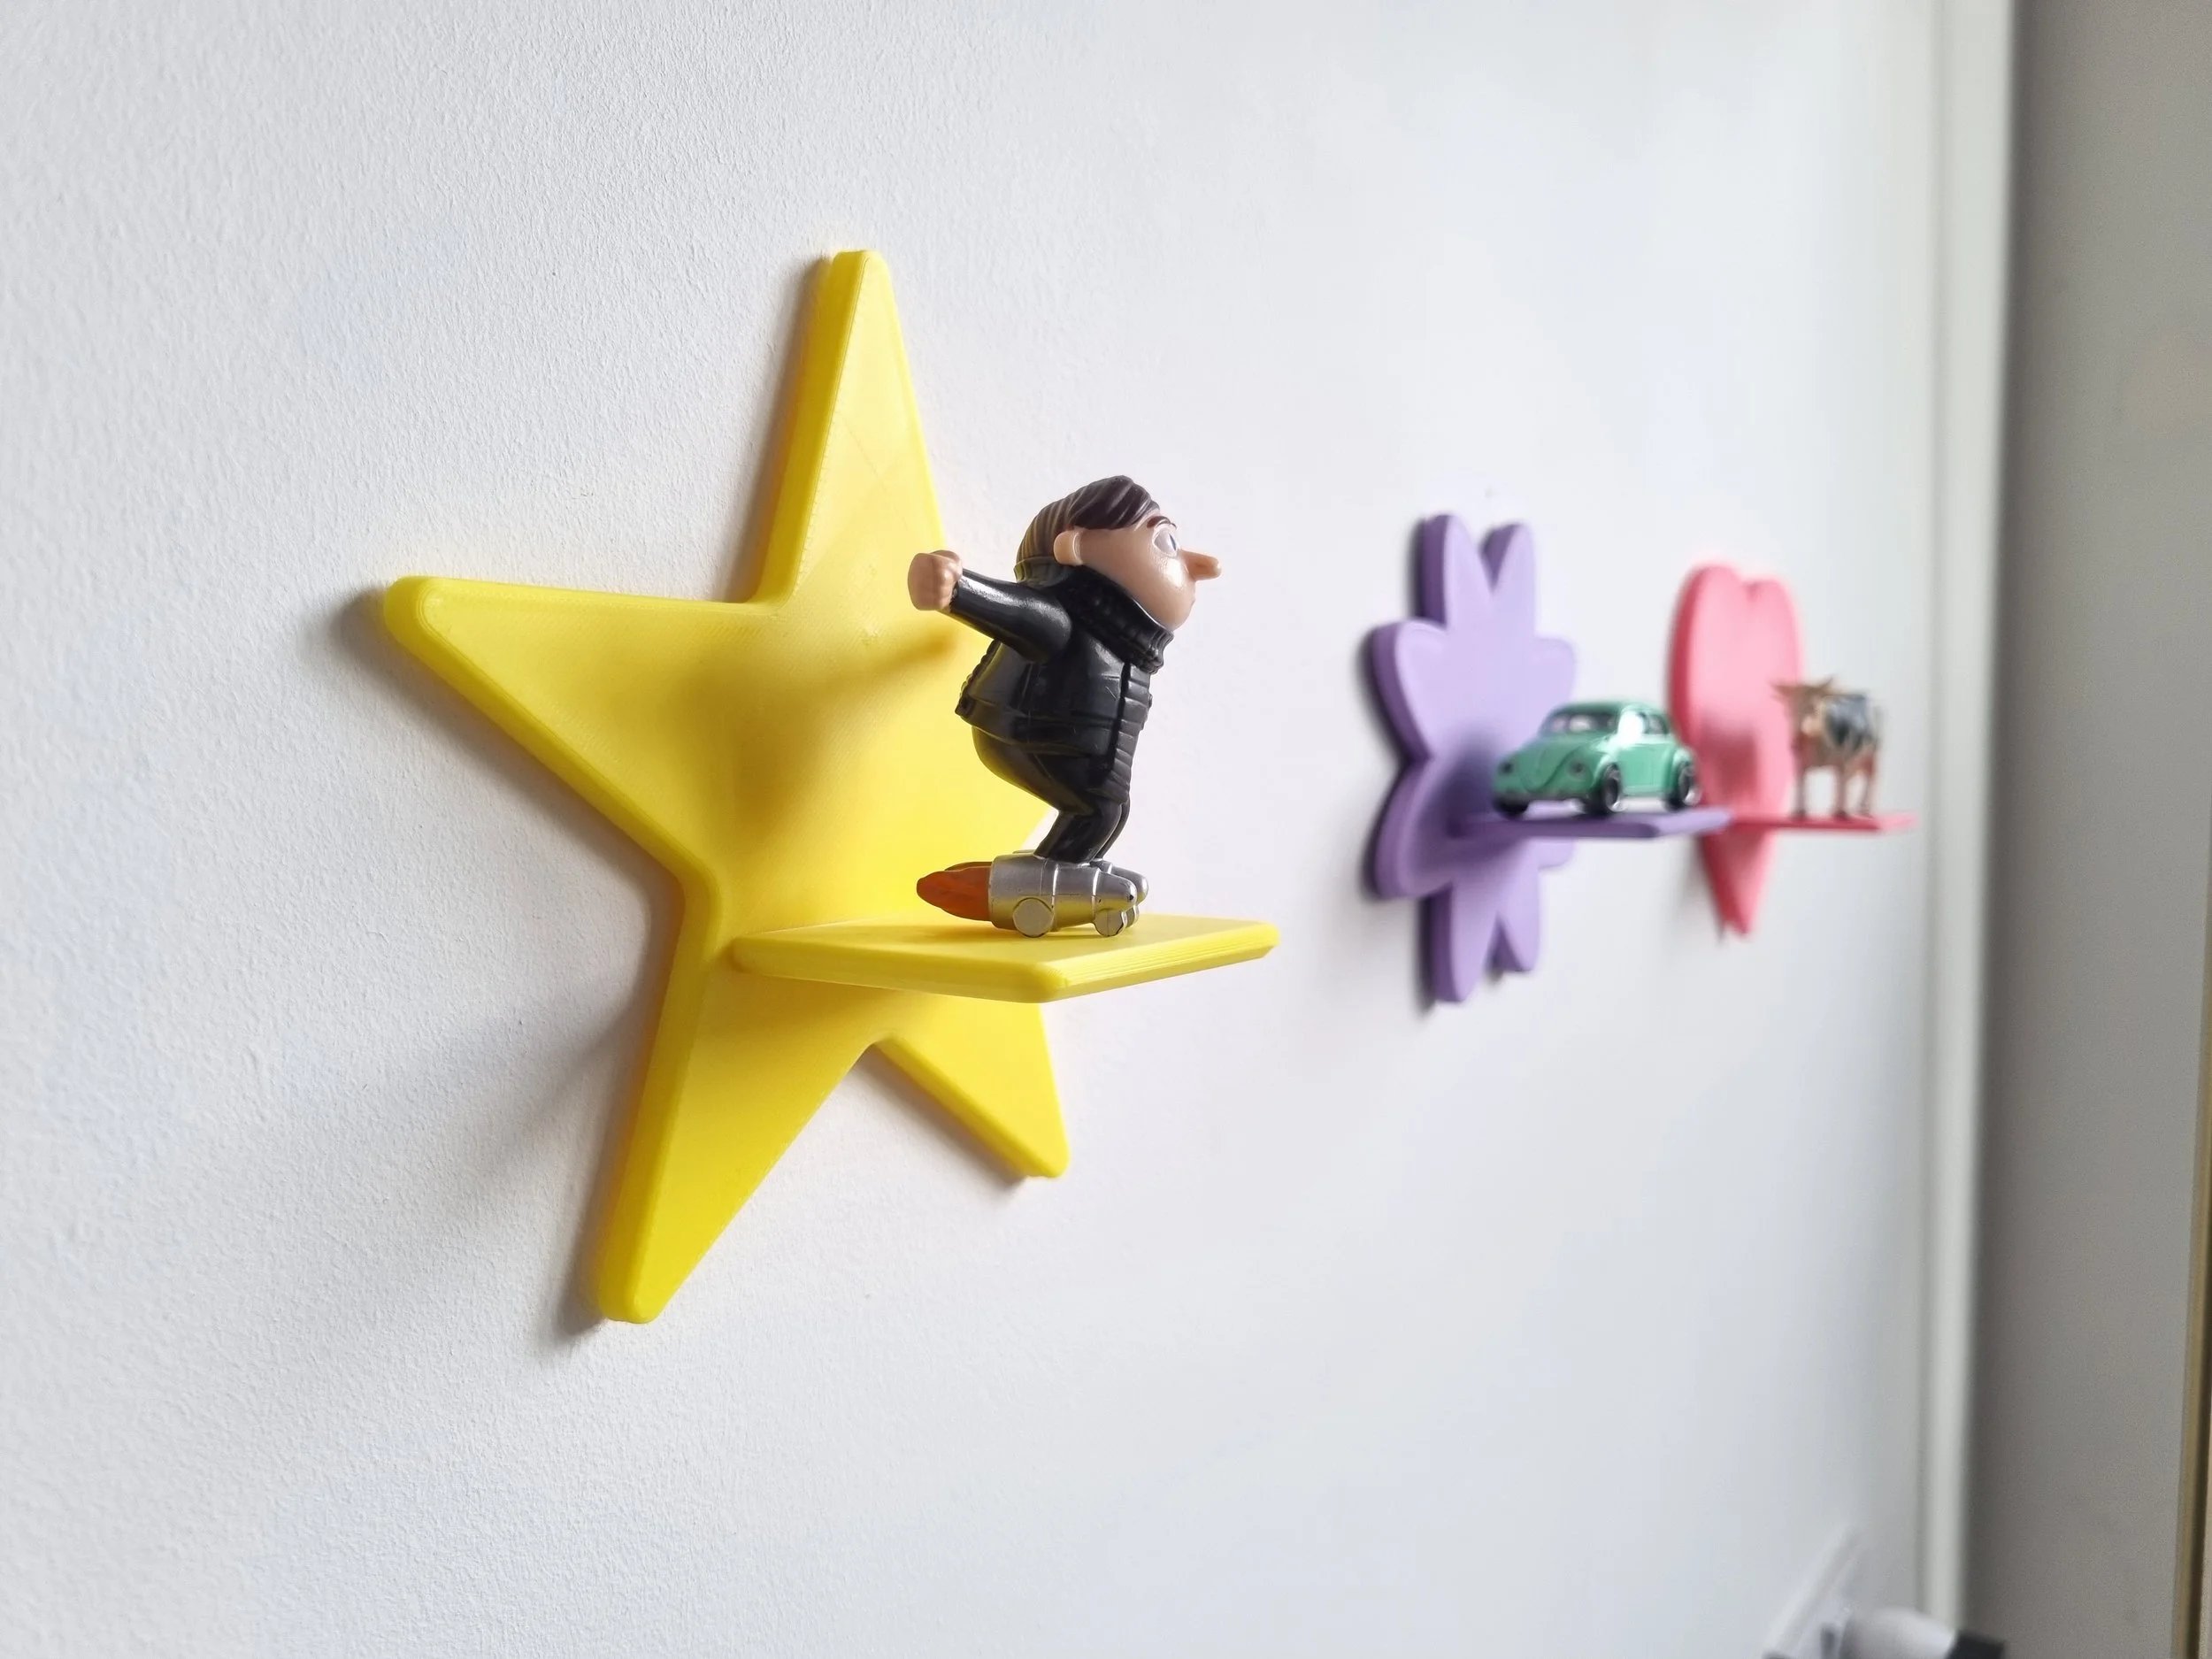
Mix, match and display your favourite trinkets, knick-knacks, collectibles, toys or curios with these cute interchangeable trinket shelves.
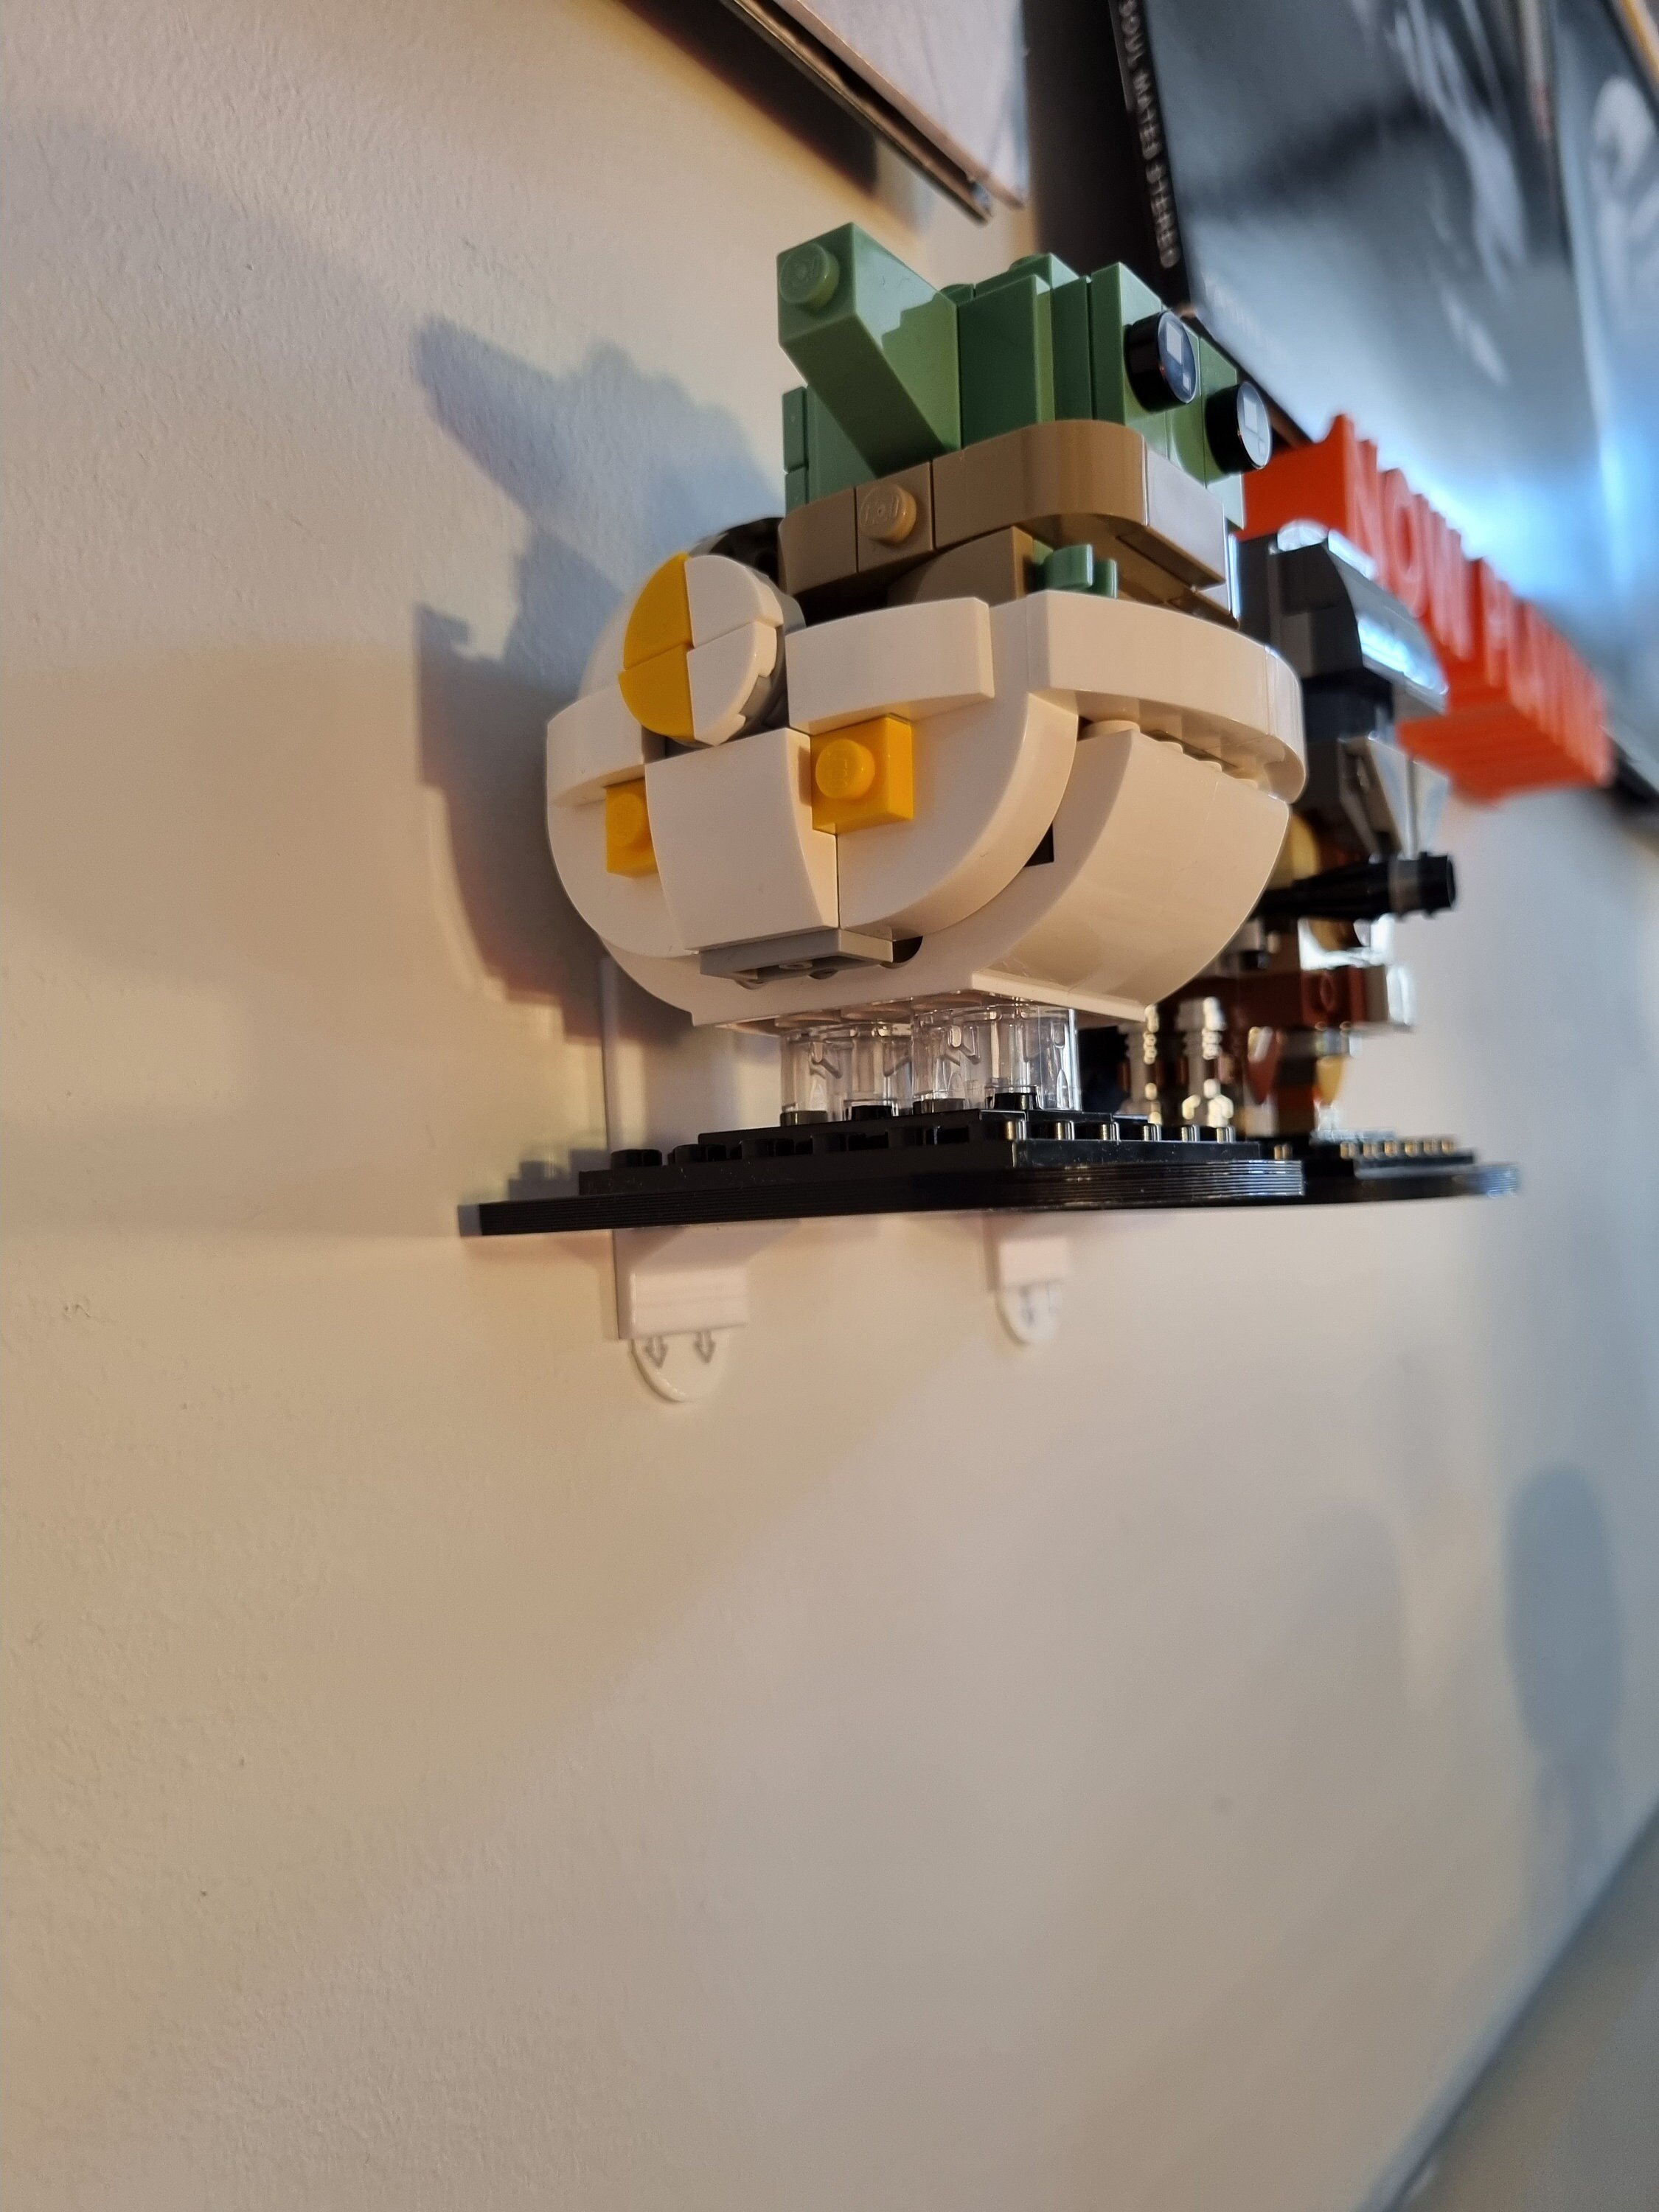
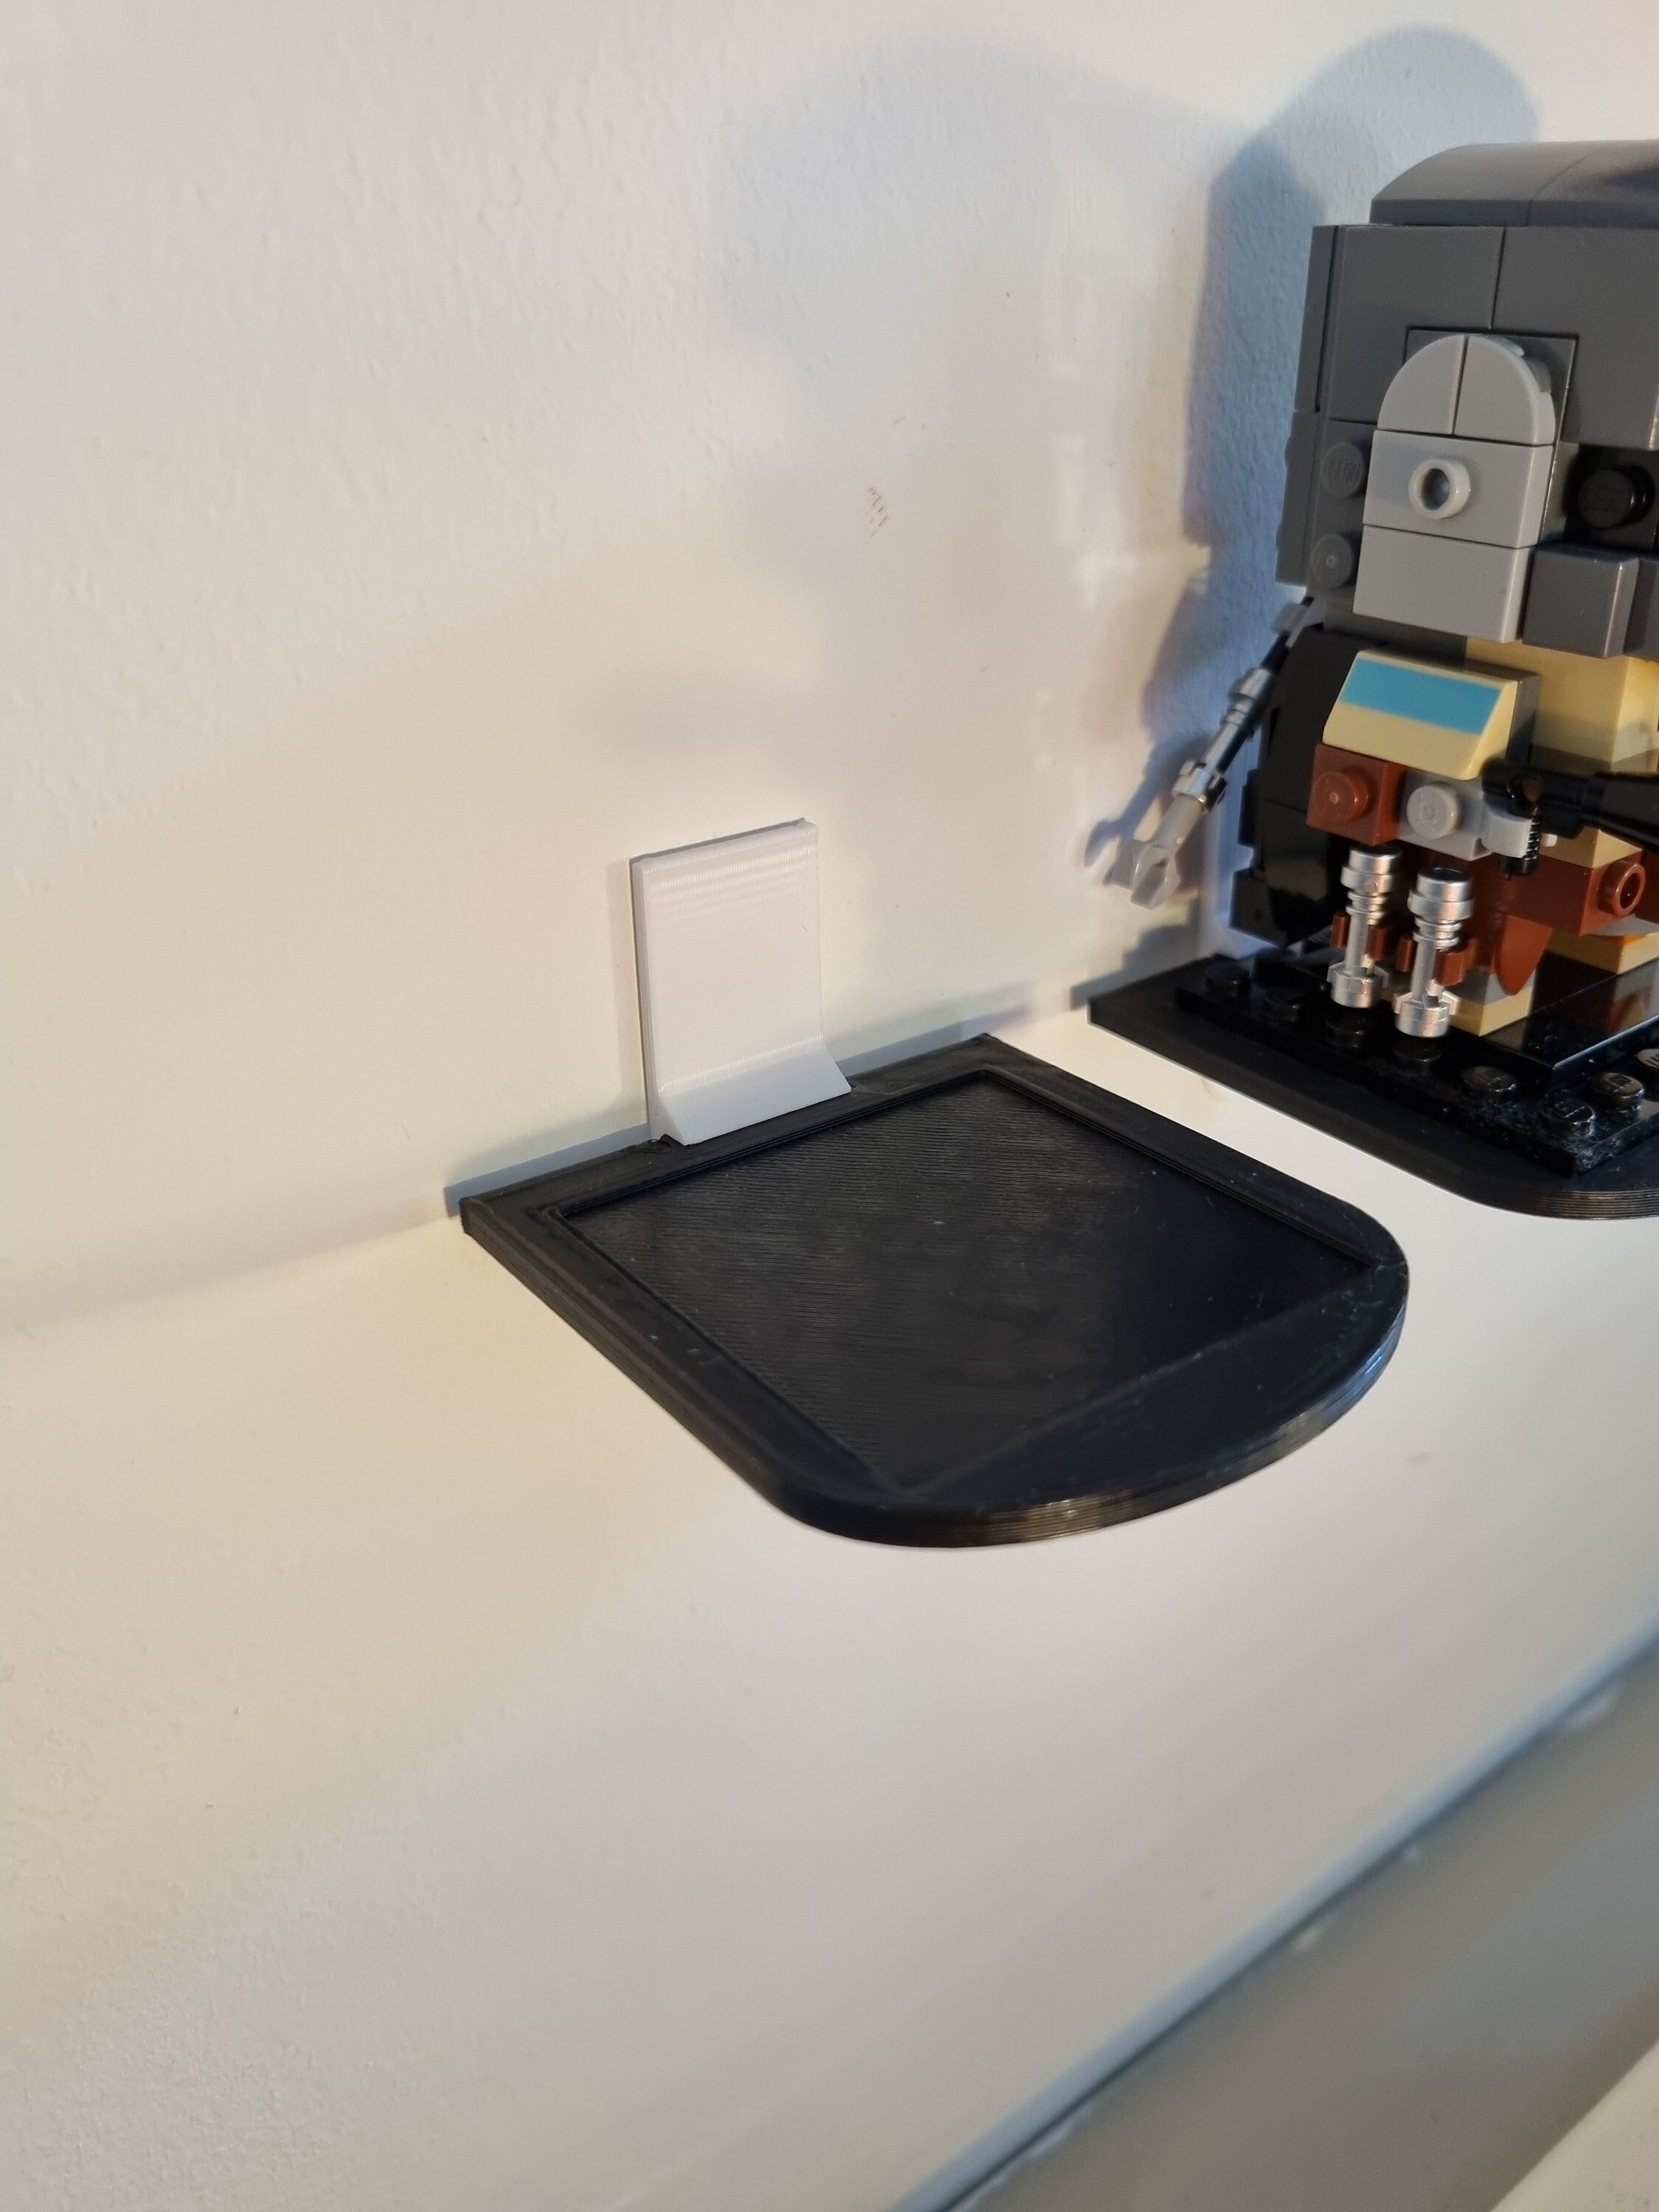
Each shelf consists of a backing bracket, which can be either stuck to the wall with a Command Strip or fastened with a screw, and a shelf in a fun shape. All shelves use the same bracket, so you can swap and change your shelves around whenever you like without having to uninstall anything - just lift one off and drop another one on. I'll include a Command Strip and a screw and Rawlplug with each shelf.
[Instructions]
The bracket must be installed with the angled end facing up, with the longer face away from the wall so that it forms a hook. (This is called a cleat.)
To install using a Command Strip, first stick the Strip to the bracket (it needs to go on the shorter side) and press down firmly on a hard surface for 10 seconds. Next remove the backing paper from the Strip and press firmly onto your chosen spot on the wall for another 10 seconds. Command Strips should only be used on smooth, painted walls. They should not be used on textured walls or wallpaper. You should ensure all surfaces are clean and dust-free and that any paint is properly adhered to the wall itself.
To install using a screw, simply decide where you want it, drill a 6mm hole and insert the Rawlplug, then screw through the bracket into the wall.
[Processing]
These will usually be ready in a few days.
[Details]
Mix, match and display your favourite trinkets, knick-knacks, collectibles, toys or curios with these cute interchangeable trinket shelves.
Each shelf consists of a backing bracket, which can be either stuck to the wall with a Command Strip or fastened with a screw, and a shelf in a fun shape. All shelves use the same bracket, so you can swap and change your shelves around whenever you like without having to uninstall anything - just lift one off and drop another one on. I'll include a Command Strip and a screw and Rawlplug with each shelf.
[Instructions]
The bracket must be installed with the angled end facing up, with the longer face away from the wall so that it forms a hook. (This is called a cleat.)
To install using a Command Strip, first stick the Strip to the bracket (it needs to go on the shorter side) and press down firmly on a hard surface for 10 seconds. Next remove the backing paper from the Strip and press firmly onto your chosen spot on the wall for another 10 seconds. Command Strips should only be used on smooth, painted walls. They should not be used on textured walls or wallpaper. You should ensure all surfaces are clean and dust-free and that any paint is properly adhered to the wall itself.
To install using a screw, simply decide where you want it, drill a 6mm hole and insert the Rawlplug, then screw through the bracket into the wall.
[Processing]
These will usually be ready in a few days.